TabLayout详细用法
http://blog.csdn.net/wu371894545/article/details/65936966
TabLayout是属于容器控件, 提供水平显示Tab的效果. 常常和ViewPager配合使用. 我将全面地讲解其用法. 反正我是没看过比我还详细的了.
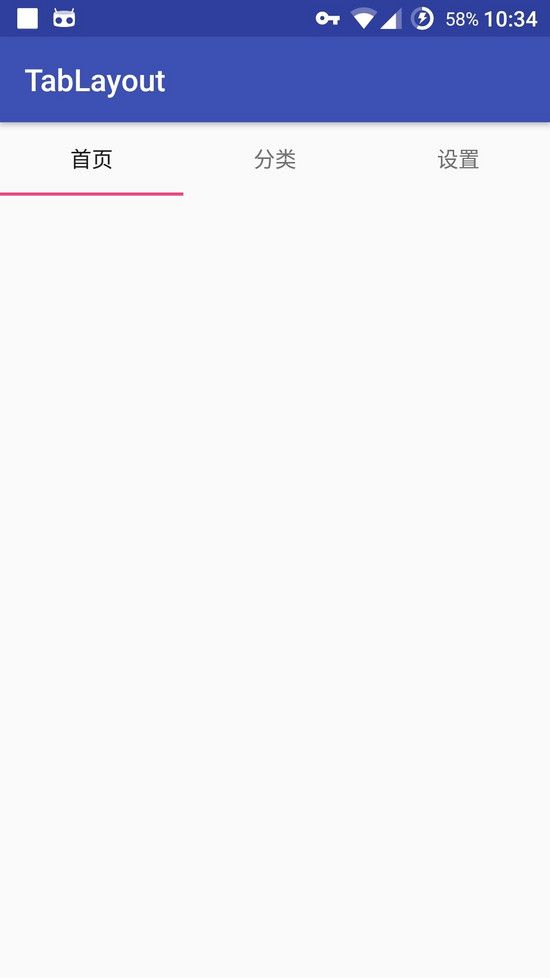
演示
添加依赖
这是Android Design 包下的类, 该包是Android5.0 引入的UI包
compile 'com.android.support:design:25.2.0'
布局
"@+id/tab_layout"
    android:layout_width="match_parent"
    android:layout_height="wrap_content">
代码
public classMainActivityextendsAppCompatActivity{

    @BindView(R.id.tab_layout)
    TabLayout mTabLayout;

    @Override
    protectedvoidonCreate(Bundle savedInstanceState){
        super.onCreate(savedInstanceState);
        setContentView(R.layout.activity_main);
        ButterKnife.bind(this);

        mTabLayout.addTab(mTabLayout.newTab().setText("首页"));
        mTabLayout.addTab(mTabLayout.newTab().setText("分类"));
        mTabLayout.addTab(mTabLayout.newTab().setText("设置"));
    }
}
第二种方式
完全通过布局创建
"@+id/tab_layout"
    android:layout_width="match_parent"
    android:layout_height="wrap_content">

    "wrap_content"
        android:layout_height="wrap_content"
        android:text="首页"
        />

    "wrap_content"
        android:layout_height="wrap_content"
        android:text="分类"
        />

    "wrap_content"
        android:layout_height="wrap_content"
        android:text="设置"
        />
TabLayout
方法有点多
属性
修改布局的属性
显示模式
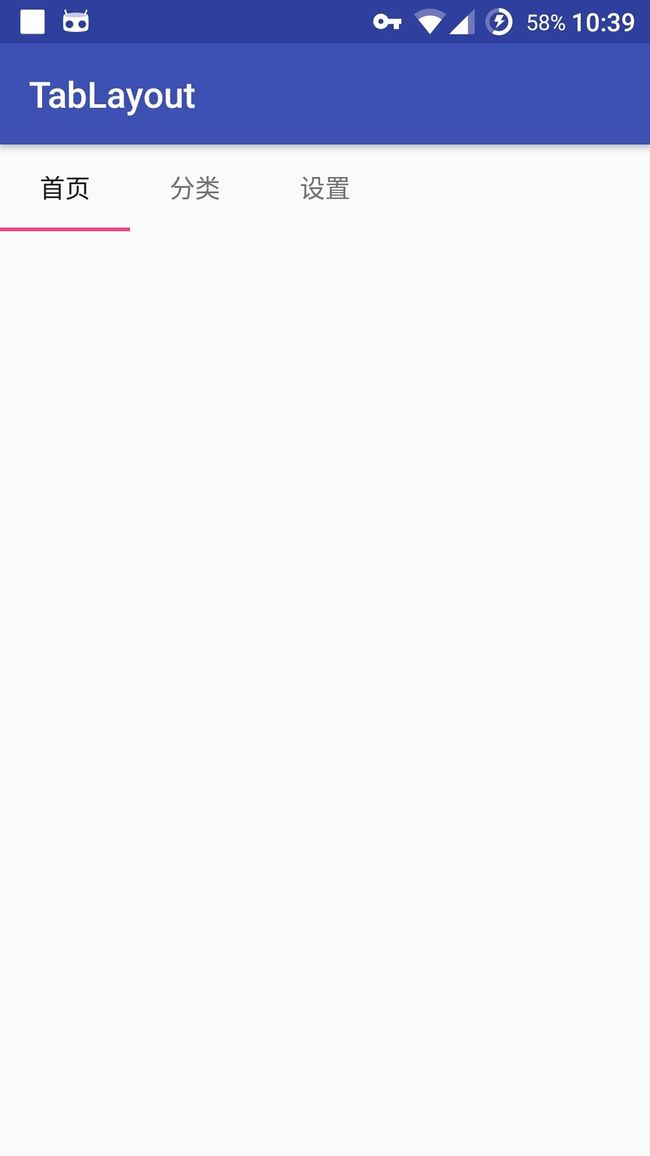
可滑动
app:tabMode="scrollable"
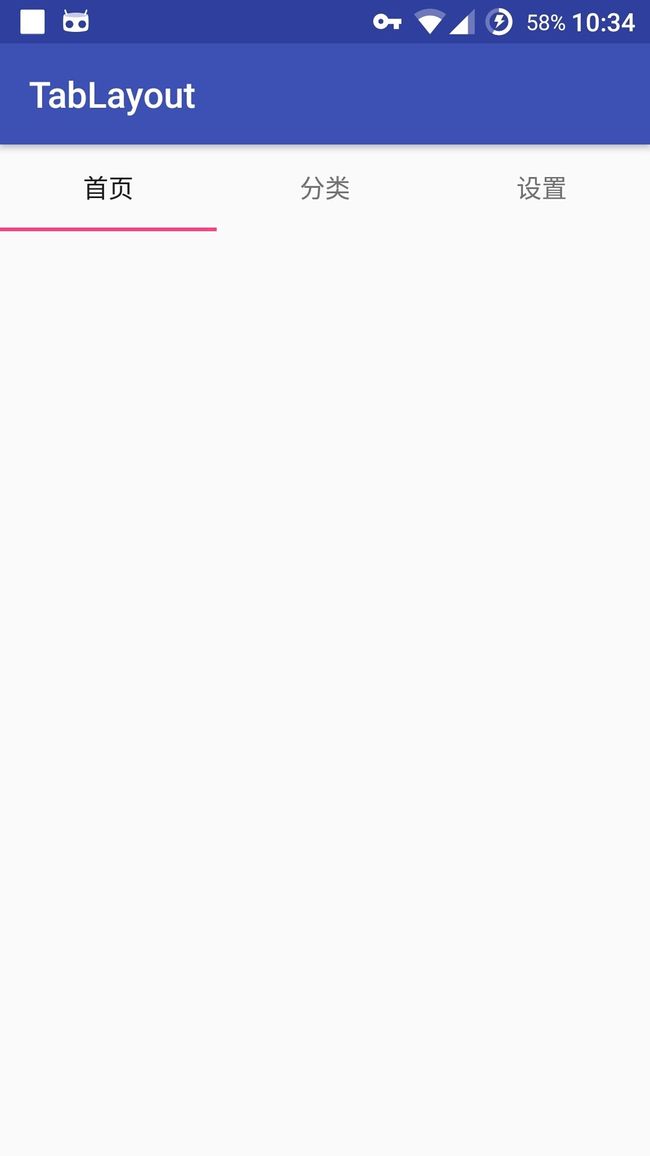
固定
app:tabMode="fixed"
指示器选项
app:tabIndicatorHeight="10dp"	//指示器高度
app:tabIndicatorColor="@color/colorPrimary"	// 指示器颜色
文字选项
app:tabSelectedTextColor="#ffffff"	// 选择的Tab的文字颜色
app:tabTextColor="#000000"	// 未选择的Tab文字颜色
app:tabTextAppearance="@style/Base.TextAppearance.AppCompat.Large" // 文字样式
背景设置
两者没什么区别
android:background="@color/colorAccent"	// 背景
app:tabBackground="@color/colorPrimary" //背景
标签距离
app:tabPaddingStart="10dp"
app:tabPaddingBottom="10dp"
app:tabPadding="10dp"
app:tabPaddingEnd="10dp"
app:tabPaddingTop="10dp"
对齐方式
居中显示
app:tabGravity="center"
填充
app:tabGravity="fill"
偏移
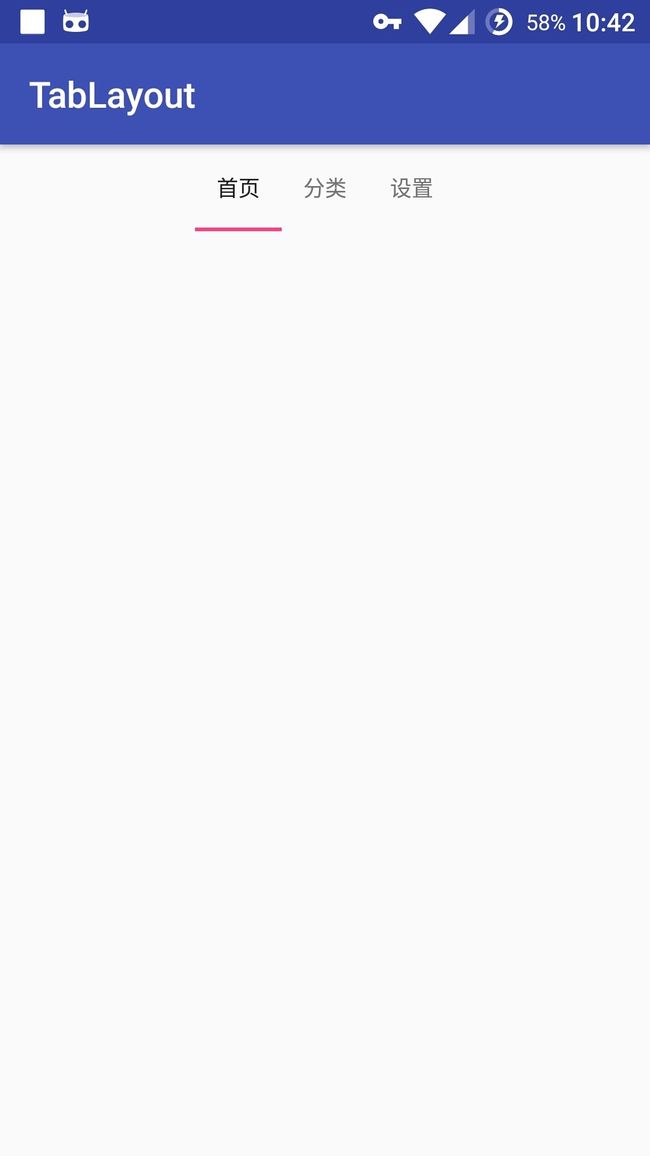
从左边开始偏移距离, 必须是可滑动的模式 scrollable
app:tabContentStart="200dp"
![]()
标签宽度限制
最大宽度
app:tabMaxWidth="50dp"
最小宽度
app:tabMinWidth="100dp"
代码
TabLayout提供的方法
标签
创建标签
TabLayout.TabnewTab()
添加标签, 只有添加后才能显示
voidaddTab(TabLayout.Tab tab)

void addTab (TabLayout.Tab tab,
                int position)

void addTab (TabLayout.Tab tab,
                boolean setSelected)

void addTab (TabLayout.Tab tab,
                int position,
                boolean setSelected)
删除标签
voidremoveTab(TabLayout.Tab tab)
通过索引删除标签
voidremoveTabAt(intposition)
删除全部标签
voidremoveAllTabs()
得到标签
TabLayout.TabgetTabAt(intindex)
得到标签总数
intgetTabCount()
设置样式
指示器
voidsetSelectedTabIndicatorColor(intcolor)// 指示器颜色
void setSelectedTabIndicatorHeight (intheight) // 指示器高度
标签文本
voidsetTabTextColors(intnormalColor, // 正常颜色
                int selectedColor) // 选择状态颜色

void setTabTextColors (ColorStateList textColor) // 状态颜色
显示模式
这个之前属性里面介绍过了
intgetTabMode()
void setTabMode (intmode)
mode:
- MODE_SCROLLABLE
- MODE_FIXED
对齐方式
voidsetTabGravity(intgravity)
int getTabGravity ()
添加View
不止是添加标签Tab还可以直接添加View
voidaddView(View child)

void addView (View child,
                int index)

void addView (View child,
                ViewGroup.LayoutParams params)

void addView (View child, // View对象
                int index, // 位置索引
                ViewGroup.LayoutParams params) // 布局参数
得到当前选择的位置
intgetSelectedTabPosition()
监听器
选择监听器
该方法已经被废弃, 不推荐使用.
voidsetOnTabSelectedListener(TabLayout.OnTabSelectedListener listener)
替代的方法是
voidaddOnTabSelectedListener(TabLayout.OnTabSelectedListener listener)
该监听器用完后需要删除
voidremoveOnTabSelectedListener(TabLayout.OnTabSelectedListener listener)
一次性删除所有添加的选择监听器
voidclearOnTabSelectedListeners()
Tab
该类是TabLayout的内部类, 表示TabLayout中的每一个标签. 我将介绍这个类的所有方法
判断是否被选择
booleanisSelected()
设置为被选择状态
voidselect()
描述内容
如果你没用设置描述内容, 默认的是标签的标题
TabLayout.TabsetContentDescription(intresId)// 用strings id的
TabLayout.Tab setContentDescription (CharSequence contentDesc)
CharSequence getContentDescription ()
自定义标签的内容
每个标签可以尽情的自定义视图
TabLayout.TabsetCustomView(intresId)
TabLayout.Tab setCustomView (View view)
标签的标签
给Tab设置tag, 然后就可以通过tag得到Tab
TabLayout.TabsetTag(Object tag)
Object getTag ()
添加图标
TabLayout.TabsetIcon(Drawable icon)
TabLayout.Tab setIcon (intresId)
Drawable getIcon ()
标题的文字
TabLayout.TabsetText(intresId)
TabLayout.Tab setText (CharSequence text)
CharSequence getText ()
当前标签位置
intgetPosition()
关联ViewPager
![]()
TabLayout和ViewPager配合使用是最常见的运用方式, 可以说量身打造. 这里我将介绍两种方式.
两者配合使用后TabLayout就不能通过自己创建Tab了, 需要PagerAdapter中实现 getPagerTitle() 方法返回标签的文字. 标签的数量有ViewPager的分页数量决定.
布局中嵌套
布局
"@+id/viewpager"
    android:layout_width="match_parent"
    android:layout_height="match_parent">

    "@+id/tab_layout"
        android:layout_width="match_parent"
        android:layout_height="wrap_content"/>
代码
public classMainActivityextendsAppCompatActivity{

    @BindView(R.id.tab_layout)
    TabLayout mTabLayout;
    @BindView(R.id.viewpager)
    ViewPager mViewpager;
    private ArrayList mList;
    private String[] mTitle;

    @Override
    protectedvoidonCreate(Bundle savedInstanceState){
        super.onCreate(savedInstanceState);
        setContentView(R.layout.activity_main);
        ButterKnife.bind(this);

        initData();

        mViewpager.setAdapter(new PagerAdapter() {
            @Override
            publicintgetCount(){
                return mList.size();
            }

            @Override
            publicbooleanisViewFromObject(View view, Object object){
                return view == object;
            }

            @Override
            publicObjectinstantiateItem(ViewGroup container,intposition){
                View view = mList.get(position);
                container.addView(view);
                return view;
            }

            @Override
            publicvoiddestroyItem(ViewGroup container,intposition, Object object){
                container.removeView((View) object);
            }

            @Override
            publicCharSequencegetPageTitle(intposition){
                return mTitle[position];
            }
        });
    }

    privatevoidinitData(){
        View viewpagerA = getLayoutInflater().inflate(R.layout.viewpager_a, null);
        View viewpagerB = getLayoutInflater().inflate(R.layout.viewpager_b, null);
        View viewpagerC = getLayoutInflater().inflate(R.layout.viewpager_c, null);

        mList = new ArrayList<>();
        mList.add(viewpagerA);
        mList.add(viewpagerB);
        mList.add(viewpagerC);

        mTitle = new String[]{"首页", "分类", "设置"};
    }
布局中关联
如果布局没有嵌套
"@+id/tab_layout"
    android:layout_width="match_parent"
    android:layout_height="wrap_content"/>

"@+id/viewpager"
    android:layout_width="match_parent"
    android:layout_height="match_parent"/>
就需要在ViewPager设置PagerAdapter之前关联两者
mTabLayout.setupWithViewPager(mViewpager);
虽然配合ViewPager后TabLayout创建的Tab并不能正常显示, 因为setupWithViewPager内部方法是先删除所有的标签再添加.
但是还是可以通过 getTabAt() 得到标签之后进行修改.


