iOS 布局篇(二) Masonry 使用与说明
对于iOS 开发来说,很多时候,我们用不到原生的开发语言去开发,使用第三方框架,能帮我们节省很多的时间,而且看起来更加的清晰易懂,VFL 语言看起来和维护起来都比较麻烦,而且出错率比较高,感谢大神提供的 Masonry 提供的布局框架。github 地址为:Masonry github 地址
如果想要使一个 view 离它的 superView 上下左右边距各为10的话,如果用 VFL 标记语言,起码要添加两个约束,还需要设置 view 的translatesAutoresizingMaskIntoConstraints 等等,最后还要把约束 add 到 superview 上,是不是很麻烦,那看看 Masonry 是怎么处理的吧
UIEdgeInsets padding = UIEdgeInsetsMake(10, 10, 10, 10);
    [view mas_makeConstraints:^(MASConstraintMaker *make) {
        make.top.equalTo(self.mas_top).with.offset(padding.top); //with is an optional semantic filler
        make.left.equalTo(self.mas_left).with.offset(padding.left);
        make.bottom.equalTo(self.mas_bottom).with.offset(-padding.bottom);
        make.right.equalTo(self.mas_right).with.offset(-padding.right);
    }];
是不是看起来简洁大方啊
那么现在来看看这些基本支持的属性吧
 /**
 *  The following properties return a new MASViewConstraint
 *  with the first item set to the makers associated view and the appropriate MASViewAttribute
 */
@property (nonatomic, strong, readonly) MASConstraint *left; //左侧
@property (nonatomic, strong, readonly) MASConstraint *top;  //上侧
@property (nonatomic, strong, readonly) MASConstraint *right; //右侧
@property (nonatomic, strong, readonly) MASConstraint *bottom;  //下侧
@property (nonatomic, strong, readonly) MASConstraint *leading; //首部
@property (nonatomic, strong, readonly) MASConstraint *trailing; //尾部
@property (nonatomic, strong, readonly) MASConstraint *width;   //宽
@property (nonatomic, strong, readonly) MASConstraint *height;  //高
@property (nonatomic, strong, readonly) MASConstraint *centerX; 横向中心点
@property (nonatomic, strong, readonly) MASConstraint *centerY; //纵向中心点
@property (nonatomic, strong, readonly) MASConstraint *baseline; //文本基线
好了,我们把刚刚的官方示例运用到咱们代码里面看看是不是和我们想象的效果是一样的呢
创建了一个 redview
然后关键代码如下:
///先将控件添加到视图上 我这里采用的是懒加载
    [self.view addSubview:self.redView];

    UIEdgeInsets padding = UIEdgeInsetsMake(10, 10, 10, 10);
    [self.redView mas_makeConstraints:^(MASConstraintMaker *make) {
                       make.top.equalTo(self.view.mas_top).with.offset(padding.top); //with is an optional semantic filler
        make.left.equalTo(self.view.mas_left).with.offset(padding.left);
        make.bottom.equalTo(self.view.mas_bottom).with.offset(-padding.bottom);
        make.right.equalTo(self.view.mas_right).with.offset(-padding.right);
    }];
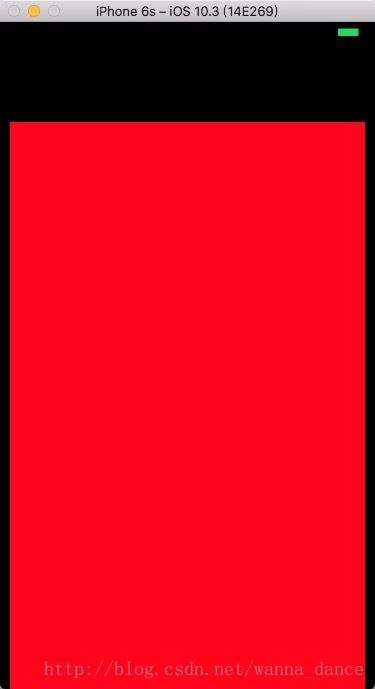
运行结果如下
我们可以看到 和我们想象的结果是一样的,离superView 也就是 self.view 边距上下左右各为10
现在我们换一种方式,中心点等于superView的中心,宽是self.view 的 width - 20 高是 self.view 的 height - 20 看看是否也是一样的效果
主要的代码如下:
 [self.redView mas_makeConstraints:^(MASConstraintMaker *make) {
        make.centerX.mas_equalTo(self.view.mas_centerX); //with is an optional semantic filler
        make.centerY.mas_equalTo(self.view.mas_centerY);
        make.width.mas_equalTo(self.view.frame.size.width - 20);
        make.height.mas_equalTo(self.view.frame.size.height - 20);
    }];
我们运行会发现,结果是一样的
这里我遇见一个问题,当我把
 make.centerX.mas_equalTo(self.view.mas_centerX);
 make.centerY.mas_equalTo(self.view.mas_centerY);
这两行替换成
make.centerX.mas_equalTo(self.view.center.x);
make.centerY.mas_equalTo(self.view.center.y);
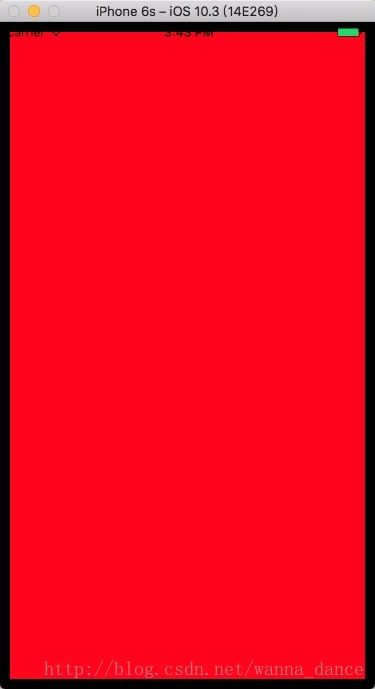
结果运行效果如下
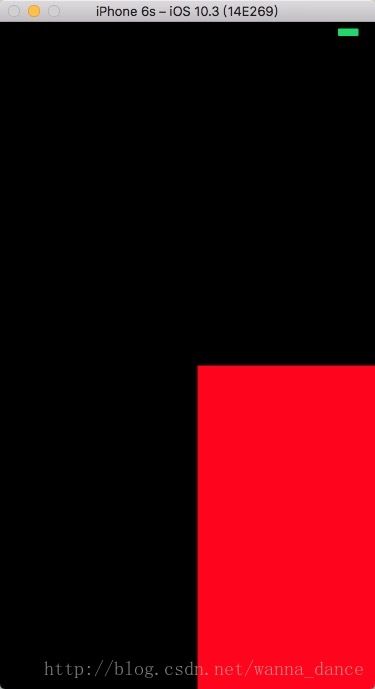
发现 redview 的起始点居然是以 self.view.center.x+10开始的,所以经过多次尝试后 发现
make.centerX.mas_equalTo(偏移量)
make.centerX.mas_equalTo(0)表示居中
- (NSArray *)mas_makeConstraints:(void(^)(MASConstraintMaker *make))block;
- (NSArray *)mas_updateConstraints:(void(^)(MASConstraintMaker *make))block;
- (NSArray *)mas_remakeConstraints:(void(^)(MASConstraintMaker *make))block;
/*
mas_makeConstraints 只负责新增约束 Autolayout不能同时存在两条针对于同一对象的约束 否则会报错
mas_updateConstraints 针对上面的情况 会更新在block中出现的约束 不会导致出现两个相同约束的情况
mas_remakeConstraints 则会清除之前的所有约束 仅保留最新的约束
三种函数善加利用 就可以应对各种情况了
*/
使用到这里,细心的同学们应该会发现,在使用的时候有一个mas_equalTo和一个 equalTo,那么两者之间有什么区别呢,我们点进去看mas_equalTo 会发现其实是一个宏定义
#define mas_equalTo(...) equalTo(MASBoxValue((__VA_ARGS__)))是对 MASBoxValue 的一层包装点进去看会发现MASBoxValue对一系列的参数做了包装 包装成了NSValue对象和NSNumber对象
在这里介绍一下 优先级的使用
.priorityHigh <======> UILayoutPriorityDefaultHigh     高优先级

.priorityMedium <========> between high and low        介于高/低之间

.priorityLow <=========> UILayoutPriorityDefaultLow   低优先级

make.left.greaterThanOrEqualTo(label.mas_left).with.priorityLow();
make.top.equalTo(label.mas_top).with.priority(600);
具体示例代码如下:
[self.redView mas_makeConstraints:^(MASConstraintMaker *make) {
        make.width.mas_equalTo(self.view.frame.size.width - 20);
        make.height.mas_equalTo(self.view.frame.size.height - 20);
        ///这里设置了优先级
        make.top.mas_equalTo(100).with.priority(600);
        make.centerX.mas_equalTo(self.view);
        ///这里的优先级比上面 top 的优先级低,所以这个约束会被忽略
        make.centerY.mas_equalTo(self.view).with.priority(500);
}];等比例自适应
.multipliedBy 允许你指定一个两个视图的某个属性等比例变化
item1.attribute1 = multiplier × item2.attribute2 + constant,此为约束的计算公式, .multipliedBy本质上是用来限定multiplier的
注意,因为编程中的坐标系从父视图左上顶点开始,所以指定基于父视图的left或者top的multiplier是没有意义的,因为父视图的left和top总为0.
如果你需要一个视图随着父视图的宽度和高度,位置自动变化,你应该同时指定 right,bottom,width,height与父视图对应属性的比例(基于某个尺寸下的相对位置计算出的比例),并且constant必须为0.
// 指定宽度为父视图的 1/4.
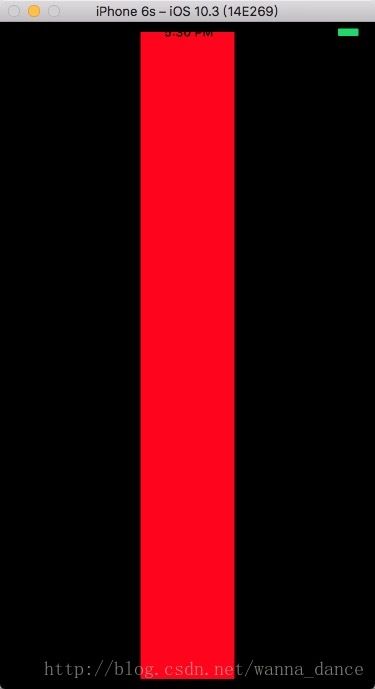
make.width.equalTo(superview).multipliedBy(0.25);示例代码如下
[self.redView mas_makeConstraints:^(MASConstraintMaker *make) {
        make.width.equalTo(self.view).multipliedBy(0.25);
        make.height.mas_equalTo(self.view.frame.size.height - 20);
        make.centerX.mas_equalTo(self.view);
        make.centerY.mas_equalTo(self.view);
}];还有 Masonry 使用了很多简洁的语法使代码量减少
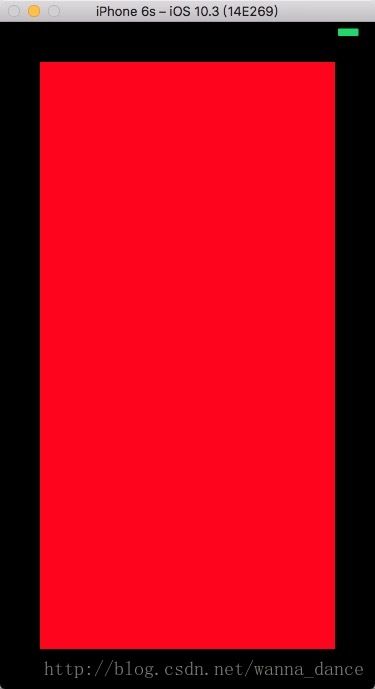
1.edges 边界
    [self.redView mas_makeConstraints:^(MASConstraintMaker *make) {
        make.edges.equalTo(self.view).insets(UIEdgeInsetsMake(40, 40, 40, 40));
    }];
2.size 尺寸
示例代码如下:
[self.redView mas_makeConstraints:^(MASConstraintMaker *make) {
        make.top.mas_equalTo(0);
        make.left.mas_equalTo(0);
        make.size.equalTo(self.view).sizeOffset(CGSizeMake(-200, -200));
    }];
运行结果如下
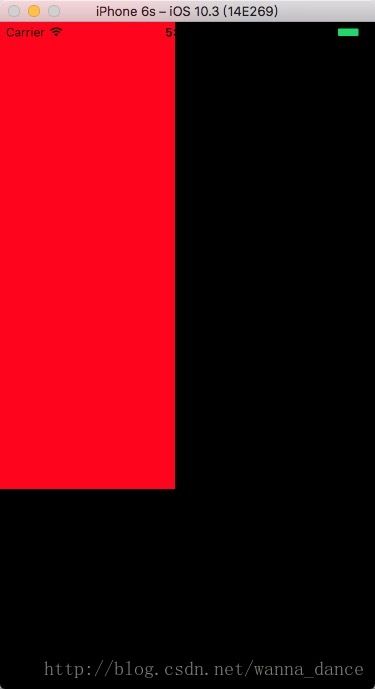
我们会发现 这个 redview 的 size 等于 self.view的宽 高 各减去200
好了 masonry 的使用学习方法就暂且告一段落,日后有复杂的布局使用到 masonry 来布局的话,我们可以继续贴出代码来分析与布局哦
