springboot构建多模块项目(最详细附带源码)
文章目录
- 1. 首先新建一个springboot父项目
- 2.然后我们开始建立子工程
- 3. 测试
- 4. 源码下载
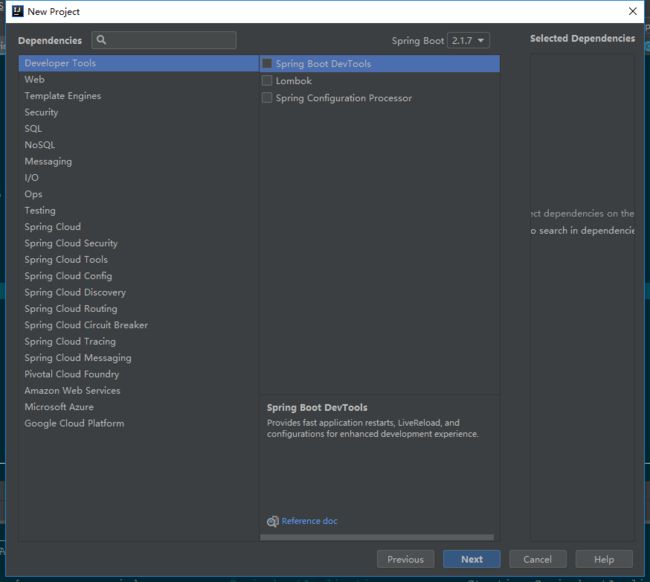
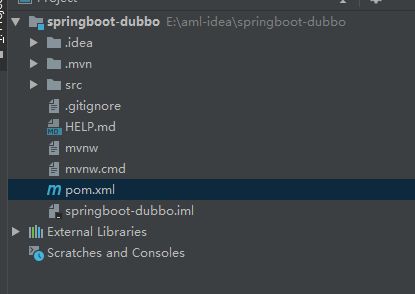
1. 首先新建一个springboot父项目
- 这里不选择其他的,直接next就好了,后续需要再添加
2.然后我们开始建立子工程
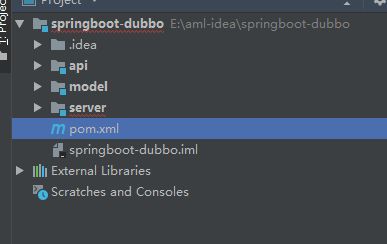
继续创建2个module,分别为module和server
<?xml version="1.0" encoding="UTF-8"?>
<project xmlns="http://maven.apache.org/POM/4.0.0" xmlns:xsi="http://www.w3.org/2001/XMLSchema-instance"
         xsi:schemaLocation="http://maven.apache.org/POM/4.0.0 https://maven.apache.org/xsd/maven-4.0.0.xsd">
    <modelVersion>4.0.0</modelVersion>
    <packaging>pom</packaging>
      <!--这里可以看到三个子模块-->
    <modules>
        <module>api</module>
        <module>model</module>
        <module>server</module>
    </modules>

    <parent>
        <groupId>org.springframework.boot</groupId>
        <artifactId>spring-boot-starter-parent</artifactId>
        <version>2.1.7.RELEASE</version>
        <relativePath/> <!-- lookup parent from repository -->
    </parent>
    <groupId>com.baidu</groupId>
    <artifactId>springboot-dubbo</artifactId>
    <version>0.0.1-SNAPSHOT</version>
    <name>springboot-dubbo</name>
    <description>Demo project for Spring Boot</description>

    <properties>
        <java.version>1.8</java.version>
    </properties>

    <dependencies>
        <dependency>
            <groupId>org.springframework.boot</groupId>
            <artifactId>spring-boot-starter</artifactId>
        </dependency>

        <dependency>
            <groupId>org.springframework.boot</groupId>
            <artifactId>spring-boot-starter-test</artifactId>
            <scope>test</scope>
        </dependency>

    </dependencies>

    <build>
        <plugins>
            <plugin>
                <groupId>org.springframework.boot</groupId>
                <artifactId>spring-boot-maven-plugin</artifactId>
            </plugin>
        </plugins>
    </build>

</project>
3. 测试
model工程是我们放实体类和xml实现的地方
我们首先创建一个测试实体类user

public class User {
    private String name;
    private Integer age;
	//省略get set方法

}
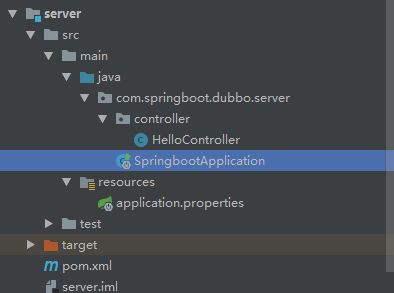
server是我们逻辑处理和controller存放的地方
首先我们在父pom中添加web依赖,即springboot-dubbo的pom:
<!--引入SpringBoot-WEB模块-->
        <dependency>
            <groupId>org.springframework.boot</groupId>
            <artifactId>spring-boot-starter-web</artifactId>
        </dependency>
    </dependencies>
这里防止端口被占用我们设置下端口号:
新建配置文件 application.properties
server.port=8083
SpringbootApplication
@SpringBootApplication
public class SpringbootApplication {

    public static void main(String[] args) {
        SpringApplication.run(SpringbootApplication.class, args);
    }
}
@Controller
@RequestMapping("user")
public class HelloController {

    @RequestMapping("/printUser")
    @ResponseBody
    public User printUser(User user) {

        return user;
    }
}
这里可以我们会报错,引入不了User这个类
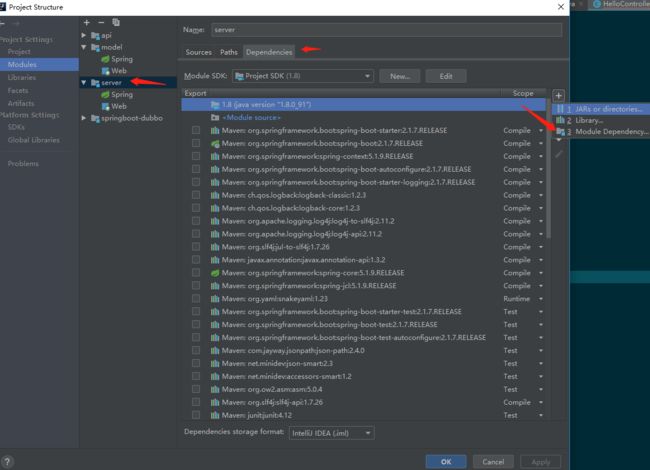
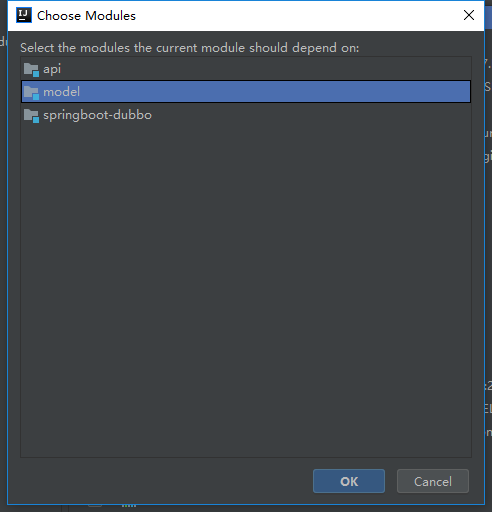
因为我们要设置server依赖于工程model,server工程右键

然后apply
这时我们就可以导入User这个类了
但是因为我们是maven项目这种设置我们下次启动还是回丢失对Model的引用,所以我们需要在pom中引入对model的依赖
在server pom中添加如下依赖
<dependencies>

        <dependency>
            <groupId>com.baidu</groupId>
            <artifactId>model</artifactId>
            <version>${project.parent.version}</version>
        </dependency>
    </dependencies>
然后我们开始启动测试
启动 SpringbootApplication
然后看见控制台输出:

可以看到端口号配置生效
然后再浏览器访问:http://localhost:8083/user/printUser?name=‘你好’&age=666
至此多模块springboot项目构建完成
4. 源码下载
源码下载


