python爬虫实战1-基础代码篇1
1.爬取百度贴吧内容
import urllib.request
url = "http://tieba.baidu.com"
response = urllib.request.urlopen(url)
html = response.read() #获取页面源代码
print(html.decode('utf-8')) #转换为utf-8
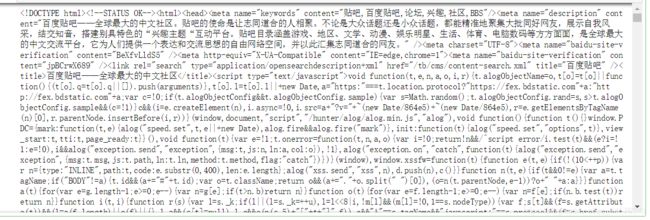
爬虫结果展示:
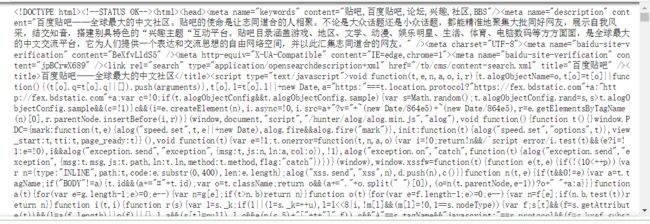
1.urllib是python标准库中用于网络请求的库,有四个模块,urllib.request、urllib.error、urllib.parse、urllib.robotparser.
urlopen() :模拟浏览器发起HTTP请求,需要用到urllib.request模块,urllib.request不仅是发起请求,还能获取请求返回结果。
2.爬虫设置超时代码演示
在访问网页时常常会遇到这种情况,因为某些原因,如自己的计算机网络慢或者服务器压力大奔溃,导致请求是迟迟无法得到响应。应对这种情况,就需要我们在requests.urlopen()中通过timeout参数设置超时时间。
import urllib.request
url = "http://tieba.baidu.com"
response = urllib.request.urlopen(url,timeout=1)
print(response.read().decode("utf-8"))
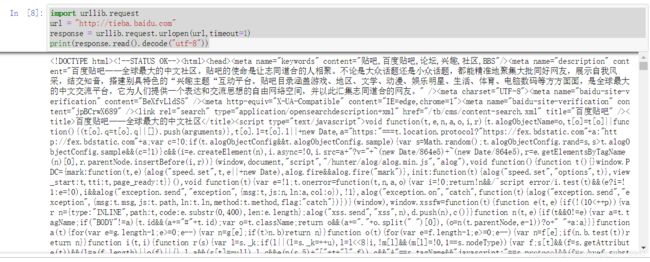
爬虫结果展示:
4.data被转换成字节流,而data是一个字典,需要使用urllib.parse.urlencode( )将字典转换为字符串,再使用byte()函数转换为字节流, 最后使用urlopen()发起请求,请求是模拟post方式提交表单数据。
字典转换成字节流
import urllib.parse
import urllib.request

data = bytes(urllib.parse.urlencode({'word':'hello'}),encoding = 'utf-8')
response = urllib.request.urlopen('http://httpbin.org/post',data = data)
print(response.read())
5.request类构件请求
例如我们简单请求一下百度贴吧(http://tieba.baidu.com),使用requests伪装成浏览器发起HTTP请求,如果不设置headers中的User-Agent,默认的User-Agent是python-urllib/3.7.因为可能一些网站将改请求拦截,所以需要伪装成浏览器发起请求。
import urllib.request

url = "http://tieba.baidu.com"
headers = {
    'User-Agent':'Mozilla/5.0(windows NT 6.1:win64;x64)AppleWebkit/'
    '537.36(kHTML,like Gecko)Chrome/56.0.2924.87Safari/537.36'
}
request = urllib.request.Request(url=url,headers=headers)
response = urllib.request.urlopen(request)
print(response.read().decode("utf-8"))
6.认证登录
有些网站需要携带账号和密码进行登录之后才能继续浏览网页,遇到这样的问题,就需要用到认证登录,首先使用HTTPPasswordMgrWithDefaultRealm()实例化一个账号密码对象,然后使用
add_password()函数进行添加账号和密码,接着使用HTTPBasicAuthHandler()得到hander;在进行build_opener()获取Opener
对象,最后使用Opener对象,最后使用Opener的open函数发起请求,下面以携带账号和密码登录的百度贴吧为例:
import urllib.request

url = "http://tieba.baidu.com"
user = "test_user"
password = 'test_password'
pwdmgr = urllib.request.HTTPPasswordMgrWithDefaultRealm()
pwdmgr.add_password(None,url,user,password)
auth_handler = urllib.request.HTTPBasicAuthHandler(pwdmgr)
opener = urllib.request.build_opener(auth_handler)
response = opener.open(url)
print(response.read().decode('utf-8'))
如果请求的页面每次都是需要身份验证,那么就可以使用Cookie自动登陆,免去重复登陆验证的操作。
获取请求百度贴吧的Cookie并保存文件中为例;
7.cookie设置
import http.cookiejar
import urllib.request

url = "http://tieba.baidu.com"
fileName = 'cookie.txt'
cookie = http.cookiejar.CookieJar()
handler = urllib.request.HTTPCookieProcessor(cookie)
opener = urllib.request.build_opener(handler)
response = opener.open(url,timeout=1)

f= open(fileName,'a')
for item in cookie:
    f.write(item.name+"="+item.value+'\n')
f.close()
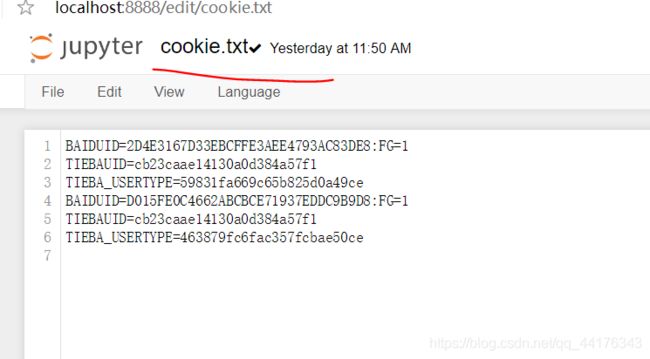
#运行结果见cookie.txt文件
8.怎么输出爬虫状态码,编码
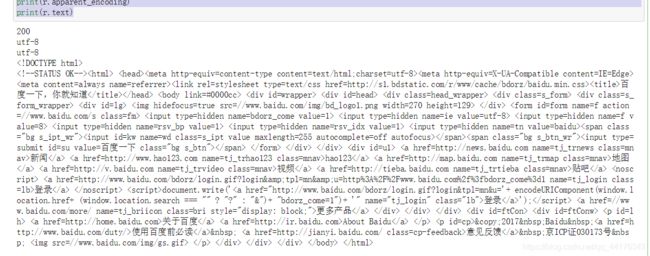
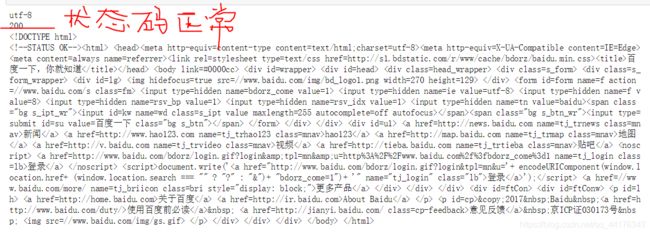
状态码:即当输出状态码为200,表示正常,404,等表示发生异常;
import requests

r=requests.get("http://www.baidu.com")
r.encoding = r.apparent_encoding
print(r.status_code) #状态码
print(r.encoding)#编码
print(r.apparent_encoding)
print(r.text)
9.异常处理1
import requests
try:
    r = requests.get("http://www.baidu.com")
    r.raise_for_status()
    r.encoding = r.apparent_encoding
    print(r.encoding)#编码
    print(r.status_code)
    print(r.text)
except:
    print("产生异常")
异常处理2
import requests
keyword = 'python'
try:
    kv = {'wd':keyword}
    r = requests.get('https://www.baidu.com/s',params = kv)
    r.raise_for_status()
    r.encoding = r.apparent_encoding
    print(len(r.text))
except:
    print("失败")
运行结果展示:

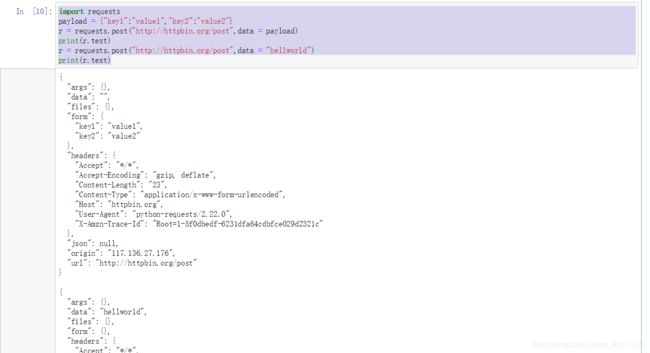
10.requests.post()一般用于表单提交,向指定的URL提交数据,可提交字符串,字典,文件等数据。
import requests
payload = {"key1":"value1","key2":"value2"}
r = requests.post("http://httpbin.org/post",data = payload)
print(r.text)
r = requests.post("http://httpbin.org/post",data = "hellworld")
print(r.text)
常见问题:
异常处理中的except的作用和用法?
执行try语句,如果引发异常,则会执行跳转到except语句,对每个except分支顺序尝试执行,如果引发的异常与except中的异常相匹配,则执行响应的语句,如果所有的except语句都不匹配,则异常会传递到下一个调用本代码最高的try代码中;


