Libreoffice online集成开发
libreoffice online版本主页:https://www.collaboraoffice.com/code/
现在为开发版本,资料很少,边探索,边研究。
- CODE VM (706 MB) 连接:https://s3-eu-west-1.amazonaws.com/collabora-online-development-edition/CODE-VM/codevm.x86_64-0.9.1.vmdk.bz2
-
For more detailed and pretty instructions on integrating with various partner solutions please see (in alphabetical order):
Nextcloud Setup Instructions (Apache & Nginx)
ownCloud – A virtual machine of CODE bundled with a demo ownCloud server: CODE VM (706 MB) (torrent file) and Setup Instructions.
How to setup your CODE Virtual Machine
- Download CODE and extract the file (it contains the hard disk for the virtual machine)
- Start your VirtualBox
- Create an openSUSE x86_64 machine
- Import the hard disk: “codevm.x86_64-0-9-1.vmdk”
- Set the network settings of the virtual machine to: “Bridged Adapter”.
Note: You may not want your CODE VM accessed externally and/or you may have to run it without internet connection. Bridged Adapter needs external network connection, it will not get IP address with DHCP otherwise. Host-only network does not need external network (internet) connection. To configure Host-only network: In VirtualBox, File -> Preferences -> Network -> Host-Only network tab. Then you can select the configured host-only network name for the VM. VM with Host-only network connection cannot see the internet. You can add a second interface which is using NAT. So CODE VM can download updates. Log in to CODE VM as root. ‘wicked show all’ shows network interfaces. You have to configure the 2nd (NAT) interface enp0s8 manually. In /etc/sysconfig/network copy ifcfg-enp0s3 to ifcgf-enp0s8. ‘wicked ifup all’ will bring up the 2nd (NAT) interface. Reboot. - Start the virtual machine

-
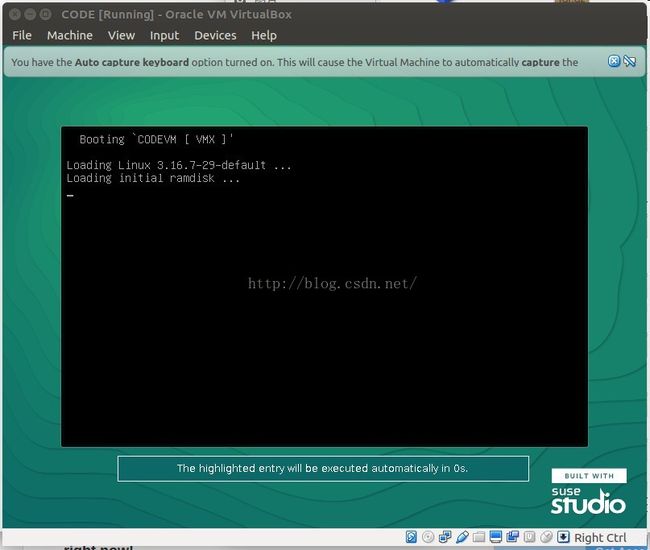
- When loaded, you will see the http://
to the demo server - Fire up your browser and enter that http://
/owncloud/ to start CODE - Enter with admin / admin
- In ownCloud select “Admin” from the top right dropdown menu, go to “Collabora Online” section, replace “http://localhost:9980” to “http://
:9980” and press “Apply” button.
- When loaded, you will see the http://
- Want to enter as the root user in the virtual machine? Enter with: root / skew25.kiwis
连接打开后显示如下界面,点添加信任跳转到http://owncloud/index.php/settings/admin?trustDomain=192.168.1.124,显示错误解界面
https://owncloud.org/install/#edition重新下载了一个vmdk文件,这回的链接能打开。
但是官方给的密码,ocadmin,owncloud仍然不能登录。
好在web端能登录。尝试连接CODE的docker
--------------------------------华丽的分割线----------------------------------
换个方式思想重新做
docker pull collabora/code得到collabora/code这个镜像。
sudo docker run --name code -i -t collabora/code /bin/bash
然后进入了collabora/code的docker中。
接着想办法运行docker镜像
---------------华丽的分割线-------------------------
看到了这个网页:https://ask.libreoffice.org/en/question/61874/libreoffice-online-doesnt-work/
点进去这个:http://www.offidocs.com,似乎是用libreoffice online做的在线预览编辑。测试连接:http://www.offidocs.com/loleaflet/dist/loleaflet.html?file_path=file:///var/www/html/cloudoffice/mydata/onlinedocsdemo02/AccessToLearning_Word_edit_online.docx&username=onlinedocsdemo02猜测是编译了git上的online代码,所以准备尝试。
下面具体步骤:
https://www.youtube.com/watch?v=3-NTTrSRaaw参考这个视频。
cd /opt/
sudo apt-get install git && sudo apt-get build-dep libreoffice
等待....700多MB。。。。。。
mkdir libreoffice && cd libreoffice
git clone git://anongit.freedesktop.org/libreoffice/core
cd core/
./autogen.sh --without-help --without-myspell-dicts
有报错执行:apt-cache search libkrb
sudo apt-get install libkrb5-dev
再执行
./autogen.sh --without-help --without-myspell-dicts
cd ../..
git clone http://github.com/Libreoffice/online.git
cd online
cd ..
sudo mv online/lo* /******把loleaflet,loolwsd 移动到和libreoffice一个层级**/
sudo rm -R online/
chown -R youname loleaflet
chown -R youname loolwsd
cd loolwsd/
sudo apt-get install libpng2-0 libpng12-dev libpacp0.8 libpacp0.8-dev libcunit libcunit1 libcunit1-dev
/*************www.collaboraoffice.com/apt-poco/*******************/
dbkg -i ~/Downloads/libpoco/*.deb
sudo apt-get install libtool
libtoolize
automake --add-missing
autoheader
automaker --add-missing
autoheader
autoreconf
./configure --enable-silent --with-lokit-path=/opt/loolwsd/bundles/include --with-lo-path=/opt/libreoffice/core/instdir --enable-debug
make
cd..
cd /opt/loleaflet/
sudo apt-get instal npm nodejs-legacy
sudo nmp install -g jake
make
sudo useradd loolwsd
chown -R loolwsd.loolwsd /opt/loolwsd
chown -R loolwsd.loolwsd /opt/loleaflet/
chown -R loolwsd.loolwsd /opt/libreoffice/
cd /ect
mkdir loolwsd
sudo mkdir loolwsd
sudo touch ca-chain.cert.pem
sudo touch cert.pem
sudo touch key.pem
openssl rsa -in key -enc.pem -out key.pem
cd /opt/loolwsd
sodu vi loolwsd.xml.in
sudo -u loolwsd nohub make run
************************///************
当我看docker中文件时候,无意中发现/opt中有collaboraoffice5.1这个文件,运行这个文件需要jdk,所以我准备安装一下jdk试试。
然后执行,显示失败。
根目录下发现一个文件,
start-liboreoffice.sh
然后chmod 777 start-libreoffice.sh
./start-libreoffice.sh start
有一个连接:
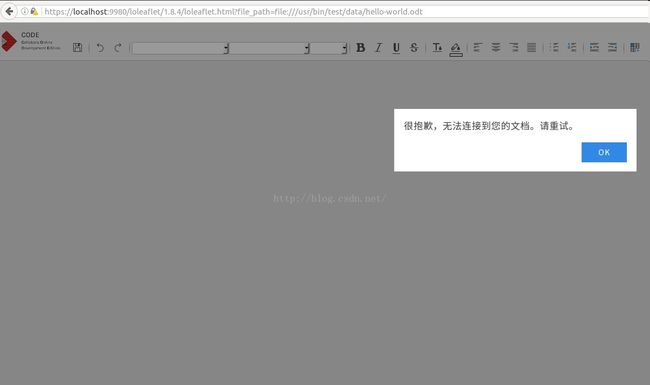
似乎是ssl配置不对。https://localhost:9980/loleaflet/1.8.4/loleaflet.html?file_path=file:///usr/bin/test/data/hello-world.odt
应该也算成功了吧。
然后突然想起
docker run -t -d -p 127.0.0.1:9980:9980 -e 'domain=' --restart always --cap-add MKNOD collabora/code 这句话,把yourdomain换成了127.0.0.1,相同。推测换成你的domain,然后加文件路径应该几可以了。
*********************************/*********************华丽的分割线**************************************
因为再ubuntu上有各种问题,所以准备在mac上重新做一边。
之前看到
apt-get install apache2a2enmod proxya2enmod proxy_wstunnela2enmod proxy_httpa2enmod ssl
这几个命令一直不知道什么意思
看视频配置虚拟主机也自动略过,也可能是yourdomain一直用nextcloud的原因,现在开始自己在本地配置一个虚拟主机。
http://jingyan.baidu.com/article/c85b7a646ad2a8003bac95f5.html
参考这个这个教程
1.sudo su
2.vim /etc/apache2/httpd.conf
3.将Include /private/etc/apache2/extra/httpd-vhosts.conf这行前的注释符号#去掉。
编辑httpd-vhosts.conf文件,输入命令:
vim /etc/apache2/extra/httpd-vhosts.conf
里面的yourdomain自己起名字了。
创建一个带有端口的容器
sudo docker run –-name *** -p **:8080 -i -t [imagename] /bin/bash
反复做了几遍尝试了,docker始终有各种各样的问题,所以决定放弃docker文件,从github上clone1.9.4版本的源码,自己编译。
./configure --enable-silent-rules --with-lokit-path=/opt/libreoffice/loolwsd/bundled/include \--with-lo-path=/opt/libreoffice/core/instdir --enable-debug \--with-poco-includes=/opt/poco/include --with-poco-libs=/opt/pocp/lib
poco一直有问题,所以自己下载的源码打包,然后加一个命令。之后在make
