Opencv(Python版)-3 鼠标作为画笔
学习如何在OpenCV中处理鼠标事件,并点击鼠标在窗口绘图。
学习以下函数:cv2.setMouseCallback(),cv2.getTrackbarPos(),cv2.createTrackbar()等。
都是官网的样例,跑跑知道是干什么的就好了。
双击鼠标画圆
import cv2
import numpy as np

# mouse callback function
def draw_circle(event,x,y,flags,param):
    if event == cv2.EVENT_LBUTTONDBLCLK:
        cv2.circle(img,(x,y),50,(255,0,0),-1)

# Create a black image, a window and bind the function to window
img = np.zeros((512,512,3), np.uint8)
cv2.namedWindow('image')
cv2.setMouseCallback('image',draw_circle)

while(1):
    cv2.imshow('image',img)
    if cv2.waitKey(20) & 0xFF == 27:
        break
cv2.destroyAllWindows()

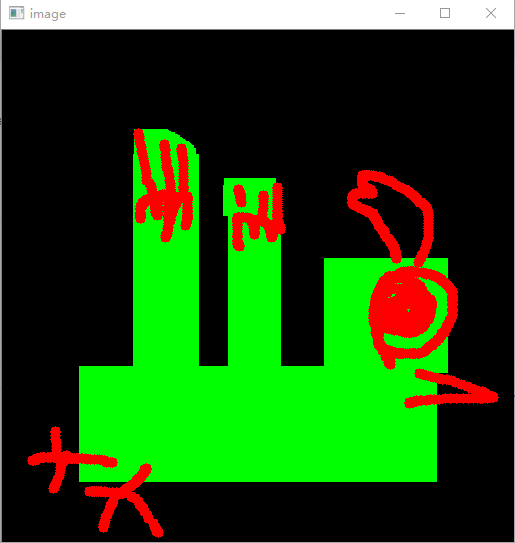
点击鼠标画矩形,m键切换到圆
import cv2
import numpy as np

drawing = False # true if mouse is pressed
mode = True # if True, draw rectangle. Press 'm' to toggle to curve
ix,iy = -1,-1

# mouse callback function
def draw_circle(event,x,y,flags,param):
    global ix,iy,drawing,mode

    if event == cv2.EVENT_LBUTTONDOWN:
        drawing = True
        ix,iy = x,y

    elif event == cv2.EVENT_MOUSEMOVE:
        if drawing == True:
            if mode == True:
                cv2.rectangle(img,(ix,iy),(x,y),(0,255,0),-1)
            else:
                cv2.circle(img,(x,y),5,(0,0,255),-1)

    elif event == cv2.EVENT_LBUTTONUP:
        drawing = False
        if mode == True:
            cv2.rectangle(img,(ix,iy),(x,y),(0,255,0),-1)
        else:
            cv2.circle(img,(x,y),5,(0,0,255),-1)

img = np.zeros((512,512,3), np.uint8)
cv2.namedWindow('image')
cv2.setMouseCallback('image',draw_circle)

while(1):
    cv2.imshow('image',img)
    k = cv2.waitKey(1) & 0xFF
    if k == ord('m'):
        mode = not mode
    elif k == 27:
        break

cv2.destroyAllWindows()
建立一个调色板
import cv2
import numpy as np

def nothing(x):
    pass

# Create a black image, a window
img = np.zeros((300,512,3), np.uint8)
cv2.namedWindow('image')

# create trackbars for color change
cv2.createTrackbar('R','image',0,255,nothing)
cv2.createTrackbar('G','image',0,255,nothing)
cv2.createTrackbar('B','image',0,255,nothing)

# create switch for ON/OFF functionality
switch = '0 : OFF \n1 : ON'
cv2.createTrackbar(switch, 'image',0,1,nothing)

while(1):
    cv2.imshow('image',img)
    k = cv2.waitKey(1) & 0xFF
    if k == 27:
        break

    # get current positions of four trackbars
    r = cv2.getTrackbarPos('R','image')
    g = cv2.getTrackbarPos('G','image')
    b = cv2.getTrackbarPos('B','image')
    s = cv2.getTrackbarPos(switch,'image')

    if s == 0:
        img[:] = 0
    else:
        img[:] = [b,g,r]

cv2.destroyAllWindows()
