windows C++编译使用protobuf
1、源码下载
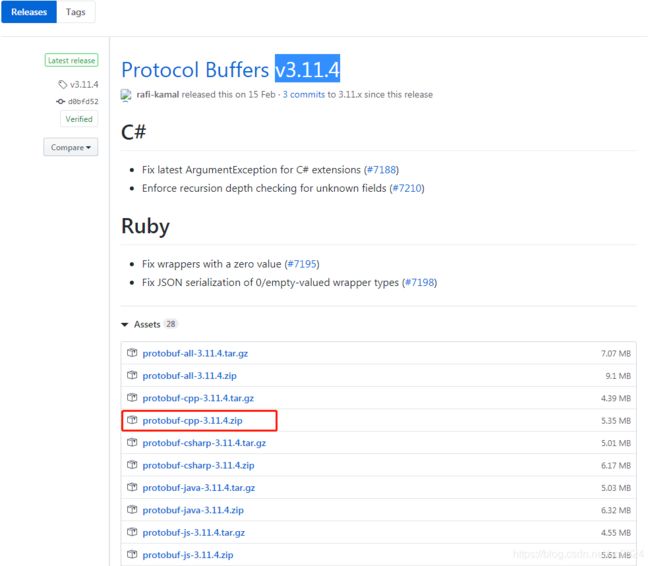
下载地址:https://github.com/protocolbuffers/protobuf/releases,目前最新版本为:v3.11.4
2、使用CMake生成VS工程
1)解压protobuf-cpp-3.11.4.zip,我的解压路径为E:\tools\protobuf\protobuf-3.11.4
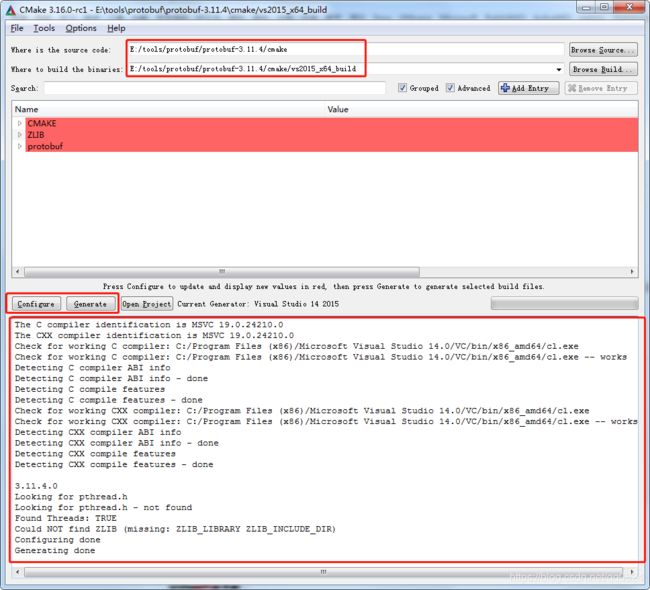
2)打开cmake
源码路径E:\tools\protobuf\protobuf-3.11.4\cmake
生成路径E:\tools\protobuf\protobuf-3.11.4\cmake\vs2015_x64_build(编译vs2015编译器的x64版本)
3、编译protobuf
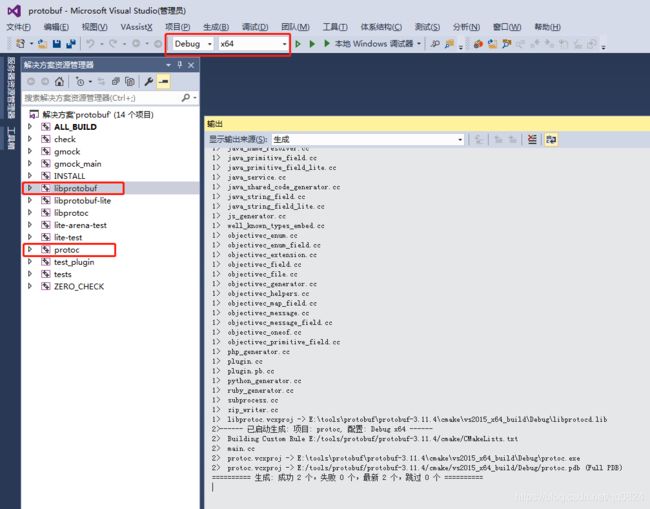
1)使用vs2015打开工程文件protobuf.sln
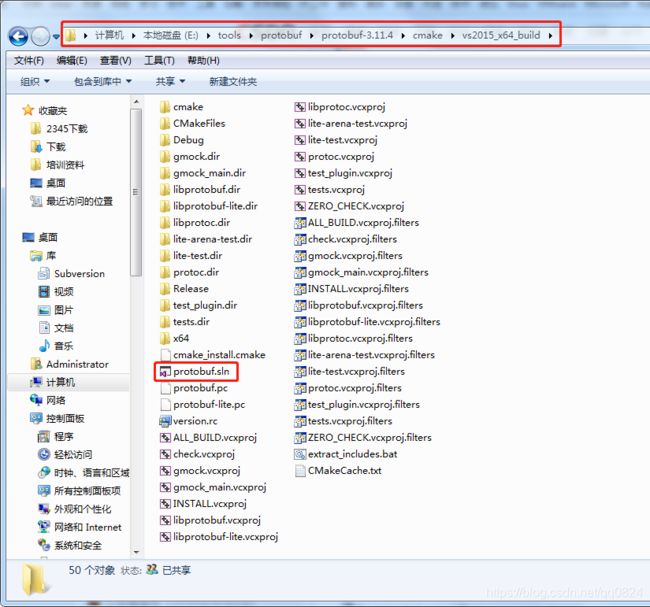
2)编译libprotobuf和protoc工程的Debug和Release平台的x86和x64版本
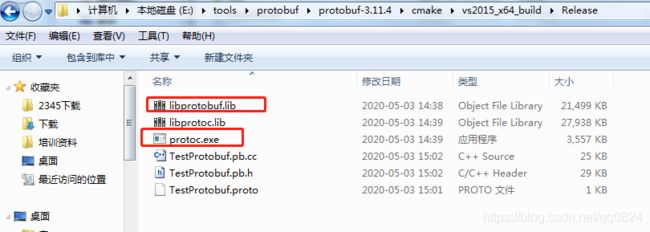
3)编译生成文件
libprotobufd.lib(Debug版)、libprotobuf.lib(Release版)、protoc.exe(编译*.proto文件)
4、生成***.pb.h和***.pb.cc文件
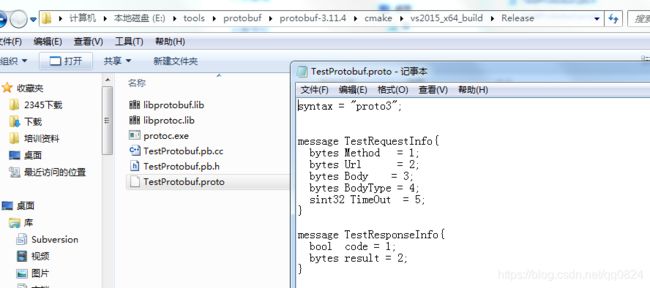
1)编写TestProtobuf.proto文件
syntax = "proto3";


message TestRequestInfo{
  bytes Method   = 1;
  bytes Url      = 2;
  bytes Body    = 3;
  bytes BodyType = 4;
  sint32 TimeOut  = 5;
}

message TestResponseInfo{
  bool  code = 1;
  bytes result = 2;
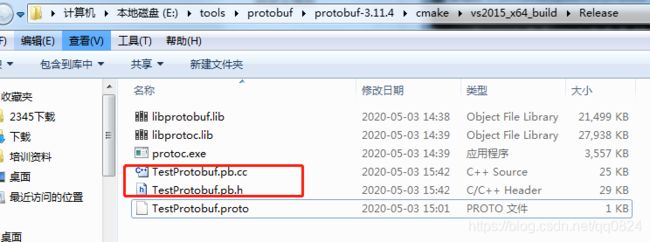
}2)编译TestProtobuf.proto文件,在protoc.exe目录下打开命令行并执行:protoc.exe --cpp_out=./ TestProtobuf.proto
--cpp_out是文件输出路径(./为当前路径),其他选项可以使用protoc --help查看
3)文件生成,生成的文件需要添加到项目工程中
5、使用范例
1)新建vs2015控制台应用程序,工程名:TestProtoBuf
2)将生成的TestProtobuf.pb.h和TestProtobuf.pb.cc拷贝到工程路径下,并添加到项目文件中
3)将E:\tools\protobuf\protobuf-3.11.4\src路径下的google目录整个拷贝到工程路径下
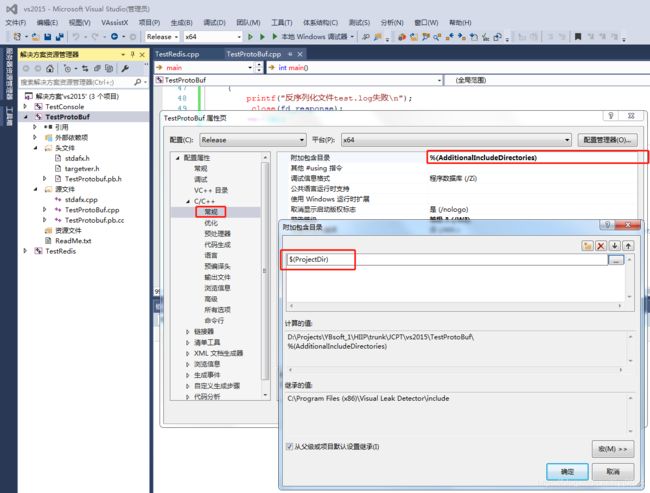
4)将google添加到工程中,TestProtobuf.pb.h会引用google目录下的文件
5)将libprotobufd.lib(Debug版)、libprotobuf.lib(Release版)拷贝到工程指定目录下,并在工程中引用
6)测试代码
// TestProtoBuf.cpp : 定义控制台应用程序的入口点。
//
#include "stdafx.h"
#include "TestProtobuf.pb.h"
#include
#include
#include
#include
using namespace std;
int main()
{
int fd_reuest = _open("./test.log", O_CREAT | _O_BINARY | _O_TRUNC | O_RDWR, 0644);
if (fd_reuest == -1)
{
printf("打开文件test.log失败\n");
exit(1);
}
printf("打开文件test.log成功\n");
TestRequestInfo requestInfo;
requestInfo.set_method("post");
requestInfo.set_url("127.0.0.1:8080");
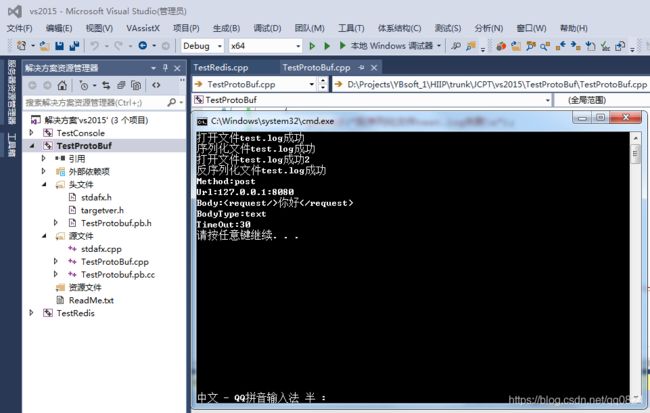
requestInfo.set_body(" 7)编译工程并运行
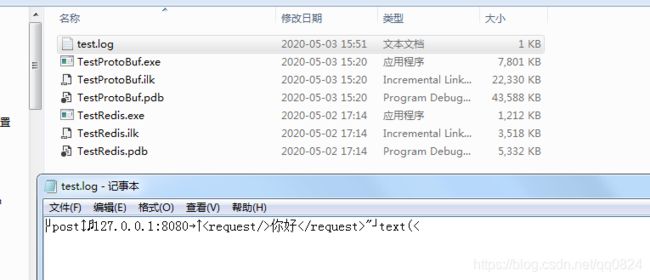
8)在程序目录下也生成了test.log文件
