Jupyter Notebook 主题库 jupyterthemes 安装和使用方法
原生的Jupyter Notebook界面主题如下:
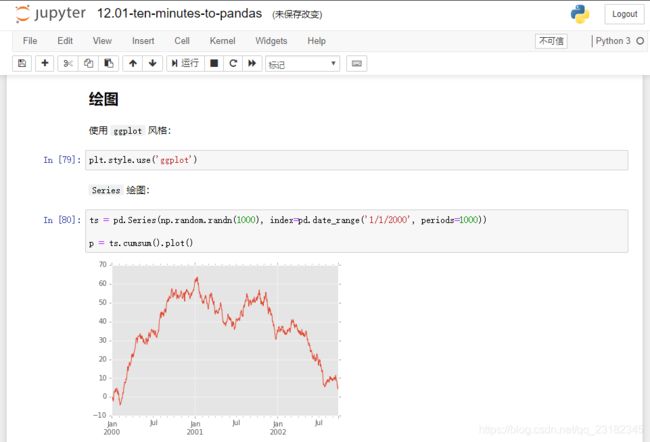
原生主题简洁大方那个,经典易用,但总是有人热衷于纯黑色的开发界面的。下面就带大家开始体验jupyterthemes
的各种个性主题。
第一步:安装、更新主题
1. 电脑WINOW+R键进入运行,输入CMD ,回车进入运行(terminal窗口)
2. 安装命令:pip install jupyterthemes
3. 更新命令:pip install --upgrade jupyterthemes

第二步:查看,应用主题
1. 安装成功后,以下是所有 jupyterthemes 的命令,因为今天我们介绍的是主题功能,所以以下命令不做过多介绍。
| cl options | arg | default |
|---|---|---|
| Usage help | -h | -- |
| List Themes | -l | -- |
| Theme Name to Install | -t | -- |
| Code Font | -f | -- |
| Code Font-Size | -fs | 11 |
| Notebook Font | -nf | -- |
| Notebook Font Size | -nfs | 13 |
| Text/MD Cell Font | -tf | -- |
| Text/MD Cell Fontsize | -tfs | 13 |
| Pandas DF Fontsize | -dfs | 9 |
| Output Area Fontsize | -ofs | 8.5 |
| Mathjax Fontsize (%) | -mathfs | 100 |
| Intro Page Margins | -m | auto |
| Cell Width | -cellw | 980 |
| Line Height | -lineh | 170 |
| Cursor Width | -cursw | 2 |
| Cursor Color | -cursc | -- |
| Alt Prompt Layout | -altp | -- |
| Alt Markdown BG Color | -altmd | -- |
| Alt Output BG Color | -altout | -- |
| Style Vim NBExt* | -vim | -- |
| Toolbar Visible | -T | -- |
| Name & Logo Visible | -N | -- |
| Kernel Logo Visible | -kl | -- |
| Reset Default Theme | -r | -- |
| Force Default Fonts | -dfonts | -- |
2. 在terminal 窗口输入查看主题的命令 jt -k ,共有 9 个主题。
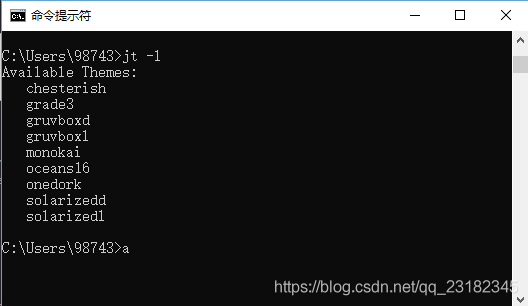
3. 选择主题:在terminal 窗口输入命令 jt -t chesterish ,安装后需要重新启动以下 Jupyter Notebook
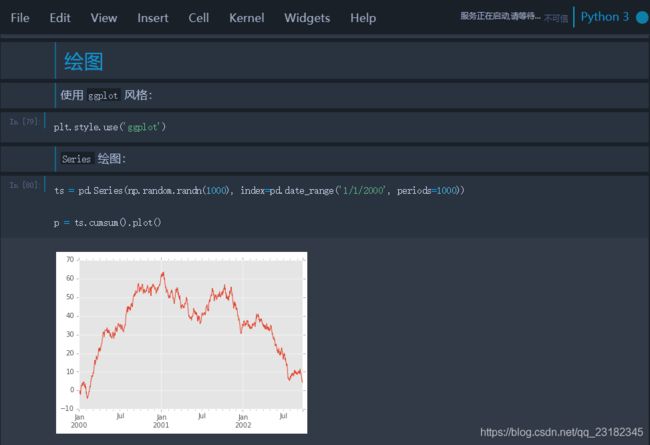
其他主题按照同样方法安装查看即可,不做详细展示了,谢谢 。