学习 | 基于spring boot+vue的前后端分离的增删改查项目
介绍
在前面两篇博客中已经分享了基于servlet和基于ssm的增删改查(传送门:SSM,Servlet),有兴趣的同学也可以先去看看。当然不能少了当先最流行的基于spring boot的增删改查啦,本篇需要一定的spring boot基础+vue环境。
springboot做了两个版本:
第一个版本springboot_thymeleaf,(thymeleaf是类似jsp的java模板引擎,再springboot中推荐优先使用这个)
第二个版本前后端分离的spring boot+vue,这个是我在做完第一个版本之后再B站看一个视频学到的。前后端分离是目前大公司都会普及到了,学会对接也是初学者的一个重要知识点,于是我觉得分享这个更有意义把!(传送门:视频地址)。
源码
GitHub:GitHub下载地址
Csdn:CSDN下载地址(由非原创,demo也设置了0币下载)
环境
jdk:1.8
ide:diea
mysql:8.0.20
前端:vue+elementui
框架:spring boot
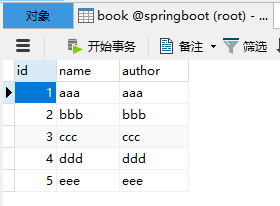
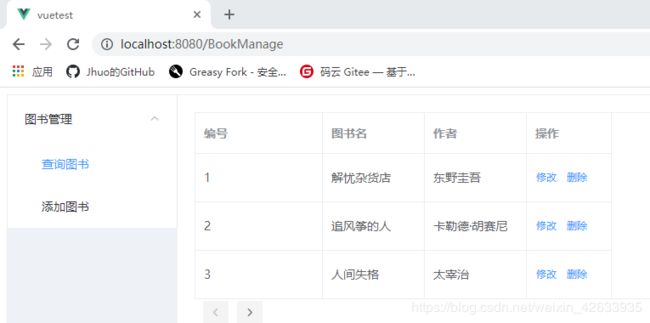
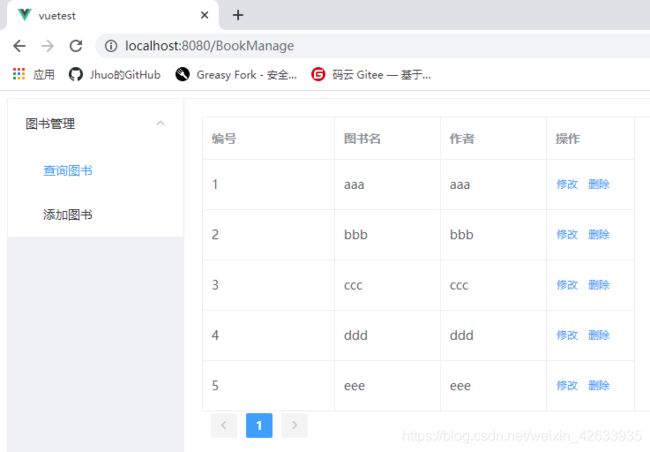
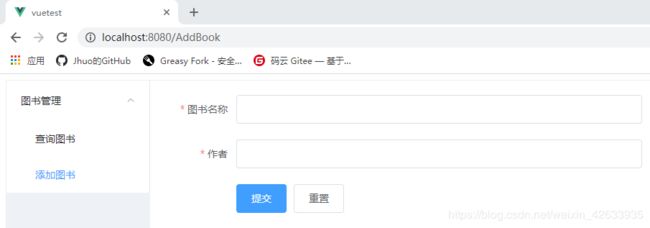
运行效果
重点代码
app.vue:(主页面分布)
<template>
  <div id="app">
    <el-container style="height: 500px; border: 1px solid #eee">
      <el-aside width="200px" style="background-color: rgb(238, 241, 246)">
        <el-menu router :default-openeds="['0', '1']">
          <el-submenu v-for="(item,index) in $router.options.routes" :index="index+''" v-if="item.show">
            <template slot="title">{{item.name}}</template>
            <el-menu-item v-for="(item2,index2) in item.children" :index="item2.path"
                          :class="$route.path==item2.path?'is-active':''">{{item2.name}}</el-menu-item>
          </el-submenu>
        </el-menu>
      </el-aside>
      //功能页模块
      <el-main>
        <router-view></router-view>
      </el-main>

    </el-container>
  </div>
</template>

<style>
  .el-header {
    background-color: #B3C0D1;
    color: #333;
    line-height: 60px;
  }
  .el-aside {
    color: #333;
  }
</style>
router/index.js(功能模块)
import Vue from 'vue'
import VueRouter from 'vue-router'
import BookManage from '../views/BookManage'
import AddBook from '../views/AddBook'
import Index from '../views/Index'
import BookUpdate from '../views/BookUpdate'

Vue.use(VueRouter)

const routes = [
  {
    path:"/",
    name:"图书管理",
    component:Index,
    show:true,
    redirect:"/BookManage",
    children:[
      {
        path:"/BookManage",
        name:"查询图书",
        component:BookManage
      },
      {
        path:"/AddBook",
        name:"添加图书",
        component:AddBook
      }
    ]
  },
  {
    path:'/update',
    component:BookUpdate,
    show:false
  }
]
const router = new VueRouter({
  mode: 'history',
  base: process.env.BASE_URL,
  routes
})
export default router
添加页面(调用举例)
methods: {
    submitForm(formName) {
        const _this = this
        this.$refs[formName].validate((valid) => {
            if (valid) {
                axios.post('http://localhost:8181/book/save',this.ruleForm).then(function(resp){
                    if(resp.data == 'success'){
                        _this.$alert('《'+_this.ruleForm.name+'》添加成功!', '消息', {
                            confirmButtonText: '确定',
                            callback: action => {
                                _this.$router.push('/BookManage')
                            }
                        })
                    }
                })
            } else {
                return false;
            }
        });
    },
    resetForm(formName) {
        this.$refs[formName].resetFields();
    }
}
从代码中就可以看到,添加页面的提交按钮是调用我们后端接口,这就是前后端分离接口形式,其他功能也类似。
总结
spring boot确实有慢慢替代成为市场主流框架,因为他的效率可以大大节省成本。而且现在基本一些公司都是前端后端分开进行开发,也有专门的架构师,所以对于学习前后端分离的对接是尤其重要,这也是这次分享spring boot+vue的原因。而后面也在评论区放我之前做的spring boot+thymeleaf增删改查链接。


