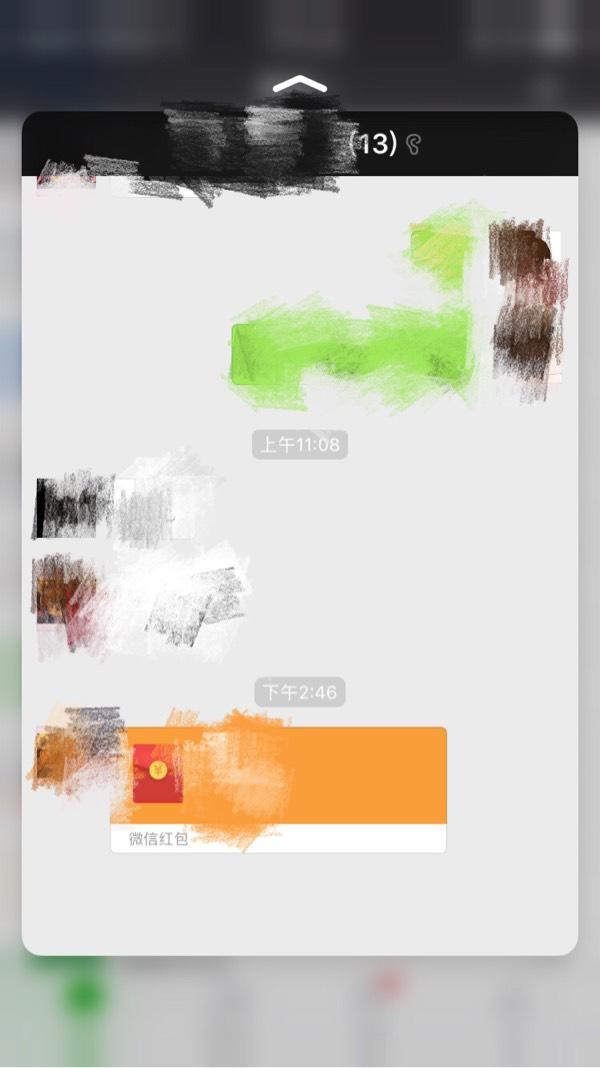
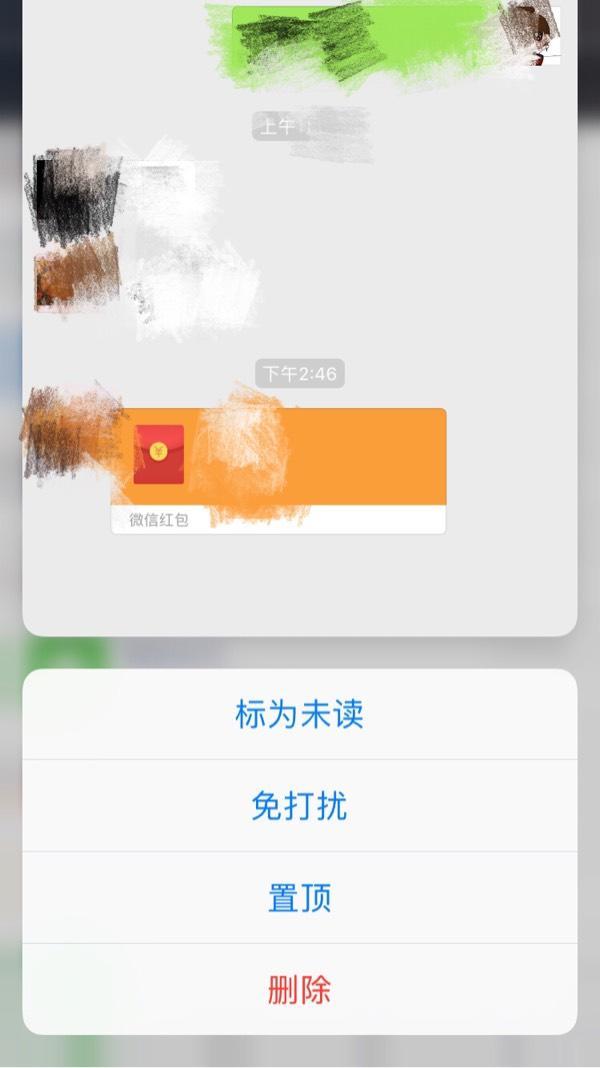
在上一篇3DTouch中介绍了按压App图标出现快速入口,和怎样点击快速入口进入相应页面的方法。今天,来把上次欠下的列表页的3Dtouch(peek和pop)效果分享出来。
先看效果:
进入微信或者QQ,试一下就能看到。
好了,现在我们就来实现这个效果。(此处实现的是tableView中按压cell的效果,当然也可以给其他的view添加这个效果)
首先,我们要有一个tableView,然后还要有点击tableView能够跳转的页面,这个代码我就不贴出来了,截个项目文件的图示意一下:
这里是集成融云的消息列表和聊天界面的两个控制器,从名字上也能够看得出来。
第一步,给cell注册peek和pop功能
-(UITableViewCell *)tableView:(UITableView *)tableView cellForRowAtIndexPath:(NSIndexPath *)indexPath {
// 这里写自己的cell
// 3D touch
    if ([UIDevice currentDevice].systemVersion.floatValue >= 9) {  //系统在iOS9以上才可以用
        if (self.traitCollection.forceTouchCapability == UIForceTouchCapabilityAvailable) {
                [self registerForPreviewingWithDelegate:self sourceView:cell];
        }
    }
}
第二步,继承协议UIViewControllerPreviewingDelegate
@interface ConversationListVC ()
第三步,实现UIViewControllerPreviewingDelegate方法
- (UIViewController *)previewingContext:(id)previewingContext viewControllerForLocation:(CGPoint)location {
    UIView *sourceView = [previewingContext sourceView];
    if ([sourceView isKindOfClass:[RCConversationBaseCell class]]) {
        RCConversationBaseCell *cell = (RCConversationBaseCell *)sourceView;
        NSIndexPath *indexPath = [self.conversationListTableView indexPathForCell:cell];

        if (indexPath) {
            RCConversationModel *model = self.conversationListDataSource[indexPath.row];

            ConversationVC *conversationVC = [[ConversationVC alloc] init];
            conversationVC.conversationModel = model;
            conversationVC.delegate = self;
            conversationVC.conversationType = model.conversationType;
            conversationVC.targetId = model.targetId;
            conversationVC.navigationItem.title = model.conversationTitle;
            return conversationVC;
        }
    }
    return nil;
}

// 用力按压进入
- (void)previewingContext:(id)previewingContext commitViewController:(UIViewController *)viewControllerToCommit {
    [self showViewController:viewControllerToCommit sender:self];
}
通过以上的散步就可以实现按压出现下一个控制器,再用力就进入下一个控制器的效果。接着,再实现下一个效果——出现PreviewAction。
我是在ConversationVC中添加了代理,这样做思路比较清晰。
第一步,设置代理:
@protocol ConversationVCDelegate

- (void)conversationVC:(ConversationVC *)conversationVC forceTouchTopActionSelected:(UIPreviewAction *)action;
- (void)conversationVC:(ConversationVC *)conversationVC forceTouchReadActionSelected:(UIPreviewAction *)action;
- (void)conversationVC:(ConversationVC *)conversationVC forceTouchDeleteActionSelected:(UIPreviewAction *)action;

@end

@interface ConversationVC : RCConversationViewController

@property (nonatomic, weak) id delegate;

@end
第二步,设置代理调用的入口:
#pragma mark - 3D touch actions
- (NSArray> *)previewActionItems {

    if (_conversationModel == nil) {
        return nil;
    }

    NSString *topActionTitle = _conversationModel.isTop ? @"取消置顶" : @"置顶";
    UIPreviewAction *topAction = [UIPreviewAction actionWithTitle:topActionTitle style:UIPreviewActionStyleDefault handler:^(UIPreviewAction * _Nonnull action, UIViewController * _Nonnull previewViewController) {

        if ([_delegate respondsToSelector:@selector(conversationVC:forceTouchTopActionSelected:)]) {
            [_delegate conversationVC:self forceTouchTopActionSelected:action];
        }
    }];

    NSString *readActionTitle = _conversationModel.unreadMessageCount > 0 ? @"标记已读" : @"标记未读";
    UIPreviewAction *readAction = [UIPreviewAction actionWithTitle:readActionTitle style:UIPreviewActionStyleDefault handler:^(UIPreviewAction * _Nonnull action, UIViewController * _Nonnull previewViewController) {

        if ([_delegate respondsToSelector:@selector(conversationVC:forceTouchReadActionSelected:)]) {
            [_delegate conversationVC:self forceTouchReadActionSelected:action];
        }
    }];

    UIPreviewAction *deleteAction = [UIPreviewAction actionWithTitle:@"删除" style:UIPreviewActionStyleDestructive handler:^(UIPreviewAction * _Nonnull action, UIViewController * _Nonnull previewViewController) {

        if ([_delegate respondsToSelector:@selector(conversationVC:forceTouchDeleteActionSelected:)]) {
            [_delegate conversationVC:self forceTouchDeleteActionSelected:action];
        }
    }];
    return @[topAction, readAction, deleteAction];
}
因为是聊天界面,需求就是置顶、取消置顶,标为已读、标为未读,删除这几个简单的快速入口。
第三步,实现代理方法。
当然是在消息列表ConversationListVC中实现代理方法:
#pragma mark - ConversationVCDelegate
- (void)conversationVC:(aConversationVC *)conversationVC forceTouchTopActionSelected:(UIPreviewAction *)action {
    // 置顶
}

- (void)conversationVC:(ConversationVC *)conversationVC forceTouchReadActionSelected:(UIPreviewAction *)action {

    //标为已读/未读
}

- (void)conversationVC:(ConversationVC *)conversationVC forceTouchDeleteActionSelected:(UIPreviewAction *)action {

   // 删除
}
在代理中写出具体的实现就好啦,现在可以去新建个工程试一下了~


