使用vue实现自己音乐播放器仿网易云 移动端 (audio、播放、暂停、上一首、下一首、展示评论、音量控制、进度条拖拽)
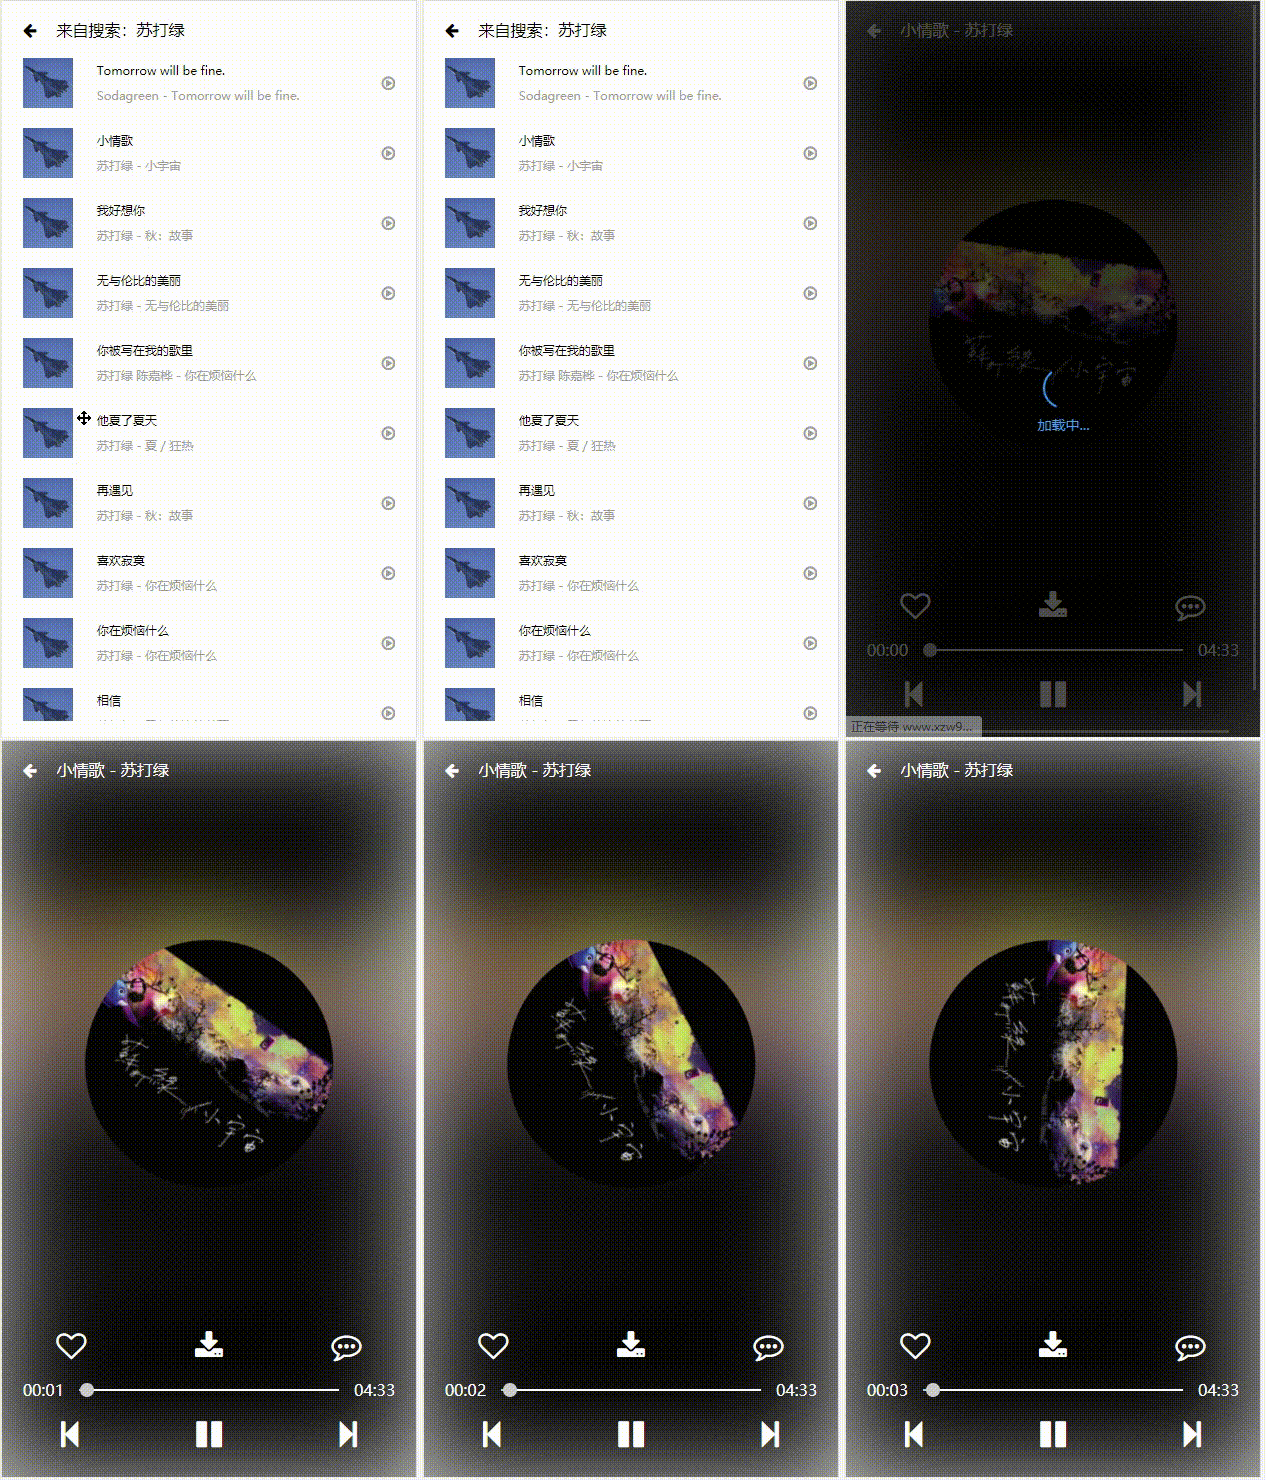
最终实现成果展示
1.播放 暂停功能的实现
这是audio标签
<audio @timeupdate="updateTime" @canplay="getDuration" @ended="ended" :src="musicUrl" ref="audio">audio>
这是播放和暂停图标
<div class="pause" v-show="isPlaying" @click="pauseSong"><i class="fa fa-pause">i>div>
<div class="play" v-show="!isPlaying" @click="playSong"><i class="fa fa-play">i>div>
播放和暂停事件我们通过
this.$refs.audio.play()和this.$refs.audio.pause()来进行控制,并切换isPlaying的值来改变图标的显示。设置this.$refs.audio.autoplay= true可实现歌曲自动播放
中间圆形图片的旋转和暂停是通过添加类名控制:
css样式如下:
.cd.rotate img{
  animation: rotateIMG 15s linear infinite;
}
.cd.rotatePause img{
 animation-play-state:paused;
  -webkit-animation-play-state:paused; /* Safari 和 Chrome */
}
@keyframes rotateIMG{
  from {
    transform: rotate(0deg);
  }
  to {
    transform: rotate(360deg);
  }
}
html结构如下:
<div class="cd" v-show="show" @click="show = !show" ref="cd">
   <img :src="playingSong.blurPicUrl" width="60%">
 div>
js控制如下:
// 播放时
this.$refs.cd.classList.add('rotate')
if (this.$refs.cd.classList.contains('rotatePause')) this.$refs.cd.classList.remove('rotatePause')

// 暂停时
this.$refs.cd.classList.add('rotatePause')
2. 上一首 下一首功能的实现
要实现这个功能我们就要拿到当前歌曲列表的所有数据。我请求的是网易云的接口,将数据存在vuex里面。我们只需通过切换数组索引即可达到切换歌曲。
歌曲列表是通过遍历出来的,所以我们可以给节点加上data-index属性。结果像下面这样
接下来点击的时候我们把当前
data-index存到localStorage里面,之后在上一首/下一首的点击事件里 – 或者 ++进行切换,并做边界值判断 代码如下:
prevSong () { // 播放上一首歌曲
  localStorage.curSongPlayIndex--
   if (localStorage.curSongPlayIndex < 0) localStorage.curSongPlayIndex = this.$store.state.songPlayList.length - 1
   this.playingSong = this.$store.state.songPlayList[JSON.parse(localStorage.curSongPlayIndex)]
   this.loadMusic() // 加载音乐地址 加载歌词 加载喜欢状态 加载音乐评论
   this.autoPlaySong() // 点击之后歌曲或自动播放
 }
3.进度条显示 时间显示 进度条拖拽功能实现
3.1获取音乐总时长
在canplay钩子函数拿到总时长
getDuration () { // canplay时获取音频总时长
  this.duration = this.$refs.audio.duration
  this.allTime = this.formatTime(this.$refs.audio.duration)
},
注意:时间获取出来是秒。我们要显示的是ss:mm格式。所以 this.duration存的时间是秒 this.allTime存的时间是格式化之后的
formatTime函数代码如下:
formatTime (time) {
 if (time === 0) {
    this.curTime = '00:00'
    return
  }
  const mins = Math.floor(time / 60) < 10 ? `0${Math.floor(time / 60)}` : Math.floor(time / 60)
  const sec = Math.floor(time % 60) < 10 ? `0${Math.floor(time % 60)}` : Math.floor(time % 60)
  return `${mins}:${sec}`
}
3.2拿到当前时间 更新进度条
在timeupdate钩子函数获取当前播放时间
updateTime (e) { // timeupdate时获取当前播放时间
 const { currentTime } = e.target
 this.currentTime = currentTime
 this.curTime = this.formatTime(currentTime)
 this.updateProgress(this.currentTime, this.duration)
}
这个地方同样的this.currentTime是当前时间(秒),this.curTime是格式之后的分秒格式
下一步我们就要更新进度条了,得到 当前时间和总时间 的比值 来更新进度条的宽度和小圆点距离左边的距离
updateProgress (currentTime, duration) { // 更新进度条
 this.precent =  `${((currentTime / duration) * 100).toFixed(5)}%`
},
<div class="progress" @click="clickProgress($event)" ref="progress">
  <div class="line" :style="{width: `${precent}`}">div>
  <div class="dot" :style="{left: `${precent}`}" @touchstart='dotStart' @touchmove='dotMove' @touchend='dotEnd'>div>
div>
3.3进度条点击播放 拖拽播放
在 clickProgress方法里这样写
clickProgress (event) { // 点击进度条时 更新音频时间和进度条
 const e = event || window.event
 const position = e.clientX - e.currentTarget.offsetLeft // 当前点击的位置
 const progressWidth = this.$refs.progress.offsetWidth // 进度条总宽度
 this.$refs.audio.currentTime = ((position / progressWidth) * this.duration) // 设置当前音频的播放时间
 this.updateProgress(((position / progressWidth) * this.duration), this.duration)
}
这样就实现了点击进度条播放。
下面是拖拽功能的实现,使用原生的touchstart touchmove touchend来监听。
在touchmove时,获取小圆点拖动到距离进度条左边的距离,并实施更新进度条
touchMove(e) {
 // 移动的距离
  let moveX = e.touches[0].pageX - 83 // 83是进度条距离浏览器的距离
  // 进度条的宽度
  const progressWidth = this.$refs.progress.offsetWidth
  if (moveX >= progressWidth) moveX = progressWidth // 边界值判断

  this.$refs.audio.currentTime = ((moveX / progressWidth) * this.duration) // 实时更新播放时间
  this.updateProgress(((moveX / progressWidth) * this.duration), this.duration) // 更新进度条
}
在touchend时播放歌曲
touchEnd(e) {
  this.playSong() //调用播放歌曲方法
  this.isPlaying = true
},
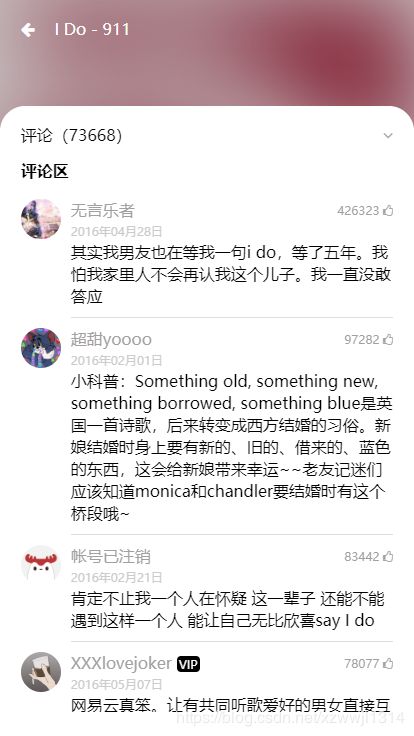
4.评论区的展示

比较简单 直接遍历得到的数据然后渲染就行。只是在切换歌曲时要把评论区给隐藏掉

