创新实践记录三

创新实践记录三

一、截屏功能的实现

截屏功能主要需要解决两个问题:
1.Unity自带的截屏无法使用,如何实现截屏功能
网上给出的实现方法大同小异,这里我选择在场景内专门放一个截图用的相机对象,及捕获画面进行截图。可截取全屏或者指定区域内的图片。使用Texture2D.ReadPixels()方法,读取屏幕上的像素信息,然后用File.WriteAllBytes进行保存。
要写在协程里面,等待帧结束后才能调用,不然会报错。

2.如何将生成的截图保存在安卓目录下
Unity的Application提供了四种路径

Application.dataPath 包含游戏数据文件夹的路径(只读)
Application.persistentDataPath 包含一个持久数据目录的路径(可读可写)
Application.streamingAssetsPath 包含一个到StreamingAssets文件夹的路径(读)
Application.temporaryCachePath 包含一个临时数据/缓存目录的路径(只读)

这里我们根据需要选第二种,保存的路径可以是/sdcard/DCIM/Camera/,也可以是Pictures/Screenshots截图路径。
下面是代码

using UnityEngine;
using System.Collections;
using System;
using System.IO;
using UnityEngine.UI;
/// 
/// 截图保存安卓手机相册
/// 
public class screenshot : MonoBehaviour
{ 
    public Camera CameraTrans;
    private Texture2D mTexture1;
    private string mPath;
    public GameObject picture;
    private string mingming;
    /// 
    /// 开启相机
    /// 

    public void screenshots()
    {
        //用时间命名
        string mingming = System.DateTime.Now.Year.ToString() + System.DateTime.Now.Month.ToString() + System.DateTime.Now.Day + System.DateTime.Now.Hour + System.DateTime.Now.Minute + System.DateTime.Now.Second;
        //平台判断
        if (Application.platform == RuntimePlatform.Android)
        {
            //安卓设备的相册路径
            mPath = "/sdcard/DCIM/Camera/ScreenShots/" + mingming + ".jpg";
        }
        else if (Application.platform == RuntimePlatform.WindowsEditor)
        {
            mPath = Application.dataPath + "\\Resources\\" + mingming + ".jpg";
        }
        StartCoroutine(CaptureByCamera(CameraTrans, new Rect(0, 0, Screen.width, Screen.height), mPath));
        picture.SetActive(false);
    }
    private IEnumerator CaptureByCamera(Camera mCamera, Rect mRect, string mFileName)
    {
        //等待渲染线程结束  
        yield return new WaitForEndOfFrame();

        //初始化RenderTexture  
        RenderTexture mRender = new RenderTexture((int)mRect.width, (int)mRect.height, 24);
        //设置相机的渲染目标  
        mCamera.targetTexture = mRender;
        //开始渲染  
        mCamera.Render();

        //激活渲染贴图读取信息  
        RenderTexture.active = mRender;

        Texture2D mTexture = new Texture2D((int)mRect.width, (int)mRect.height, TextureFormat.RGB24, false);
        //读取屏幕像素信息并存储为纹理数据  
        mTexture.ReadPixels(mRect, 0, 0);
        //应用  
        mTexture.Apply();
        //picture.SetActive(true);

        //释放相机,销毁渲染贴图  
        mCamera.targetTexture = null;
        RenderTexture.active = null;
        GameObject.Destroy(mRender);

        //将图片信息编码为字节信息  
        byte[] bytes = mTexture.EncodeToPNG();
        gameObject.SetActive(true);
        //保存  
        File.WriteAllBytes(mFileName, bytes);
        //将纹理图存在静态类里
        mTexture1 = mTexture;
        picture.GetComponent<Image>().sprite = Sprite.Create(mTexture1, new Rect(0, 0, Screen.width, Screen.height), new Vector2(Screen.height / 2, Screen.width / 2));
        //如果需要可以返回截图  
        //return mTexture;  
        
        string[] paths = new string[1];
        paths[0] = mPath;
        ScanFile(paths);
    }
}

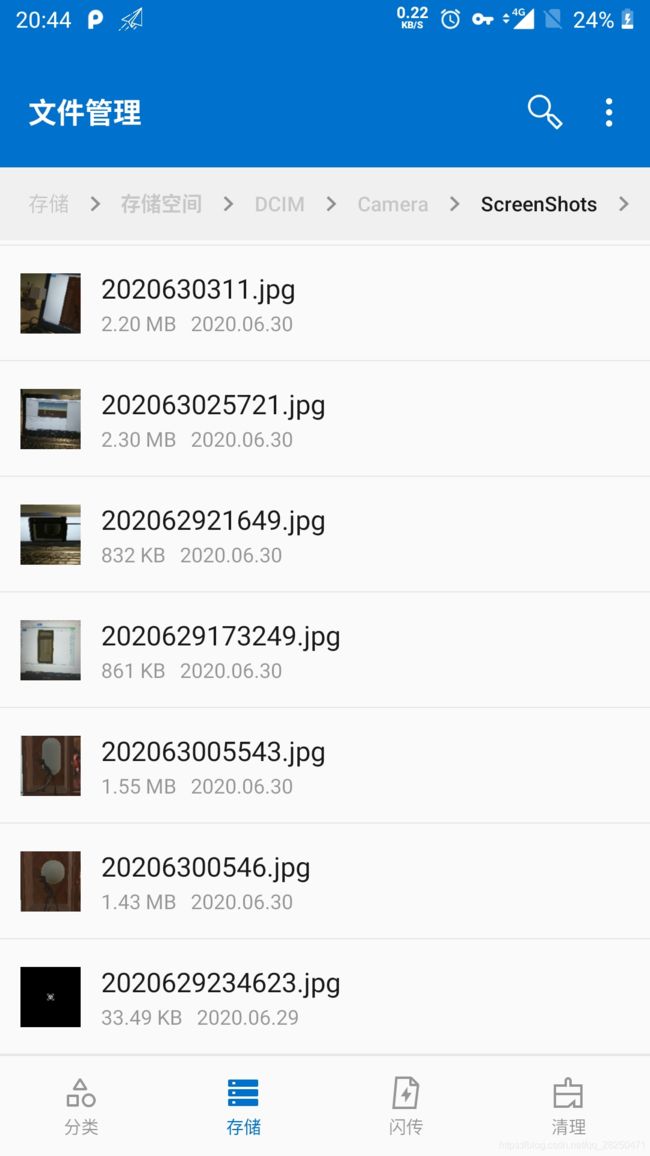
完成这些后,我们已经能在文件系统找到保存的截图了,但在相册里却检测不到。
创新实践记录三_第1张图片
经查阅资料得知,想要在相册立刻看到还需要进行一次刷新操作,这里调用了调用java中的MediaScannerConnection.scanFile。执行刷新的代码如下

 //刷新图片,显示到相册中
    void ScanFile(string[] path)
    {
        using (AndroidJavaClass PlayerActivity = new AndroidJavaClass("com.unity3d.player.UnityPlayer"))
        {
            AndroidJavaObject playerActivity = PlayerActivity.GetStatic<AndroidJavaObject>("currentActivity");
            using (AndroidJavaObject Conn = new AndroidJavaObject("android.media.MediaScannerConnection", playerActivity, null))
            {
                Conn.CallStatic("scanFile", playerActivity, path, null, null);
            }
        }
    }

这样就可以直接在系统相册里找到了。

二、存在的问题

1.一开始无论怎么调试改动都无法截屏,虽然按下截屏键会有卡顿,但一直无法保存。
直到单独做了个Demo才发现是没有储存权限。
这点很奇怪,单独的Demo就可以正常申请储存权限,放在工程里就只有相机权限被申请了。
我也不知道原因,但添加申请储存权限的脚本就解决了。

using UnityEngine;
#if PLATFORM_ANDROID
using UnityEngine.Android;
#endif

public class RequestUserPermission : MonoBehaviour
{
    GameObject dialog = null;

    void Start()
    {
#if PLATFORM_ANDROID
        if (!Permission.HasUserAuthorizedPermission(Permission.ExternalStorageWrite))
        {
            Permission.RequestUserPermission(Permission.ExternalStorageWrite);
            dialog = new GameObject();
        }
#endif
    }

    void OnGUI()
    {
#if PLATFORM_ANDROID
        if (!Permission.HasUserAuthorizedPermission(Permission.ExternalStorageWrite))
        {
            // The user denied permission to use the microphone.
            // Display a message explaining why you need it with Yes/No buttons.
            // If the user says yes then present the request again
            // Display a dialog here.
            Permission.RequestUserPermission(Permission.ExternalStorageWrite);
        }
        else if (dialog != null)
        {
            Destroy(dialog);
        }
#endif

        // Now you can do things with the microphone
    }

}

这里再场景创建前先申请一次储存权限,如果不同意就在使用时在申请一次。

2.Rect指截取的区域,可用Rect rect = new Rect(x,y,width,height)去指定需要截图的区域;
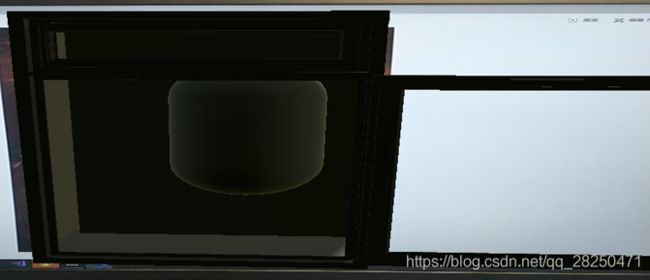
开始我把width ,height设置成手机的比例1920*1080,结果竖直截屏没有问题,横屏截屏比例失常。
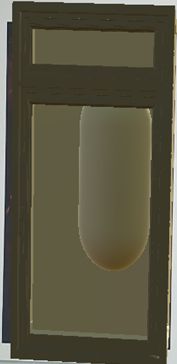
创新实践记录三_第2张图片
竖屏正常

创新实践记录三_第3张图片
横屏比例失调
解决方法是把Rect的width ,height设置成 Screen.width, Screen.height。
改动后就可以正常截图了。

你可能感兴趣的:(创新实践记录三)