ReactNative的环境配置和初步使用(超详细)
ReactNative的环境配置和初步使用
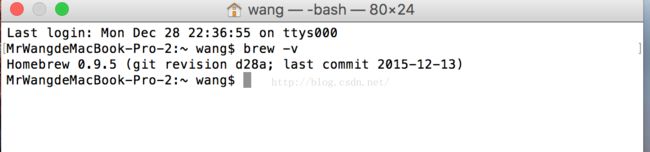
1.打开终端 输入 brew -v 查看是否安装homeBrew 我 这里已经安装过了。
2.如果没安装,输入网址 brew.sh 才、拷贝ruby -e "$(curl -fsSL https://raw.githubusercontent.com/Homebrew/install/master/install)" 放到终端
3.在终端输入 brew install node 安装node

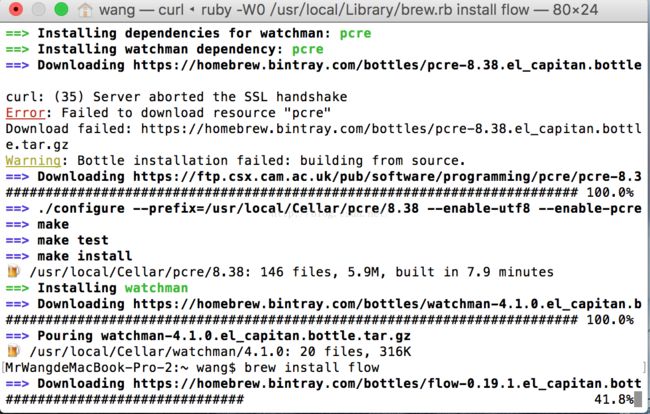
4. 终端输入brew install watchman
watchman是一个检测文件变化的工具

5.终端输入 brew install flow
flow是一个用来检测js的语法的工具
6.通过npm安装reacNative的命令行工具
npm install -g react-native -cli -g表示将reactNative的工具安装到全局的模式,这样就可以通过react native的命令来调用。
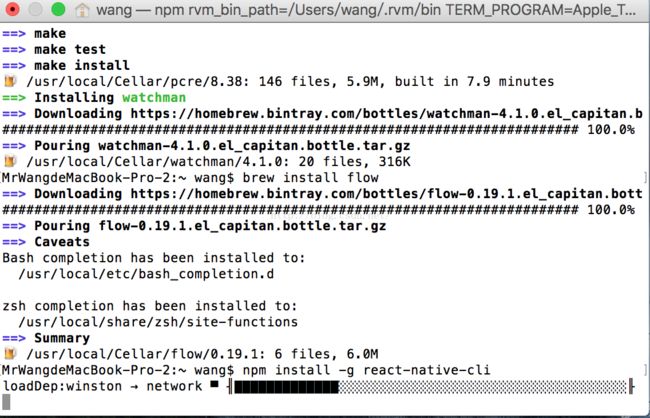
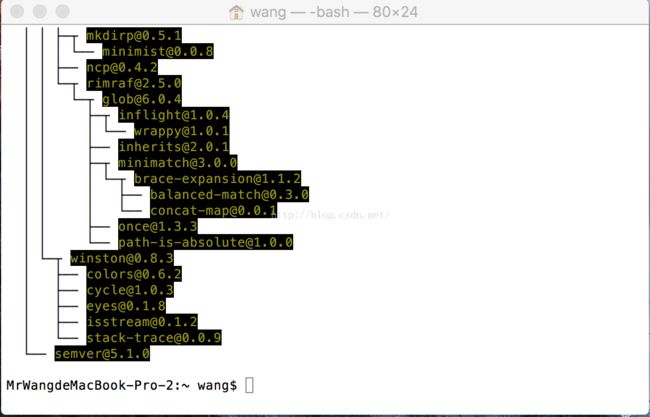
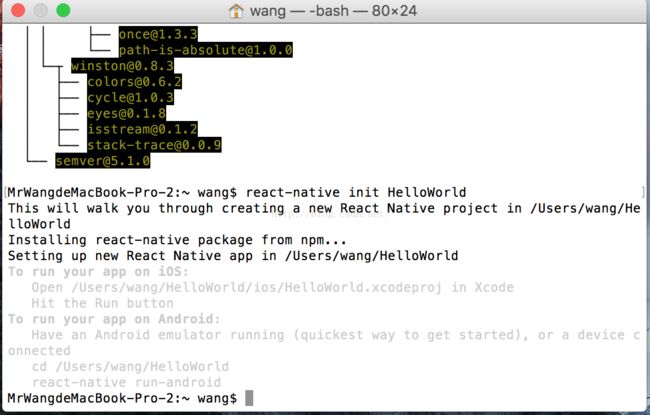
下图是安装完成的样子!!!
ok,我们现在可以开始创建我们的第一个reactnative的应用程序了,步骤如下:
1.终端输入react-native init HelloWorld
如下图HelloWorld创建成功
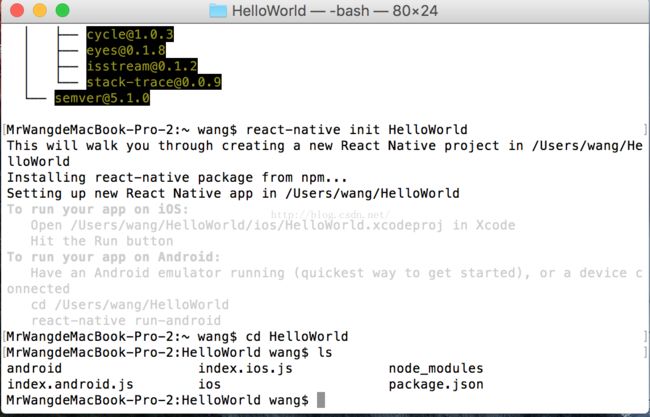
2.然后我们cd到HelloWorld
终端输入 ls 可以查看当前文件夹下的内容
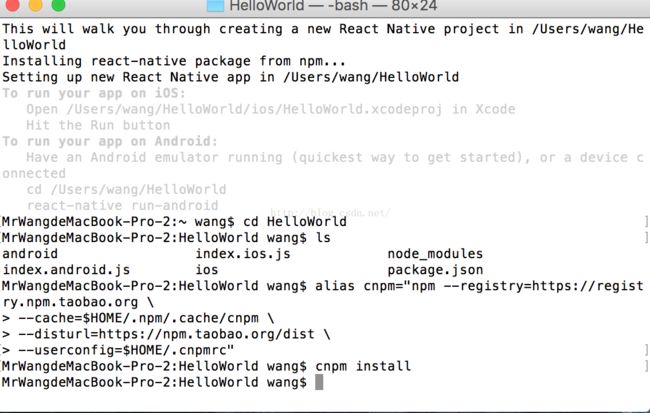
3.如果加载过慢我们可以百度cnpm的淘宝镜像 复制如下内容放到终端
alias cnpm="npm --registry=https://registry.npm.taobao.org \
--cache=$HOME/.npm/.cache/cnpm \
--disturl=https://npm.taobao.org/dist \
--userconfig=$HOME/.cnpmrc"
4.然后在HelloWorld路径下 在终端输入 cnpm install
5。然后我们可以cd到ios文件
在终端输入 open HelloWorld.xcodeproj
6.这时我们名字为HelloWorld的xcode工程就打开了。
command + R 运行,运行后我们在终端输入 vim index.ios.js 输入i进入编辑模式 将welcome to reactnative 改个名字 如下
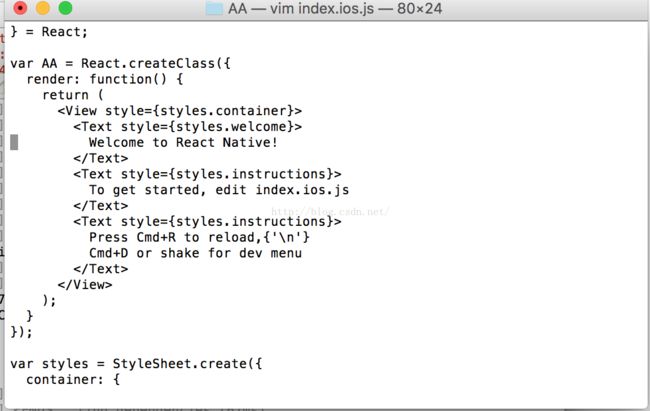

然后 esc : wq 退出编辑
重新运行。ok 成功了 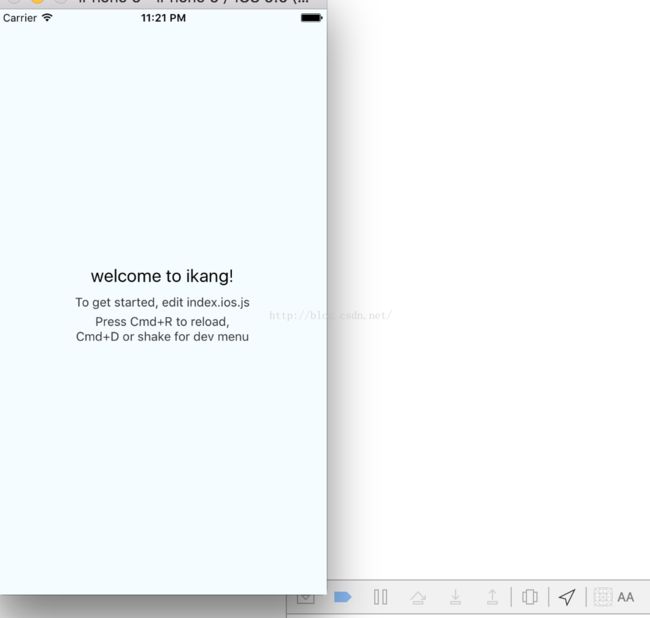
前方高能!!!!!!!!!!!!!!!
你也可以写一个类似于下面的列表页
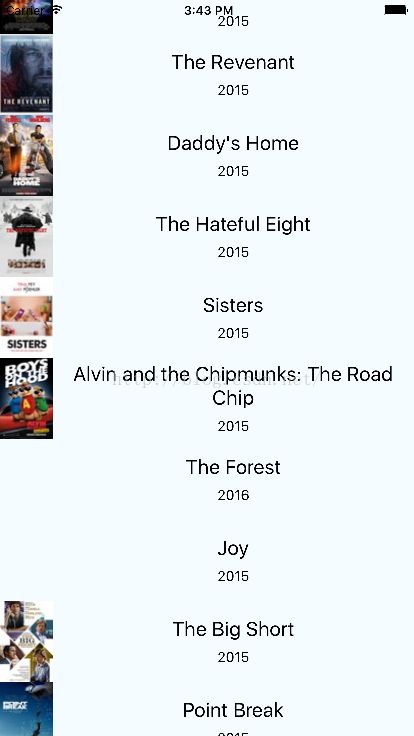
很简单,找到你的工程包,打开
index.ios.js/index.android.js
我是用的sublime Text打开的,,打开后编写如下代码(
注意 里面的HelloWorld为工程名字,使用时请注意
)
index.ios,js/index,android.js
中的代码如下:
var React = require('react-native');
var {
AppRegistry,
Image,
ListView,
StyleSheet,
Text,
View,
} = React;
var API_KEY = '7waqfqbprs7pajbz28mqf6vz';
var API_URL = 'http://api.rottentomatoes.com/api/public/v1.0/lists/movies/in_theaters.json';
var PAGE_SIZE = 25;
var PARAMS = '?apikey=' + API_KEY + '&page_limit=' + PAGE_SIZE;
var REQUEST_URL = API_URL + PARAMS;
var HelloWorld = React.createClass({
getInitialState: function() {
return {
dataSource: new ListView.DataSource({
rowHasChanged: (row1, row2) => row1 !== row2,
}),
loaded: false,
};
},
componentDidMount: function() {
this.fetchData();
},
fetchData: function() {
fetch(REQUEST_URL)
.then((response) => response.json())
.then((responseData) => {
this.setState({
dataSource: this.state.dataSource.cloneWithRows(responseData.movies),
loaded: true,
});
})
.done();
},
render: function() {
if (!this.state.loaded) {
return this.renderLoadingView();
}
return (
dataSource={this.state.dataSource}
renderRow={this.renderMovie}
style={styles.listView}
/>
);
},
renderLoadingView: function() {
return (
Loading movies...
);
},
renderMovie: function(movie) {
return (
source={{uri: movie.posters.thumbnail}}
style={styles.thumbnail}
/>
{movie.title}
{movie.year}
);
},
});
var styles = StyleSheet.create({
container: {
flex: 1,
flexDirection: 'row',
justifyContent: 'center',
alignItems: 'center',
backgroundColor: '#F5FCFF',
},
rightContainer: {
flex: 1,
},
title: {
fontSize: 20,
marginBottom: 8,
textAlign: 'center',
},
year: {
textAlign: 'center',
},
thumbnail: {
width: 53,
height: 81,
},
listView: {
paddingTop: 20,
backgroundColor: '#F5FCFF',
},
});
AppRegistry.registerComponent('HelloWorld', () => HelloWorld);
var {
AppRegistry,
Image,
ListView,
StyleSheet,
Text,
View,
} = React;
var API_KEY = '7waqfqbprs7pajbz28mqf6vz';
var API_URL = 'http://api.rottentomatoes.com/api/public/v1.0/lists/movies/in_theaters.json';
var PAGE_SIZE = 25;
var PARAMS = '?apikey=' + API_KEY + '&page_limit=' + PAGE_SIZE;
var REQUEST_URL = API_URL + PARAMS;
var HelloWorld = React.createClass({
getInitialState: function() {
return {
dataSource: new ListView.DataSource({
rowHasChanged: (row1, row2) => row1 !== row2,
}),
loaded: false,
};
},
componentDidMount: function() {
this.fetchData();
},
fetchData: function() {
fetch(REQUEST_URL)
.then((response) => response.json())
.then((responseData) => {
this.setState({
dataSource: this.state.dataSource.cloneWithRows(responseData.movies),
loaded: true,
});
})
.done();
},
render: function() {
if (!this.state.loaded) {
return this.renderLoadingView();
}
return (
renderRow={this.renderMovie}
style={styles.listView}
/>
);
},
renderLoadingView: function() {
return (
Loading movies...
);
},
renderMovie: function(movie) {
return (
style={styles.thumbnail}
/>
);
},
});
var styles = StyleSheet.create({
container: {
flex: 1,
flexDirection: 'row',
justifyContent: 'center',
alignItems: 'center',
backgroundColor: '#F5FCFF',
},
rightContainer: {
flex: 1,
},
title: {
fontSize: 20,
marginBottom: 8,
textAlign: 'center',
},
year: {
textAlign: 'center',
},
thumbnail: {
width: 53,
height: 81,
},
listView: {
paddingTop: 20,
backgroundColor: '#F5FCFF',
},
});
AppRegistry.registerComponent('HelloWorld', () => HelloWorld);
ok!点击模拟器 command + r 成功了~~~~~~
如果真机调试发现出现的是大红色的界面,并提示你无法连接,请按以下方式修改:
1.打开 iOS 项目的 AppDelegate.m 文件
2.更改 jsCodeLocation 中的 localhost 改成你电脑的局域网IP地址
3.在 Xcode 中,选择你的手机作为目标设备,Run 即可
可以通过晃动设备来打开开发菜单(重载、调试等)
2.更改 jsCodeLocation 中的 localhost 改成你电脑的局域网IP地址
3.在 Xcode 中,选择你的手机作为目标设备,Run 即可
可以通过晃动设备来打开开发菜单(重载、调试等)