ansible常用命令及模块
ansoble常用参数:
-m:要执行的模块,默认为command
-a:指定模块的参数
-u:ssh连接的用户名,默认用root,ansible.cfg中可以配置
-b,--become:变成那个用户身份,不提示密码
-k:提示输入ssh登录密码,当使用密码验证的时候用
-s:sudo运行
-U:sudo到哪个用户,默认为root
-K:提示输入sudo密码,当不是NOPASSWD模式时使用
-C:只是测试一下会改变什么内容,不会真正去执行
-c:连接类型(default=smart)
-f:fork多少进程并发处理,默认为5个
-i:指定hosts文件路径,默认default=/etc/ansible/hosts
-I:指定pattern,对已匹配的主机中再过滤一次
-list-host:只打印有哪些主机会执行这个命令,不会实际执行
-M:要执行的模块路径,默认为/usr/share/ansible
-o:压缩输出,摘要输出
--private-key:私钥路径
-T:ssh连接超时时间,默认是10秒
-t:日志输出到该目录,日志文件名以主机命名
-v:显示详细日志
ansible常用命令:
ansible server1 -m setup    #产看指定主机server1上的facts变量信息
ansible * -m setup   		#查看指定的所有主机上的facts变量信息
ansible-doc -l				##列出有哪些可用的模块,按q退出
ansible-doc -l | wc -l		##列出有多少个可用的模块
ansible-doc -l | grep user	##列出与user有关的模块
ansible-doc user:			##查看user模块的帮助文档,按q退出。也可以在最后一行输入/passwd,来过滤与passwd有关的内容
ansible test -a 'df -h'  	##在test组执行df -h命令
ansible的各个模块
1.ansible的command模块
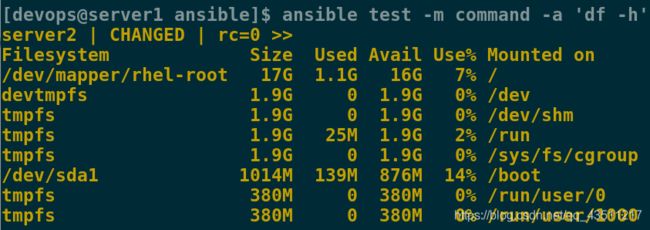
[devops@server1 ansible]$ ansible test -m command -a 'df -h'
test指ansible中test组,-m后指定模块 -a后加这个模块的参数
注意 command模块为默认的模块,如果不-m指定的话,默认使用的command模块
2.copy模块
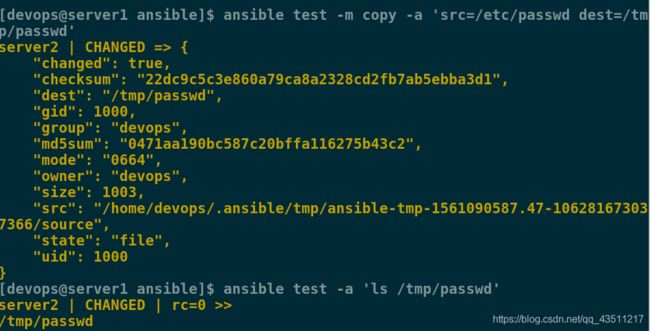
[devops@server1 ansible]$ ansible test -m copy -a 'src=/etc/passwd dest=/tmp/passwd'
src是原文件 dest后是复制到哪里
[devops@server1 ansible]$ ansible test -a 'ls /tmp/passwd'
查看
3.file模块
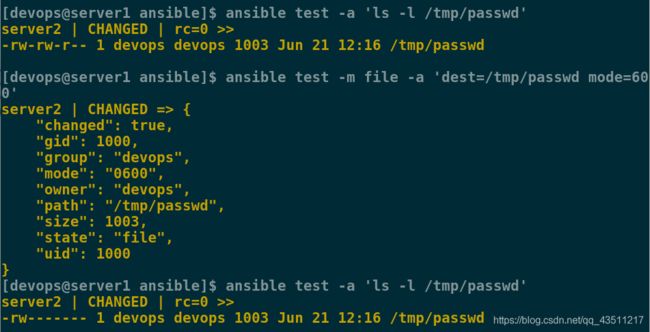
[devops@server1 ansible]$ ansible test -a 'ls -l /tmp/passwd'
[devops@server1 ansible]$ ansible test -m file -a 'dest=/tmp/passwd mode=600'
[devops@server1 ansible]$ ansible test -a 'ls -l /tmp/passwd'
4.yum模块
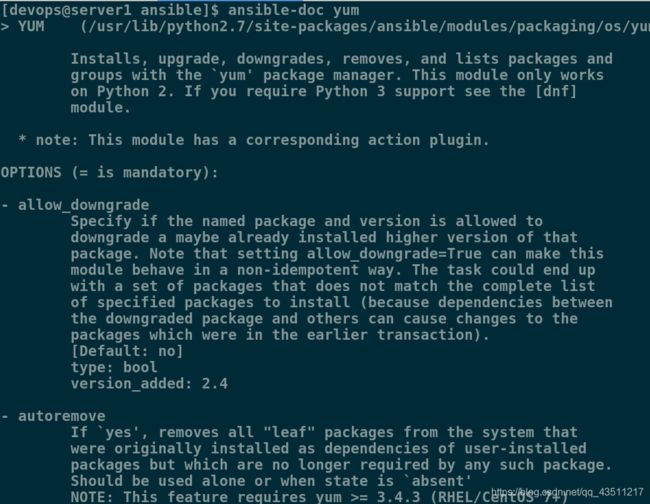
查看yum模块的使用方法:
[devops@server1 ansible]$ ansible-doc yum
==注意:==我们现在使用的是普通用户,没有执行yum命令的权力,需要先配置devops用户的sudo权限
[root@server2 ~]# visudo
## Allow root to run any commands anywhere
root    ALL=(ALL)       ALL
devops        ALL=(ALL)       NOPASSWD: ALL
[root@server3 ~]# visudo
## Allow root to run any commands anywhere
root    ALL=(ALL)       ALL
devops        ALL=(ALL)       NOPASSWD: ALL
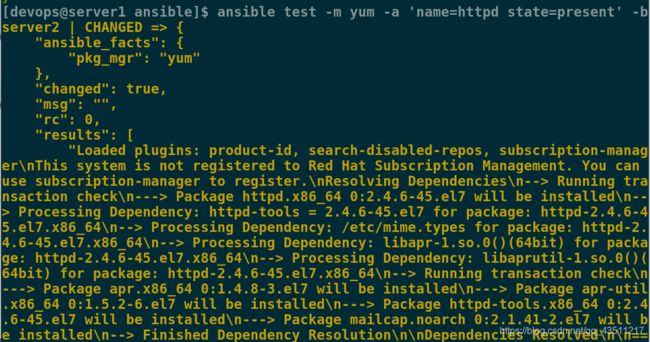
[devops@server1 ansible]$ ansible test -m yum -a 'name=httpd state=present' -b
一定要加入-b选项,否则会报错
[devops@server1 ansible]$ ansible test -m command -a 'rpm -q httpd'
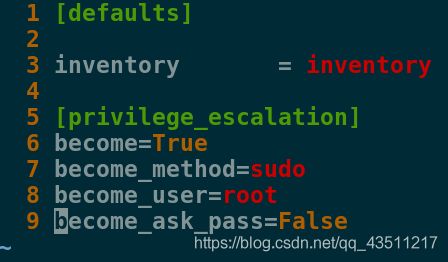
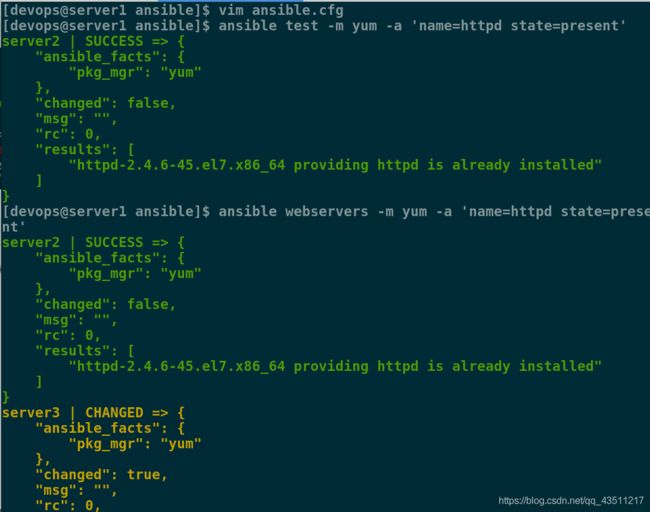
[devops@server1 ansible]$ vim ansible.cfg
  1 [defaults]
  2
  3 inventory       = inventory
  4
  5 [privilege_escalation]
  6 become=True
  7 become_method=sudo
  8 become_user=root
  9 become_ask_pass=False
[devops@server1 ansible]$ ansible test -m yum -a 'name=httpd state=present'
[devops@server1 ansible]$ ansible webservers -m yum -a 'name=httpd state=present'
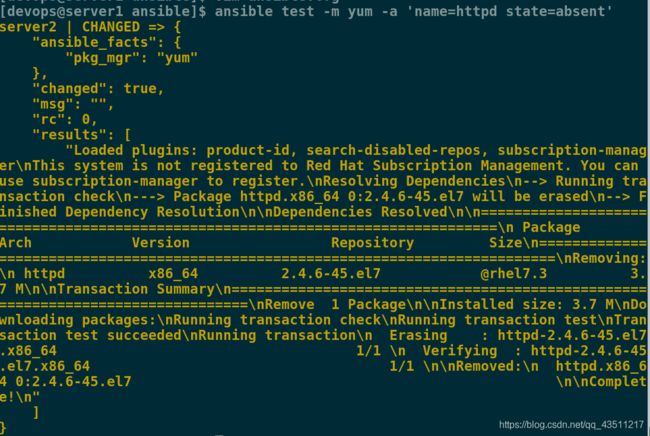
[devops@server1 ansible]$ ansible test -m yum -a 'name=httpd state=absent'
5.service模块
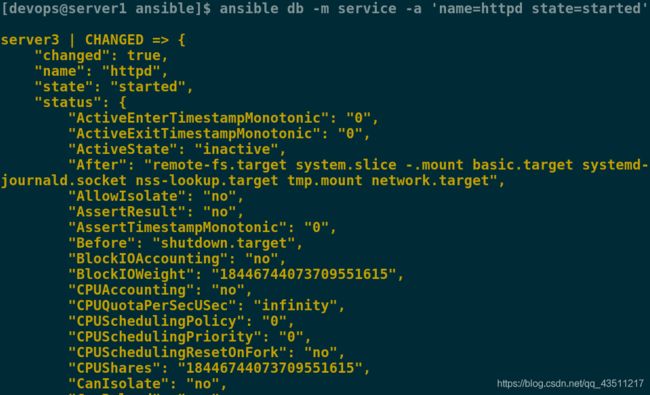
启动db组的httpd服务:
[devops@server1 ansible]$ ansible db -m service -a 'name=httpd state=started'
[devops@server1 ansible]$ curl 172.25.80.3
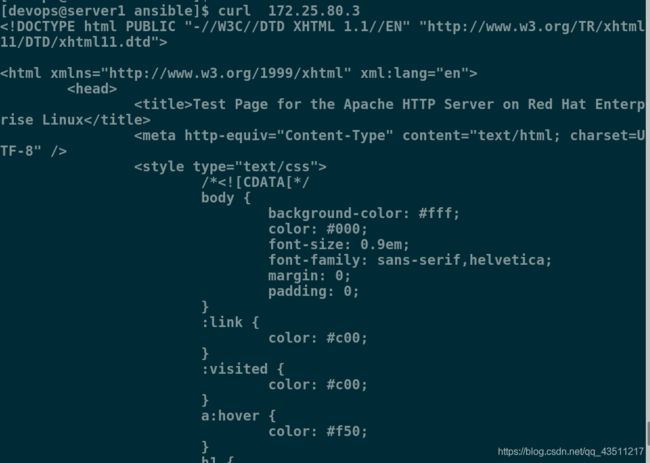
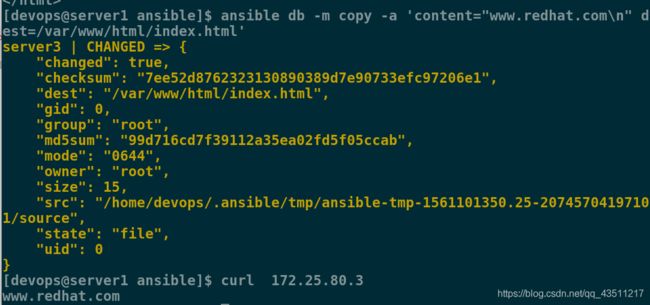
这是server3的httpd服务的默认发布页,我们写一个更加直观的发布页再进行测试:
[devops@server1 ansible]$ ansible db -m copy -a 'content="www.redhat.com\n" dest=/var/www/html/index.html'
[devops@server1 ansible]$ curl  172.25.80.3
6.firewalld模块
如何在开启防火墙的情况下,正常使用httpd服务
首先开启防火墙
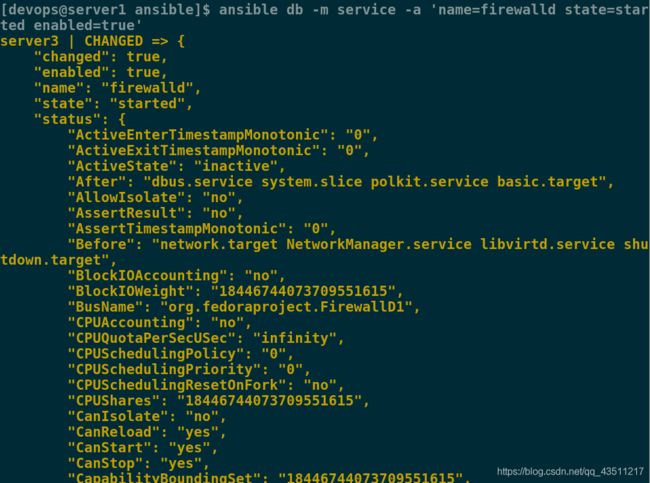
[devops@server1 ansible]$ ansible db -m service -a 'name=firewalld state=started enabled=true'
[devops@server1 ansible]$ curl 172.25.80.3curl: (7) Failed connect to 172.25.80.3:80; No route to host
[devops@server1 ansible]$ ansible db -m firewalld -a 'service=http state=enabled permanent=yes immediate=yes'
[devops@server1 ansible]$ curl  172.25.80.3
