CSS3动画
动画
动画和过渡有些相似,区别之一是但前者可以自己播放,后者需要将鼠标停在标签上。
<head>
    <meta charset="UTF-8">
    <meta name="viewport" content="width=device-width, initial-scale=1.0">
    <title>Documenttitle>
    <style>
        @keyframes move {

            0% {

                transform: translateX(0px);
            }
            100% {

                transform: translateX(1000px)
            }
        }
        div {

            width: 200px;
            height: 200px;
            background-color: hotpink;
            animation: move ;
            animation-duration: 2s;
        }
    style>
head>
<body>
    <div>div>
body>
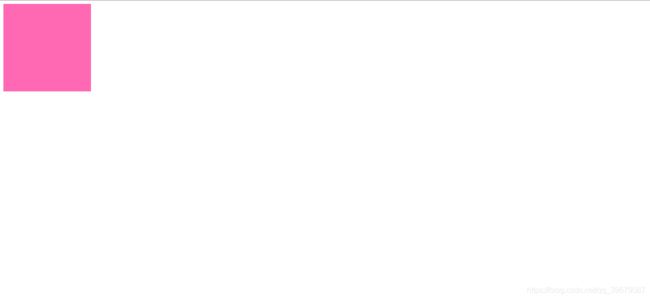
实现将一个div在2s内从0向右移动到1000px的位置。
动画序列
可以实现多个动作,只需设置多个序列:
<head>
    <meta charset="UTF-8">
    <meta name="viewport" content="width=device-width, initial-scale=1.0">
    <title>Documenttitle>
    <style>
        @keyframes move {

            0% {

                transform: translateX(0px);
            }
            25% {

                transform: translate(1000px, 0);
            }
            50% {

                transform: translate(1000px, 800px);
            }
            75% {

                transform: translate(0, 800px);
            }
            100% {

                transform: translateX(0, 0)
            }
        }
        div {

            width: 200px;
            height: 200px;
            background-color: hotpink;
            animation: move ;
            animation-duration: 10s;
        }
    style>
head>
<body>
    <div>div>
body>
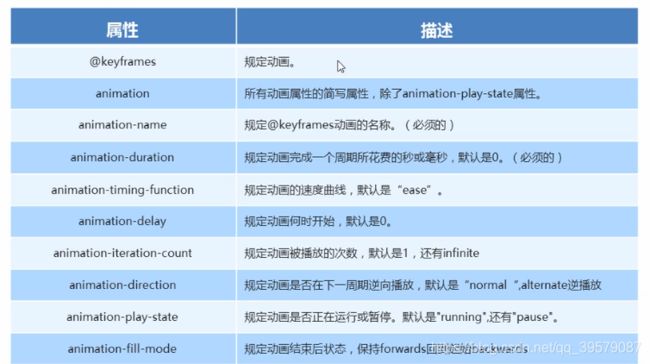
动画属性
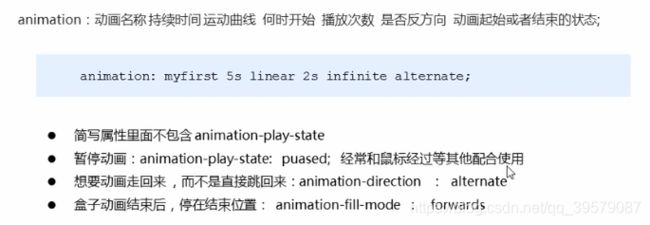
动画属性简写
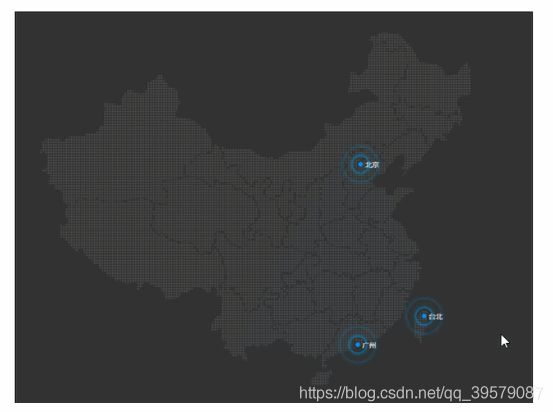
案例 (热点图)
<head>
    <meta charset="UTF-8">
    <meta name="viewport" content="width=device-width, initial-scale=1.0">
    <title>Documenttitle>
    <style>
        body {

            background-color: black;
        }
        .map {

            position: relative;
            width: 747px;
            height: 617px;
            background: url(./media/map.png) no-repeat;
            margin: 0 auto;
        }
        .city {

            position: absolute;
            top: 227px;
            right: 196px;
        }
        .city .dotted {

            width: 8px;
            height: 8px;
            background-color: #09f;
            border-radius: 50%;
        }
        .tb {

            top: 501px;
            right: 82px;
        }
        .city div[class^="pulse"] {

            position: absolute;
            top:50%;
            left: 50%;
            transform: translate(-50%, -50%);
            width: 8px;
            height: 8px;
            border-radius: 50%;
            box-shadow: 0 0 12px #009dfd;
            /* animation: name duration timing-function delay iteration-count direction fill-mode; */
            animation: pulse 1.5s linear infinite;
        }

        @keyframes pulse {

            0% {
      }
            70% {

                height: 40px;
                width: 40px;
                box-shadow: 0 0 12px #009dfd;
                opacity: 1;
            }
            100% {

                height: 70px;
                width: 70px;
                box-shadow: 0 0 12px red;
                opacity: 0;
            }
        }
        .map div.pulse2 {

            animation-delay: .4s;
        }
        .map div.pulse3 {

            animation-delay: .8s;
        }


    style>
head>
<body>
    <div class="map">
        <div class="city">
            <div class="dotted">
            div>
            <div class="pulse1">div>
            <div class="pulse2">div>
            <div class="pulse3">div>
        div>

        <div class="city tb">
            <div class="dotted">
            div>
            <div class="pulse1">div>
            <div class="pulse2">div>
            <div class="pulse3">div>
        div>
    div>
body>
分析:我们以北京举例
- 先弄一个盒子city绝对定位到相应位置,然后再弄一个dotted盒子表示蓝色点,再弄三个盒子pulse表示波纹,注意这三个盒子也要绝对定位,因为如果不这么做三个盒子不会在同一位置(会在三行显示)
- top:50%;
left: 50%;
transform: translate(-50%, -50%);
我们使用上面三句来将波纹居中显示 - 接着给波纹指定大小、阴影、radius(将其变成圆形),然后调用动画(注意这里是给波纹调用动画,而波纹只有边框没有背景颜色,所以变化时只是边框在变化)
- 定义动画,在不同的阶段设置不同的波纹大小、颜色以及透明度,还要将三个波纹的delay错开一下已达到更好的效果。
速度曲线
下面代码的意思是就是在4s内分十步将动画显示完毕,由于文字宽度是20,最终宽度是200,那么每一步都可以输出一个文字。
注意强制文字在一行显示的代码:white-space: nowrap;
<head>
    <meta charset="UTF-8">
    <meta name="viewport" content="width=device-width, initial-scale=1.0">
    <title>Documenttitle>
    <style>
        div {

            width: 0;
            height: 50px;
            font-size: 20px;
            background-color: skyblue;
            overflow: hidden;
            white-space: nowrap;
            animation: w 4s steps(10) forwards;
        }
        @keyframes w {

            0% {


            }
            100% {

                width: 200px;
            }
        }
    style>
head>
<body>
    <div>哈哈哈哈哈哈哈哈哈div>
body>
step 案例
我们做出如下效果:
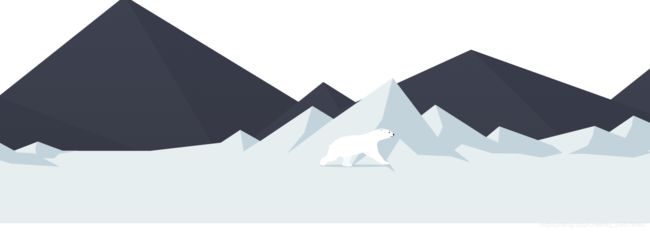
熊从屏幕左侧跑到中间,并在中间保持奔跑姿势,后面的山自右向左移动:
注意repeat-x,它能使背景图片无缝衔接
<head>
    <meta charset="UTF-8">
    <meta name="viewport" content="width=device-width, initial-scale=1.0">
    <title>Documenttitle>
    <style>
        * {

            margin: 0;
            padding: 0;
        }
        body {

            position: relative;
        }
        .m1 {

            position: absolute;
            width: 3840px;
            height: 336px;
            background: url(./media/bg1.png) repeat-x;
            top: 190px;
            animation: montain 10s linear infinite forwards;
        }
        .m2 {

            position: absolute;
            width: 3840px;
            height: 569px;
            background: url(./media/bg2.png) repeat-x;
            /* background-position: 0 0 ; */
            animation: montain 15s linear infinite forwards;
            top: 0;
            left: 0;
        }
        .bear {

            position: absolute;
            top: 300px;
            /* left: 0; */
            width: 200px;
            height: 100px;
            background: url(./media/bear.png) no-repeat;
            animation: bear .5s steps(8) infinite, move 3s forwards;
        }
        @keyframes bear {

            0% {

                background-position: 0 0;
            }
            100% {

                background-position: -1600px 0;
            }
        }
        @keyframes move {

            0% {
      }
            100% {

                margin-left: 50%;
                transform: translateX(-50%);
            }
        }
        @keyframes montain {

            from {

                background-position: 0 0;
            }
            to {

                /* left: -100%; */
                background-position: -3840px 0;
            }
        }
    style>
head>
<body>
    <div class="m2">div>
    <div class="m1">div>
    <div class="bear">div>
body>


