1.2.2_Paint渲染器 Shader的使用
Paint渲染器通过paint.setShader来进行设置
mPaint.setShader(mShader);
canvas.drawRect(0, 0, 500, 500, mPaint);
LinearGradient
线性渲染
/**
* 1.线性渲染,LinearGradient(float x0, float y0, float x1, float y1, @NonNull @ColorInt int colors[], @Nullable float positions[], @NonNull TileMode tile)
* (x0,y0):渐变起始点坐标
* (x1,y1):渐变结束点坐标
* color0:渐变开始点颜色,16进制的颜色表示,必须要带有透明度
* color1:渐变结束颜色
* colors:渐变数组
* positions:位置数组,position的取值范围[0,1],作用是指定某个位置的颜色值,如果传null,渐变就线性变化。
* tile:用于指定控件区域大于指定的渐变区域时,空白区域的颜色填充方法
*/
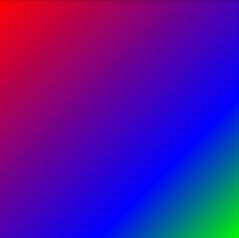
//mShader = new LinearGradient(0,0,500,500,new int[]{Color.RED,Color.BLUE},null, Shader.TileMode.CLAMP);
//mShader = new LinearGradient(0,0,500,500,new int[]{Color.RED,Color.BLUE},new float[]{0.5f,1}, Shader.TileMode.CLAMP);
//mShader = new LinearGradient(0,0,500,500,new int[]{Color.RED,Color.BLUE,Color.GREEN},new float[]{0,0.7f,1}, Shader.TileMode.CLAMP);
RadialGradient
环形渲染
/**
* 环形渲染,RadialGradient(float centerX, float centerY, float radius, @ColorInt int colors[], @Nullable float stops[], TileMode tileMode)
* centerX ,centerY:shader的中心坐标,开始渐变的坐标
* radius:渐变的半径
* centerColor,edgeColor:中心点渐变颜色,边界的渐变颜色
* colors:渐变颜色数组
* stoops:渐变位置数组,类似扫描渐变的positions数组,取值[0,1],中心点为0,半径到达位置为1.0f
* tileMode:shader未覆盖以外的填充模式。
*/
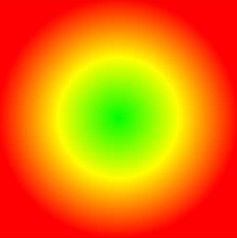
mShader = new RadialGradient(250, 250, 250, new int[]{Color.GREEN, Color.YELLOW, Color.RED}, null, Shader.TileMode.CLAMP);
SweepGradient
扫描渲染
/**
* 扫描渲染,SweepGradient(float cx, float cy, @ColorInt int color0,int color1)
* cx,cy 渐变中心坐标
* color0,color1:渐变开始结束颜色
* colors,positions:类似LinearGradient,用于多颜色渐变,positions为null时,根据颜色线性渐变
*/
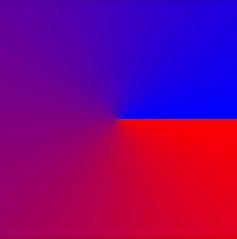
mShader = new SweepGradient(250, 250, Color.RED, Color.BLUE);
BitmapShader
位图渲染
/**
* 位图渲染,BitmapShader(@NonNull Bitmap bitmap, @NonNull TileMode tileX, @NonNull TileMode tileY)
* Bitmap:构造shader使用的bitmap
* tileX:X轴方向的TileMode
* tileY:Y轴方向的TileMode
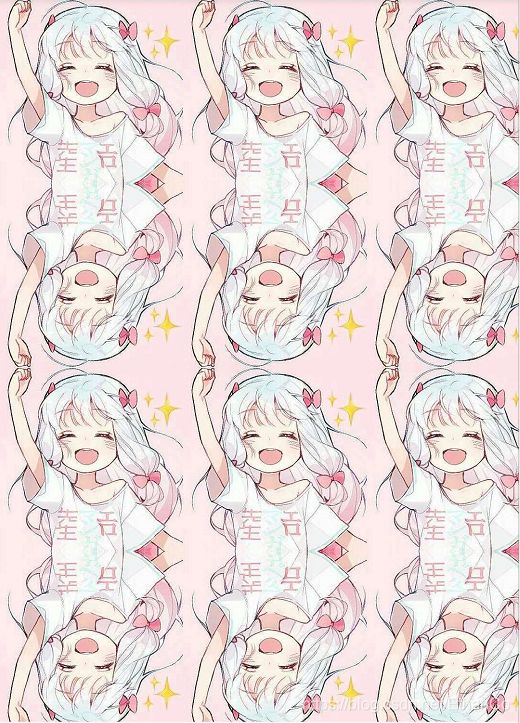
REPEAT, 绘制区域超过渲染区域的部分,重复排版
CLAMP, 绘制区域超过渲染区域的部分,会以最后一个像素拉伸排版
MIRROR, 绘制区域超过渲染区域的部分,镜像翻转排版
*/
mShader = new BitmapShader(mBitmap, Shader.TileMode.REPEAT, Shader.TileMode.MIRROR);
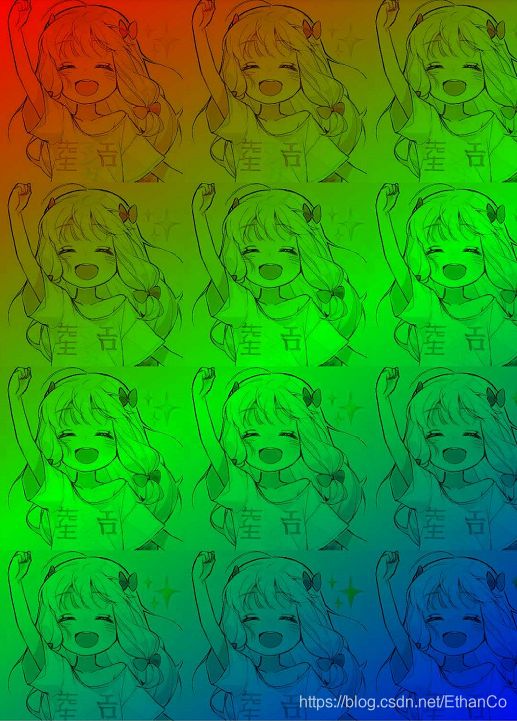
组合渲染
最多支持两种渲染器一起使用
/**
* 组合渲染,
* ComposeShader(@NonNull Shader shaderA, @NonNull Shader shaderB, Xfermode mode)
* ComposeShader(@NonNull Shader shaderA, @NonNull Shader shaderB, PorterDuff.Mode mode)
* shaderA,shaderB:要混合的两种shader
* Xfermode mode: 组合两种shader颜色的模式
* PorterDuff.Mode mode: 组合两种shader颜色的模式
*/
BitmapShader bitmapShader = new BitmapShader(mBitmap, Shader.TileMode.REPEAT, Shader.TileMode.REPEAT);
LinearGradient linearGradient = new LinearGradient(0, 0, 1000, 1600, new int[]{Color.RED, Color.GREEN, Color.BLUE}, null, Shader.TileMode.CLAMP);
mShader = new ComposeShader(bitmapShader, linearGradient, PorterDuff.Mode.MULTIPLY);
mPaint.setShader(mShader);
canvas.drawCircle(250, 250, 250, mPaint);
其他
相关源码
