Opencv项目实战:机器视觉答题卡识别
项目:答题卡识别
github地址
github地址
解决过程如下
预处理
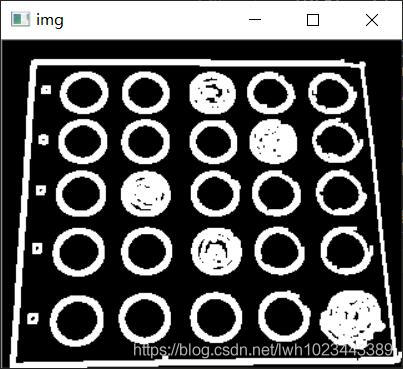
先对图片进行Canny边缘检测,然后进行膨胀操作,膨胀操作的目的在于,如果纸张的外轮廓不是很明显,Canny边缘检测后纸张
外轮廓不连续有小洞,使用膨胀操作填充小洞
处理的结果如下:
轮廓检测
提取面积最大的轮廓MaxContour,并进行自适应轮廓近似,自适应轮廓近似中取epsilon = 0.0001 * 周长
具体代码如下:
#步长设置为周长的0.0001倍,一般来说取epsilon = 0.001倍周长
step = 0.0001 * cv2.arcLength(cnts[0], True)
epsilon = step

#不断递增epsilon直到近似所得轮廓正好包含四个点
while len(cnt) != 4:
    cnt = cv2.approxPolyDP(cnts[0], epsilon, True)

    #步增epsilon
    epsilon += step
处理结果如下:
透视变换
透视变换前需要先进性预处理,把轮廓的四个点按照左上、右上、右下、左下的顺序进行排序,排序部分代码如下:
#将四个轮廓点排序
pts = np.zeros((4, 2), np.float32)

res = np.sum(points, axis=1)
pts[0] = points[np.argmin(res)]
pts[2] = points[np.argmax(res)]

res = np.diff(points, axis=1)
pts[1] = points[np.argmin(res)]
pts[3] = points[np.argmax(res)]
然后找到最大宽和最大高,具体代码如下:
#计算边长
w1 = np.sqrt((pts[0][0] - pts[1][0]) ** 2 + (pts[0][1] - pts[1][1]) ** 2)
w2 = np.sqrt((pts[2][0] - pts[3][0]) ** 2 + (pts[2][1] - pts[3][1]) ** 2)
w = int(max(w1, w2))

h1 = np.sqrt((pts[1][0] - pts[2][0]) ** 2 + (pts[1][1] - pts[2][1]) ** 2)
h2 = np.sqrt((pts[0][0] - pts[3][0]) ** 2 + (pts[0][1] - pts[3][1]) ** 2)
h = int(max(h1, h2))
进行完所有预处理之后,就可以开始我们最后也是最重要的一步——透视变换了,具体的代码如下:
#目标四个点
dst = np.array([
    [0, 0],
    [w - 1, 0],
    [w - 1, h - 1],
    [0, h - 1]
], np.float32)

#透视变换
mat = cv2.getPerspectiveTransform(pts, dst)
paper1 = org1.copy()
paper1 = cv2.warpPerspective(paper1, mat, (w, h))
if show_process:
    imshow(paper1)
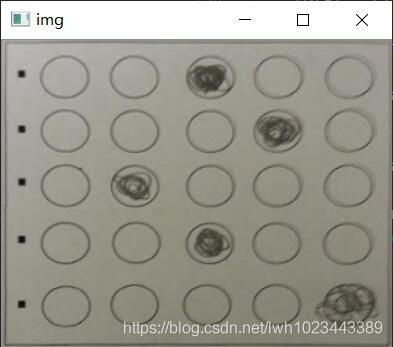
运行结果如下:
预处理
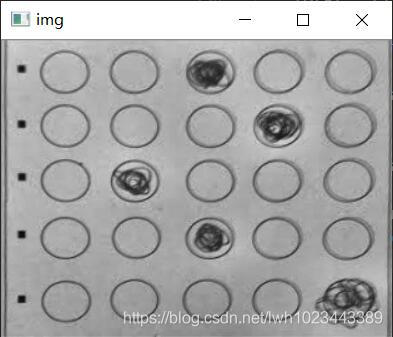
得到透视变换的图片之后,也是先要进行预处理操作,首先为了消除不同图片曝光程度不同的影响,需要先对图片进行自适应直方图均衡化
处理结果如下:
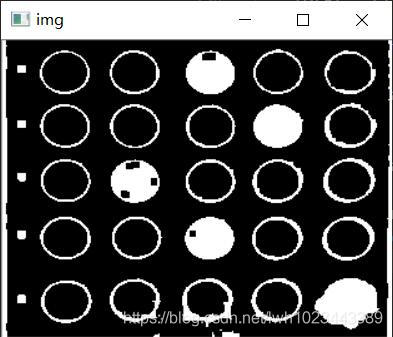
然后对图片进行二值化,以便轮廓检测。但进行完二值化的图片还有一个问题,就是在涂答题卡的时候,如果没有涂的饱满,
就可能会造成检测结果不准确,所以为了使检测结果更加准确,还需要进行闭运算操作,处理后的结果如下:
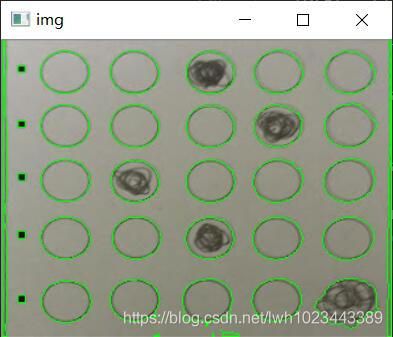
轮廓检测 + 轮廓过滤
首先提取全部轮廓,结果如下:
可以看到提取到了很多轮廓,其中很多都是我们不需要的轮廓,于是我们需要使用一些过滤算法,把我们需要的轮廓(25个椭圆)保留下来
这里的过滤算法步骤如下所示:
- 首先获得待检测轮廓的外接图形,如果是圆,则获得轮廓的外接圆
- 然后可以按照面积过滤,当 轮廓面积 / 外接图形面积 的比值
ratio满足:ratio > 0.8 and ratio < 1.2时符合要求 - 然后可以按照周长过滤,当 轮廓周长 / 外接图形周长 的比值
ratio满足:ratio > 0.8 and ratio < 1.2时符合要求
具体的代码比较复杂,如下:
#用于保存保留下来的轮廓
cntsex = []

#上下边界阈值
thresh_lower = 0.8
thresh_upper = 1.2

eps = 1e-6

show = org1.copy()

for cnt in cnts:

    cntcopy = cnt.copy()

    #按照h方向坐标对轮廓的所有点排序,找到最大的y
    cntcopy = sorted(cntcopy, key=lambda x: x[0][1], reverse=True)
    maxy = cntcopy[0][0][1]

    #按照w方向坐标对轮廓的所有点排序,找到最大的x
    cntcopy = sorted(cntcopy, key=lambda x: x[0][0], reverse=True)
    maxx = cntcopy[0][0][0]

    #获得椭圆的中心
    (x, y), radius = cv2.minEnclosingCircle(cnt)
    center = (int(x), int(y))
    radius = int(radius)

    #获得椭圆的长轴和短轴
    a = maxx - x
    b = maxy - y

    if b == 0:
        continue

    ratio = a / b;
    if ratio > 2 or ratio < 0.5:
        continue

    if radius == 0:
        continue

    #面积过滤
    areaex = np.pi * a * b
    area   = cv2.contourArea(cnt)

    ratio = area / areaex

    if ratio < thresh_upper and ratio > thresh_lower:
        cntsex.append(cnt)

    show = cv2.drawContours(show, [cnt], 0, (0, 255, 0), 1)
    show = cv2.ellipse(show, center, (int(a), int(b)), 0, 0, 360, (0, 0, 255), 1)
在此之后我们就得到了所有比较像椭圆的轮廓,但是这还不够,因为有一些用于装订的椭圆也被保留了下来,可以观察到
这些用于装订的椭圆的特征是他们的面积比答题的椭圆要小得多,于是我们对所有轮廓进行排序,key = 轮廓的面积
然后将面积比较小的通过特定算法过滤掉,具体代码如下:
#第二次过滤
cnts = []
maxarea = -1e6

for cnt in cntsex:
    area = cv2.contourArea(cnt)

    if area > maxarea:
        maxarea = area

maxgap = 0.5 * maxarea

cntsex = sorted(cntsex, key=lambda x: cv2.contourArea(x), reverse=True)

prvarea = cv2.contourArea(cntsex[0])
cnts.append(cntsex[0])

for i in range(1, len(cntsex)):
    if abs(prvarea - cv2.contourArea(cntsex[i])) > maxgap:
        break
    cnts.append(cntsex[i])
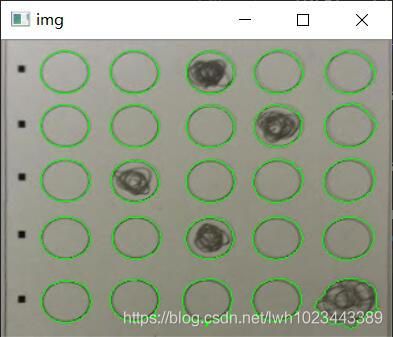
最后的处理结果如下:
排序 + 检测
然后需要按照从上到下,从左到右的顺序对轮廓进行排序,本程序在排序的同时完成检测,具体的代码如下:
#对多个轮廓按照从上到下的顺序排序
cnts = sorted(cnts, key=lambda x: x[0][0][1])

rows = int(len(cnts) / 5)

TAB = ['A', 'B', 'C', 'D', 'E']
ANS = []

#检查每一行(即每一题)的答案
for i in range(rows):
    subcnts = cnts[i*5:(i+1)*5]
    subcnts = sorted(subcnts, key=lambda x: x[0][0][0])

    total = []

    for (j, cnt) in enumerate(subcnts):
        mask = np.zeros(paper1.shape, dtype=np.uint8)
        cv2.drawContours(mask, [cnt], -1, 255, -1) #-1表示填充

        mask = cv2.bitwise_and(paper1, paper1, mask=mask)
        total.append(cv2.countNonZero(mask))

    idx = np.argmax(np.array(total))
    ANS.append(TAB[idx])

print(ANS)
处理结果如下:
