Android动画学习笔记(二)——动画插值器Interpolator
前言:上篇博客我们对补间动画的xml及代码生成做了简单的介绍,今天我们来讲讲动画的一个核心类Interpolator插值器,对于数学好的童鞋来说,学习本节内容就soeasy了!(ps:本人数学很差,都忘光了(^__^) ),废话不多说,让我们一起开动吧。
1、What?(什么是Interpolator?)
/**
 * An interpolator defines the rate of change of an animation. This allows
 * the basic animation effects (alpha, scale, translate, rotate) to be
 * accelerated, decelerated, repeated, etc.
 */
public interface Interpolator extends TimeInterpolator {
    // A new interface, TimeInterpolator, was introduced for the new android.animation
    // package. This older Interpolator interface extends TimeInterpolator so that users of
    // the new Animator-based animations can use either the old Interpolator implementations or
    // new classes that implement TimeInterpolator directly.
}
英文不好,大致翻译一下“插值器就是一个动画变化 的速率,可以让一些基础的动画如(透明、缩放、平移、旋转)加速、减速、重复性等…”
2、why?(Interpolator为什么可以让一些基础的动画如(透明、缩放、平移、旋转)加速、减速、重复性等…)
我们跟着源码撸一遍代码
Interpolator<–TimeInterpolator,我们看到,Interpolator除了实现了TimeInterpolator外什么都行没干,于是我们看看TimeInterpolator。
public interface TimeInterpolator {

    /**
     * Maps a value representing the elapsed fraction of an animation to a value that represents
     * the interpolated fraction. This interpolated value is then multiplied by the change in
     * value of an animation to derive the animated value at the current elapsed animation time.
     *
     * @param input A value between 0 and 1.0 indicating our current point
     *        in the animation where 0 represents the start and 1.0 represents
     *        the end
     * @return The interpolation value. This value can be more than 1.0 for
     *         interpolators which overshoot their targets, or less than 0 for
     *         interpolators that undershoot their targets.
     */
    float getInterpolation(float input);
}
TimeInterpolator 也很简单,只有一个方法getInterpolation,“将动画执行的过程值(0-1.0f)经过我们插值器处理,然后获取一个新的值,当然也可以不处理原样返回,比如(LinearInterxpolator).”
3、How ?(Interpolator怎么工作,以及怎么使用它)
我们在Animation的源码中看到这个一个代码:
 public boolean getTransformation(long currentTime, Transformation outTransformation) {
        if (mStartTime == -1) {
            mStartTime = currentTime;
        }
        .....省略很多代码
         final float interpolatedTime = mInterpolator.getInterpolation(normalizedTime);
        .....省略很多代码
     }
这个方法就是:传入一个当前时间,然后获取当前动画执行的位置
那么getTransformation又是谁调用的呢?我们知道,当我们执行一个动画的时候,我们view.startAnimation(anim)就可以了–>然后view就会调用其invalidate使其重绘–>view调用draw方法重新绘制view–>在draw方法中判断如果有动画的话会执行applyLegacyAnimation方法—>执行动画的a.getTransformation方法—>
下面是View的onDraw方法中的一段代码:
 final Animation a = getAnimation();
        if (a != null) {
            more = applyLegacyAnimation(parent, drawingTime, a, scalingRequired);
            concatMatrix = a.willChangeTransformationMatrix();
            if (concatMatrix) {
                mPrivateFlags3 |= PFLAG3_VIEW_IS_ANIMATING_TRANSFORM;
            }
            transformToApply = parent.getChildTransformation();
        }
—>在applyLegacyAnimation方法中我们看到:
a.getTransformation(drawingTime, invalidationTransform, 1f);—>尼玛,走了半天终于到我们动画方法里面来了,我们看到在Animation中的getTransformation方法:
    public boolean getTransformation(long currentTime, Transformation outTransformation) {
        ///省略代码
        final float interpolatedTime = mInterpolator.getInterpolation(normalizedTime);
            applyTransformation(interpolatedTime, outTransformation);
        ///省略代码
}
—->经过Animation的getTransformation方法,然后我们看到一个叫interpolatedTime 的数据,也就是经过插值器处理过的动画执行到哪的一个位置值—->最后给了applyTransformation方法。
protected void applyTransformation(float interpolatedTime, Transformation t) {
    }
也就是说,ScaleAnimation、RotateAnimation….只需要重写applyTransformation方法,然后对Transformation 中的值进行操作,最后返回到view的draw方法中。
尼玛!!!我们把动画的原理都整个跑了一遍了,小伙伴应该明白动画的原理的吧,不懂没关系,多跑几遍源码就可以啦^_^,同样,插值器怎么工作的应该也明白。
最后我们怎么用插值器呢?
//new 一个插值器,然后设置给动画类就可以了
scaleAnimation.setInterpolator((Interpolator) obj);
Android api中自带有几个插值器,它们分别是:
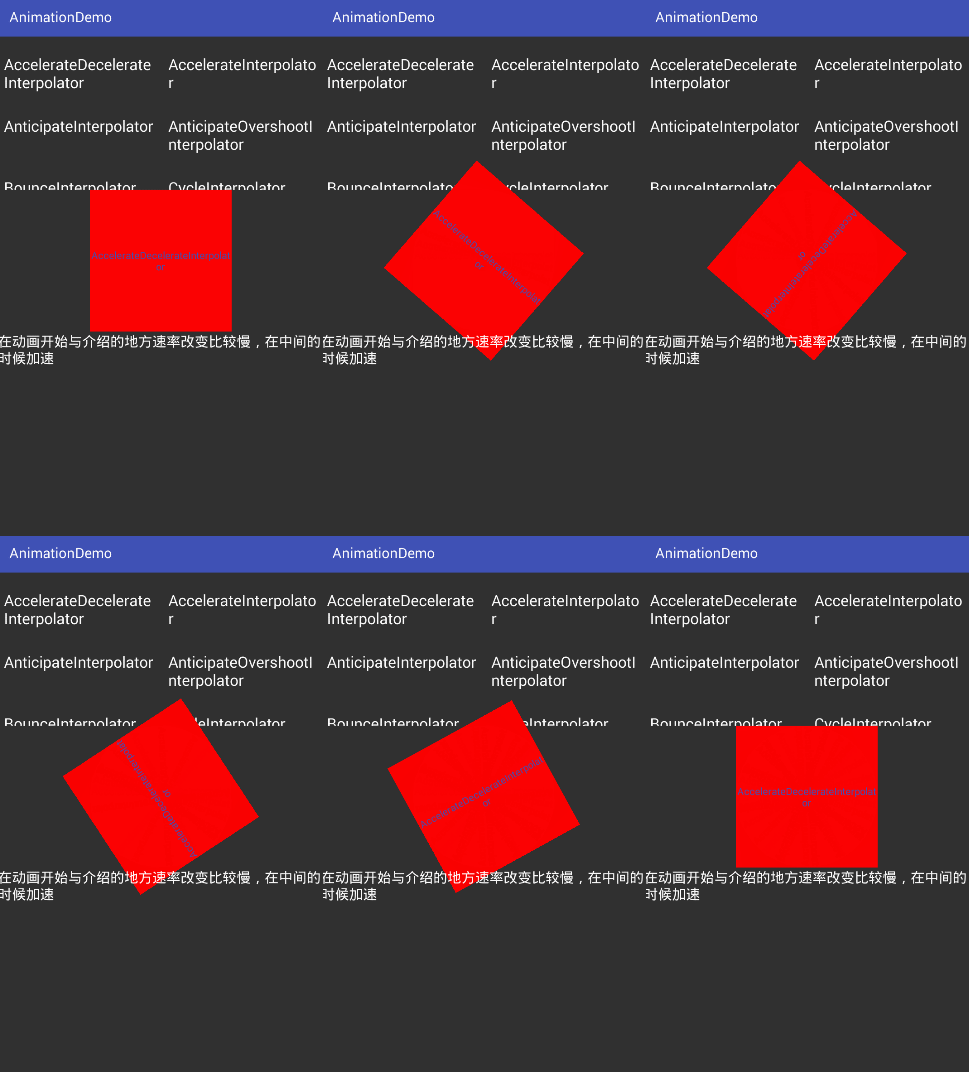
- AccelerateDecelerateInterpolator 在动画开始与结束的地方速率改变比较慢,在中间的时候加速
- AccelerateInterpolator 在动画开始的地方速率改变比较慢,然后开始加速
- AnticipateInterpolator 开始的时候向后然后向前甩
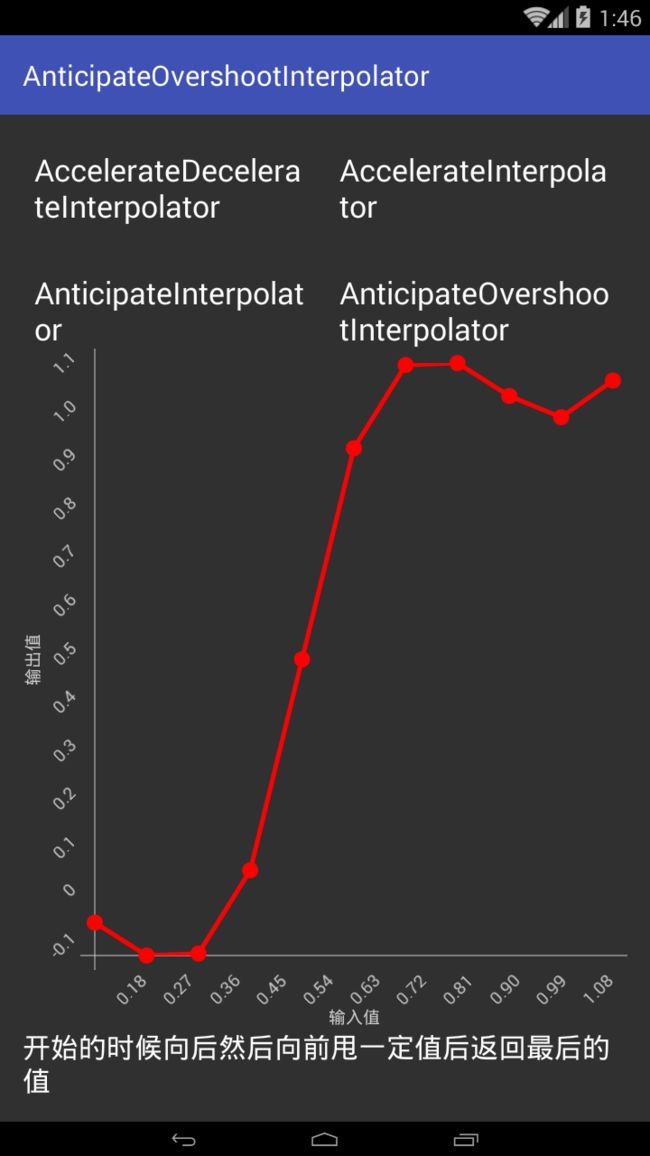
- AnticipateOvershootInterpolator 开始的时候向后然后向前甩一定值后返回最后的值
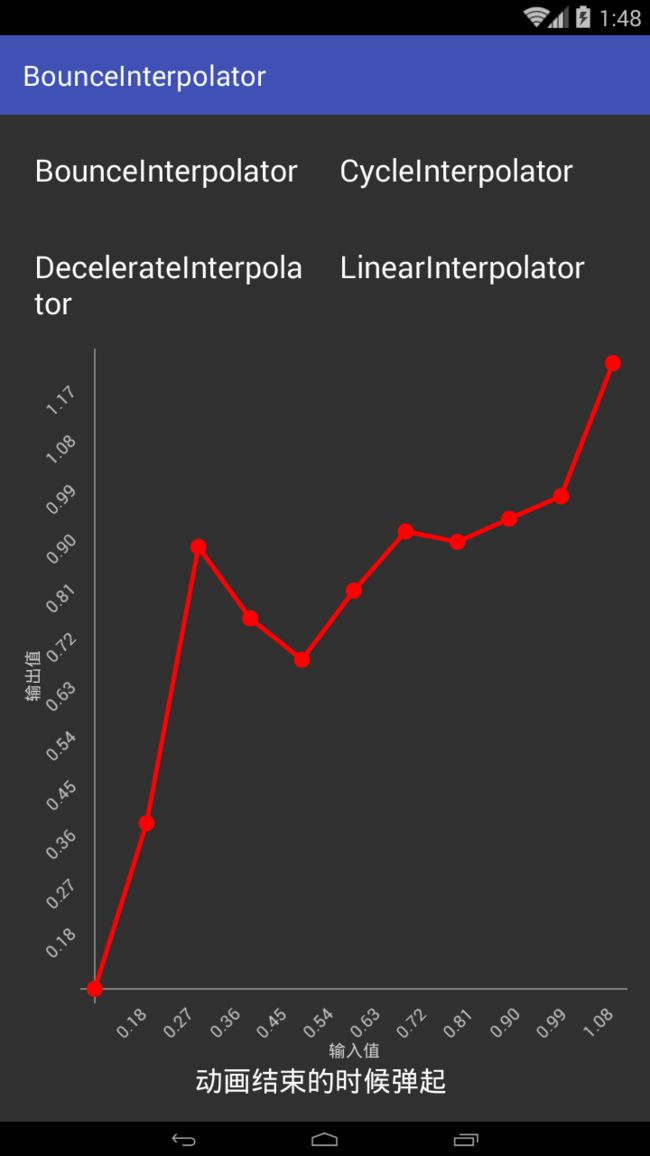
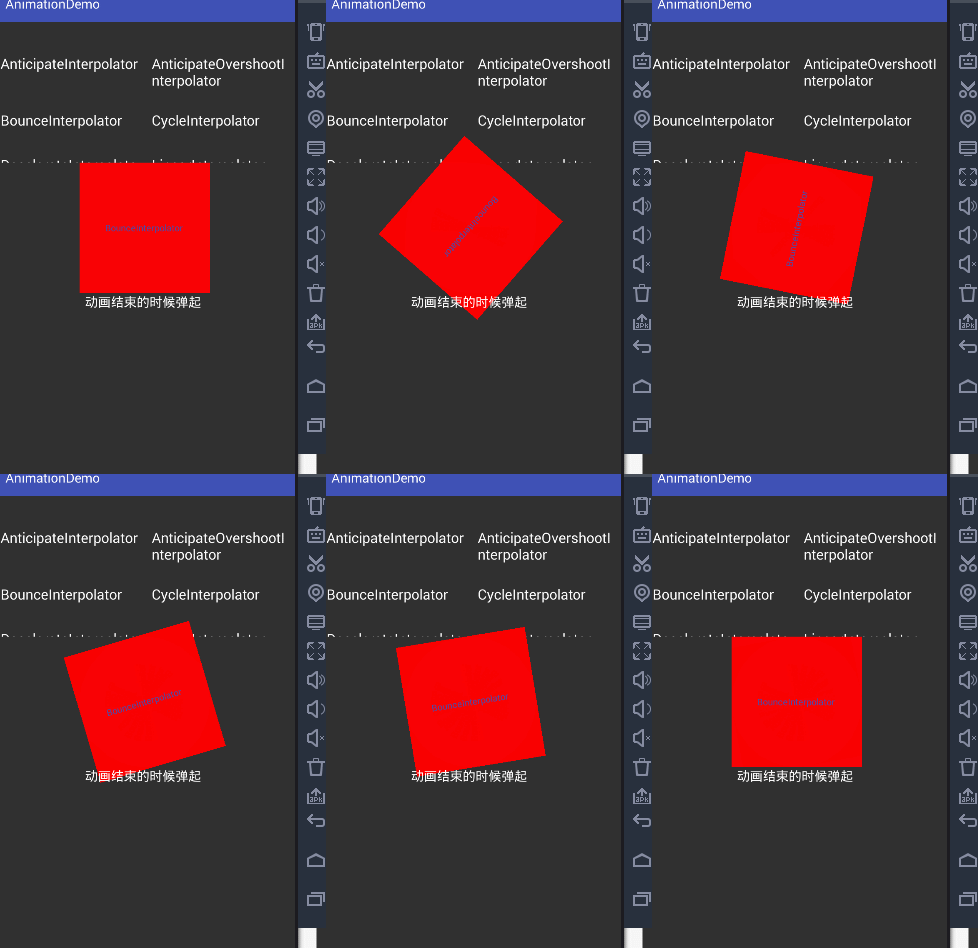
- BounceInterpolator 动画结束的时候弹起
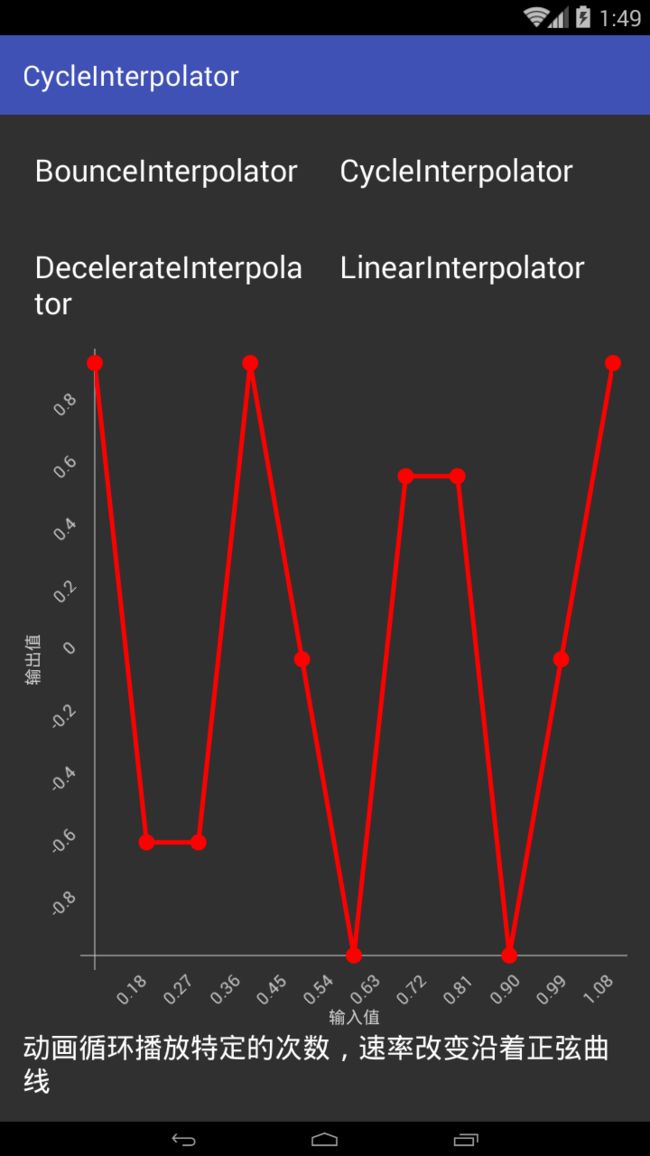
- CycleInterpolator 动画循环播放特定的次数,速率改变沿着正弦曲线
- DecelerateInterpolator 在动画开始的地方快然后慢
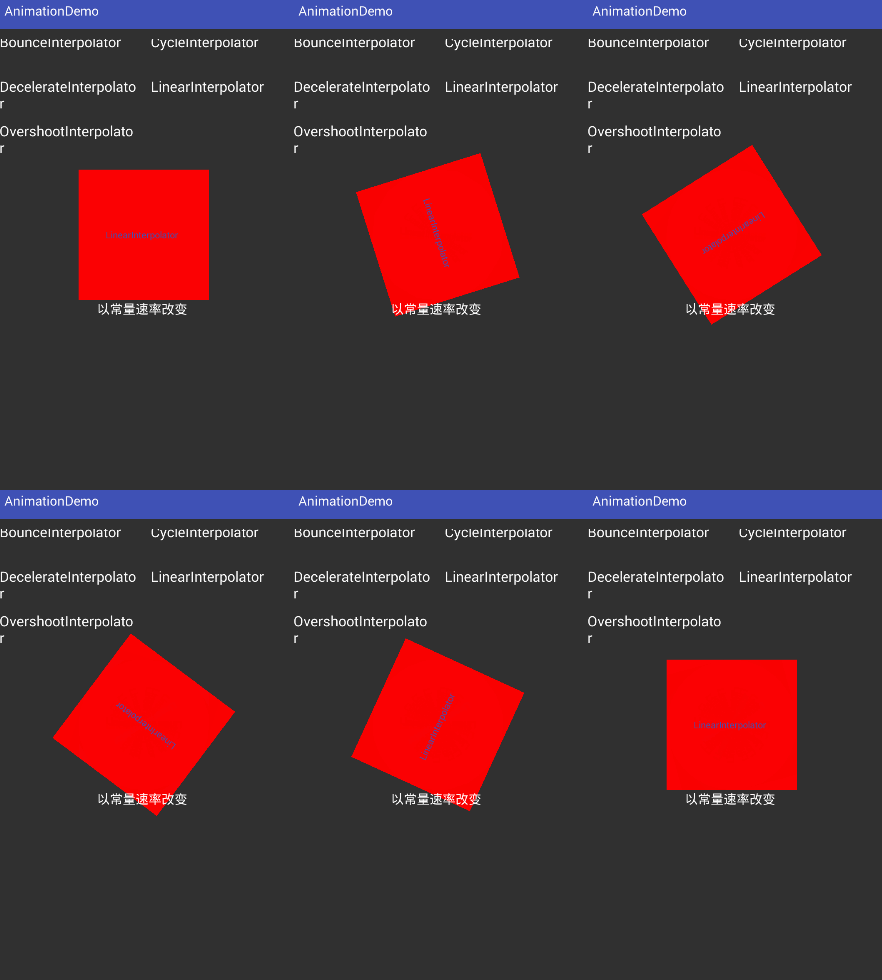
- LinearInterpolator 以常量速率改变
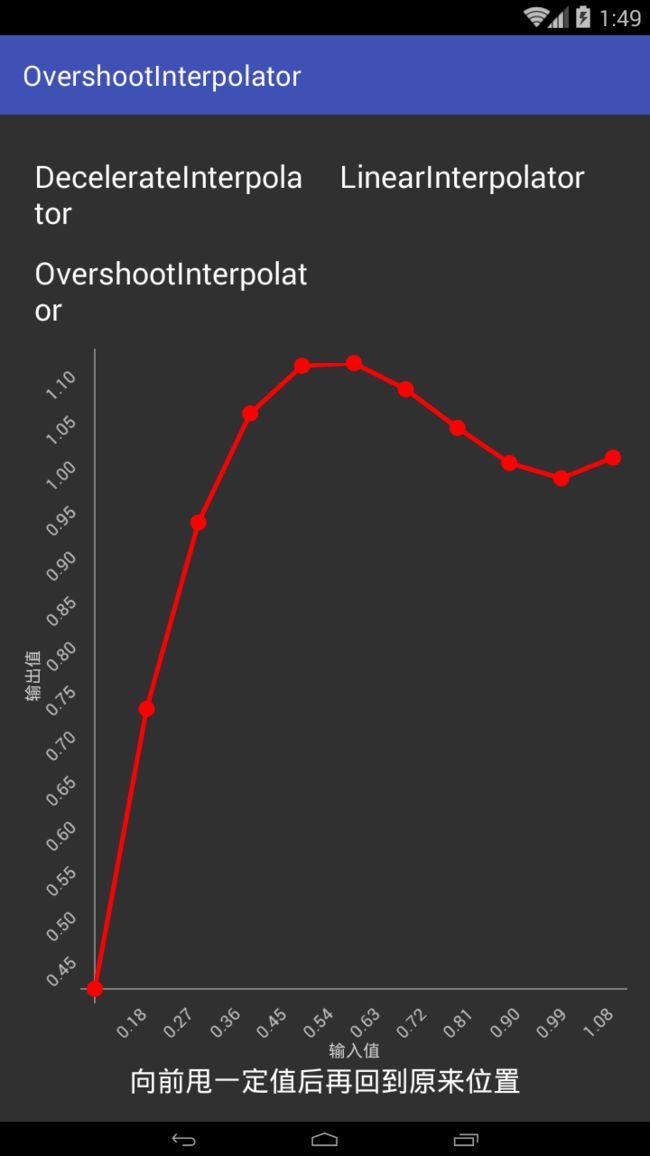
- OvershootInterpolator 向前甩一定值后再回到原来位置
在xml中可以这样使用:
android:interpolator=@android:anim/accelerate_decelerate_interpolator在java代码中直接创建即可:
        AnimationSet set = new AnimationSet(true);
        set.setInterpolator(new AccelerateDecelerateInterpolator());
其实吧,这些插值器也都是一些算法,将平滑的0-0.1f范围中的值,进行输入输出转变,接下来我们结合图像一个一个分析一下:
3、AnticipateInterpolator(开始的时候向后然后向前甩)

4、AnticipateOvershootInterpolator开始的时候向后然后向前甩一定值后返回最后的值
5、BounceInterpolator(动画结束的时候弹起)
6、CycleInterpolator(动画循环播放特定的次数,速率改变沿着正弦曲线)
7、DecelerateInterpolator(在动画开始的地方快然后慢)
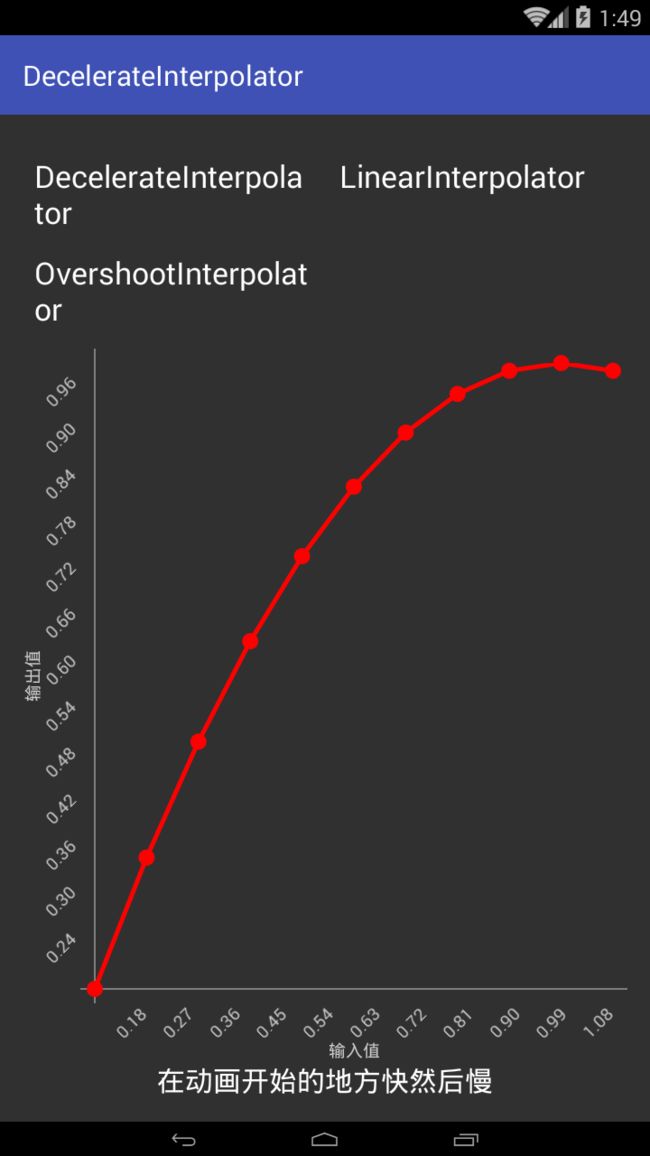
8、LinearInterpolator(以常量速率改变)
9、OvershootInterpolator(向前甩一定值后再回到原来位置)
好啦!!系统自带的插值器我们是介绍完了,小伙伴们有没有点感觉了呢?
我们以LinearInterpolator插值器为例:
@HasNativeInterpolator
public class LinearInterpolator extends BaseInterpolator implements NativeInterpolatorFactory {

    public LinearInterpolator() {
    }

    public LinearInterpolator(Context context, AttributeSet attrs) {
    }

    public float getInterpolation(float input) {
        return input;
    }

    /** @hide */
    @Override
    public long createNativeInterpolator() {
        return NativeInterpolatorFactoryHelper.createLinearInterpolator();
    }
}可见,LinearInterpolator是以常量的方式原样返回了input(物理好的同学说,是不是可以看做匀速直线运动呢?(^__^) 嘻嘻……)
当然,也可以自己定义一个插值器,然后重写下getInterpolation,对input进行处理即可。
说了这么多,我们都还没有实战过的,下面我们围绕旋转动画对各个插值器做一下效果对比(也可以直接拖我的github链接demo查看,链接最后会给出):
我们创建一个从0旋转到360度的Translate动画:
private RotateAnimation rotateAnimation = new RotateAnimation(0, 360, Animation.RELATIVE_TO_SELF, 0.5f, Animation.RELATIVE_TO_SELF, 0.5f);1、AccelerateDecelerateInterpolator(在动画开始与结束的地方速率改变比较慢,在中间的时候加速)
2、AccelerateInterpolator(在动画开始的地方速率改变比较慢,然后开始加速)

3、AnticipateInterpolator(开始的时候向后然后向前甩)

4、AnticipateOvershootInterpolator(开始的时候向后然后向前甩一定值后返回最后的值)
5、BounceInterpolator(动画结束的时候弹起)
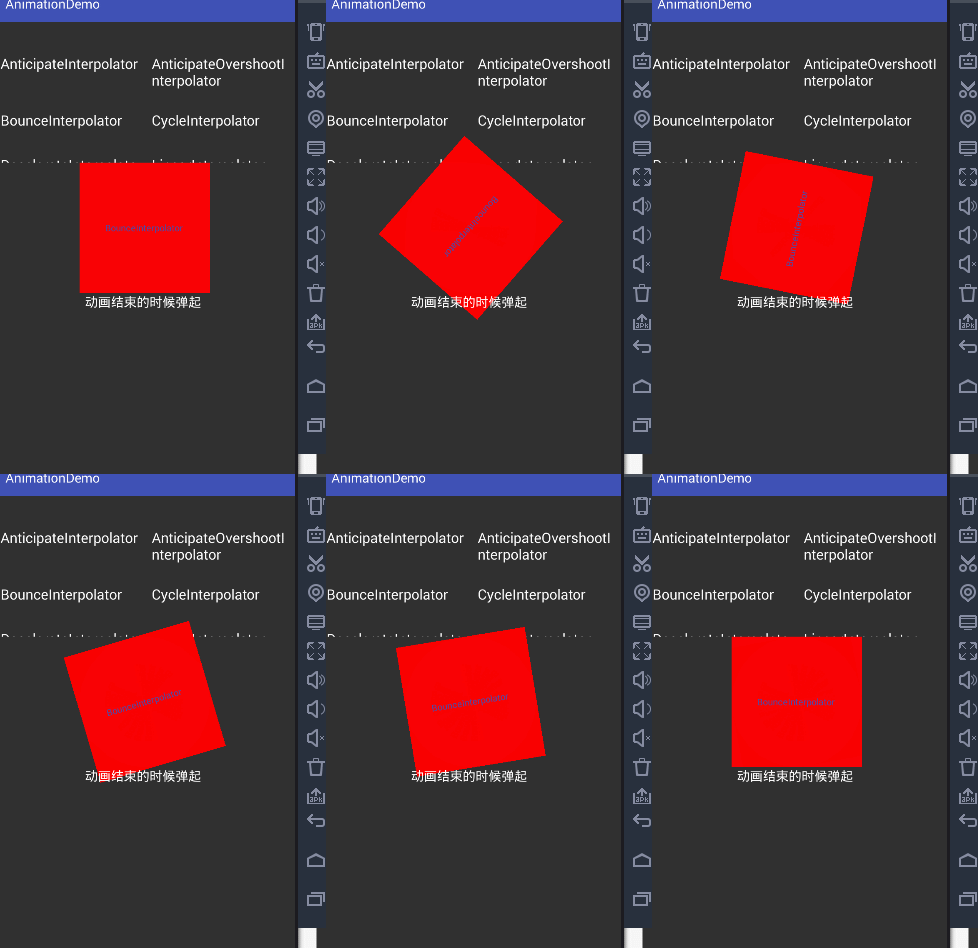
6、CycleInterpolator(动画循环播放特定的次数,速率改变沿着正弦曲线)
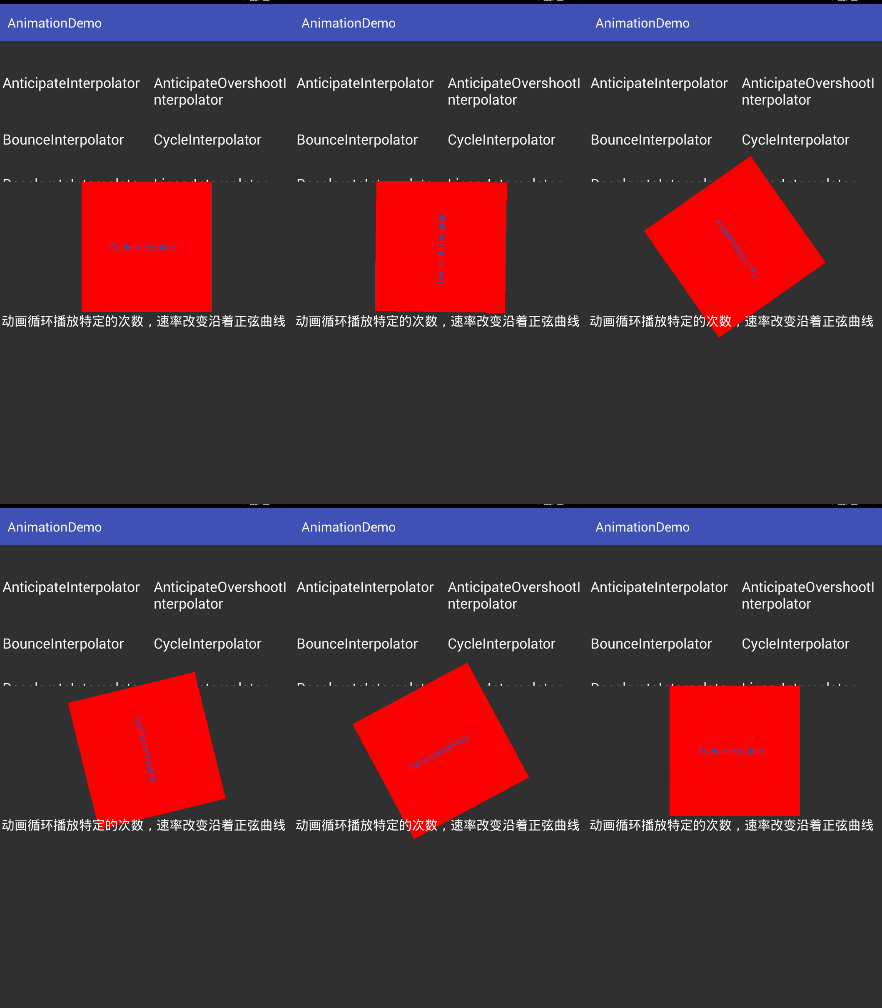
7、DecelerateInterpolator(在动画开始的地方快然后慢)
8、LinearInterpolator(以常量速率改变)
9、OvershootInterpolator(向前甩一定值后再回到原来位置)
还有几个动画的测试我就直接上效果图了,要研究的童鞋我最后会给github链接。
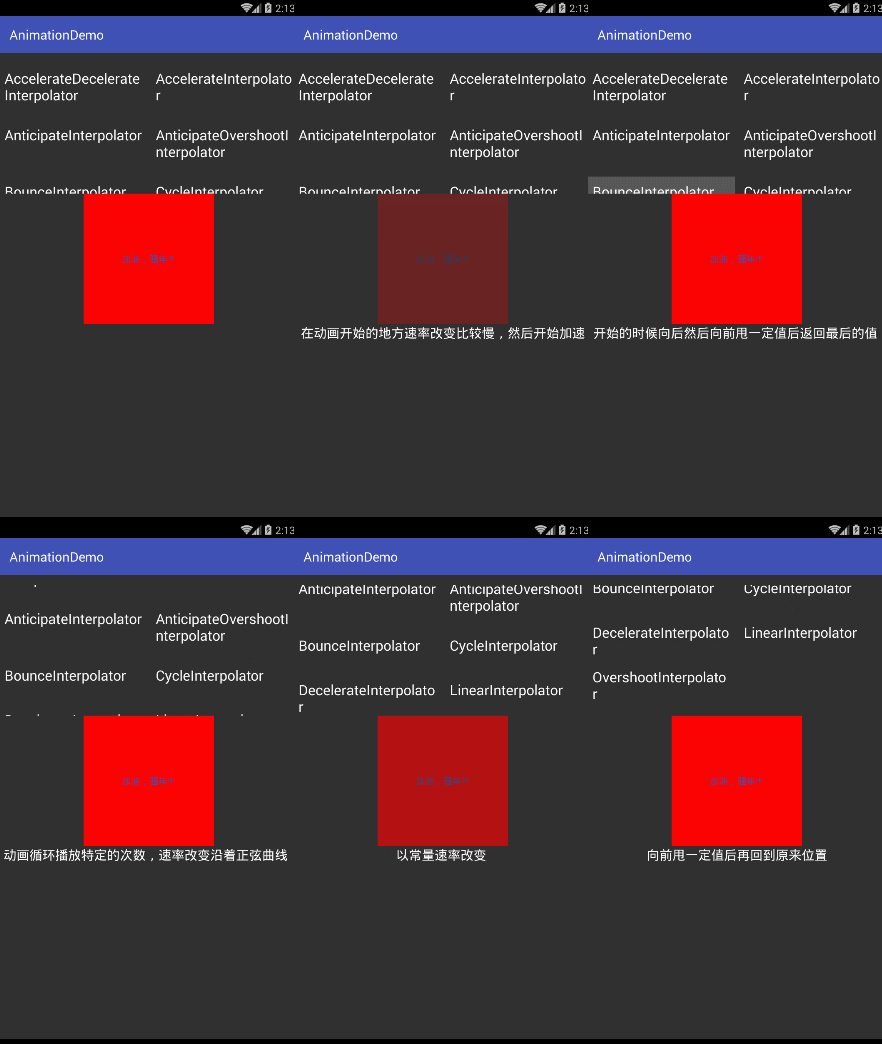
ScaleAnimation插值器测试:
好啦!!插值器部分就到这里了,喜欢的小伙伴几个点个赞哈。
github链接https://github.com/913453448/AnDemo


