Gradle整合jetty的第一个HelloWorld工程
Jetty是一个开源的Servlet容器和应用服务器,与tomact服务器有着相同的作用,可部署自己的web应用。现在gradle的使用越来越多,不需要手动导入jar包进行配置。通过配置所需的依赖项和一些编译运行的jar包即可完美运行。
现在开始写我们的第一个以jetty运行的HelloWorld工程吧,之前还需要一些准备工作。
Gradle安装
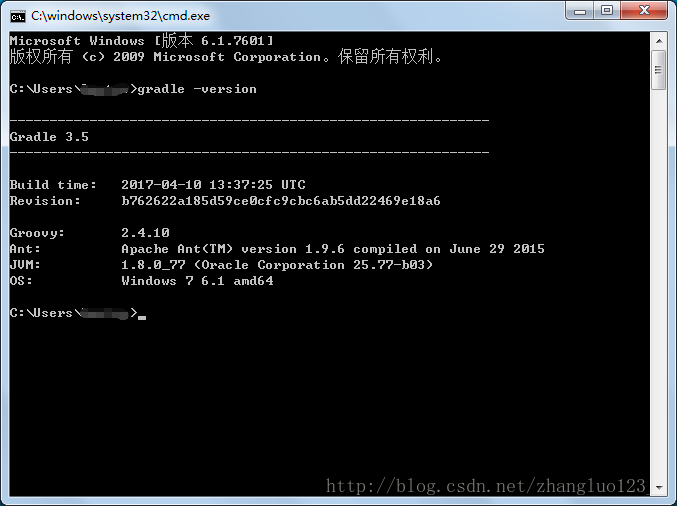
以eclipse为开发工具,需要先安装配置好gradle插件。安装gradle可在官网,有时访问太慢可选择这里去下载一个相对稳定的版本,解压到某个英文路径下,在环境变量中配置相关信息。配置完成后在cmd下执行
gradle -version
即可看到你说安装的gradle版本信息

Eclipse安装buildship插件
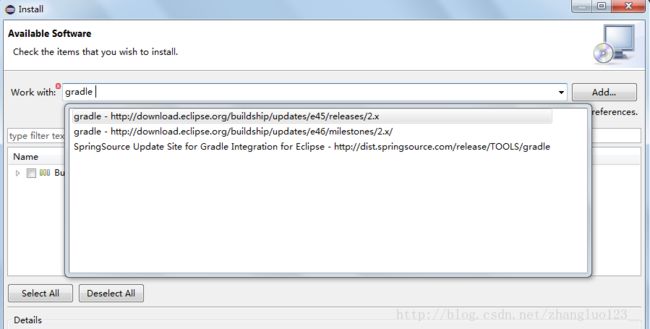
可选择在help->Install New Software中通过地址安装Gradle
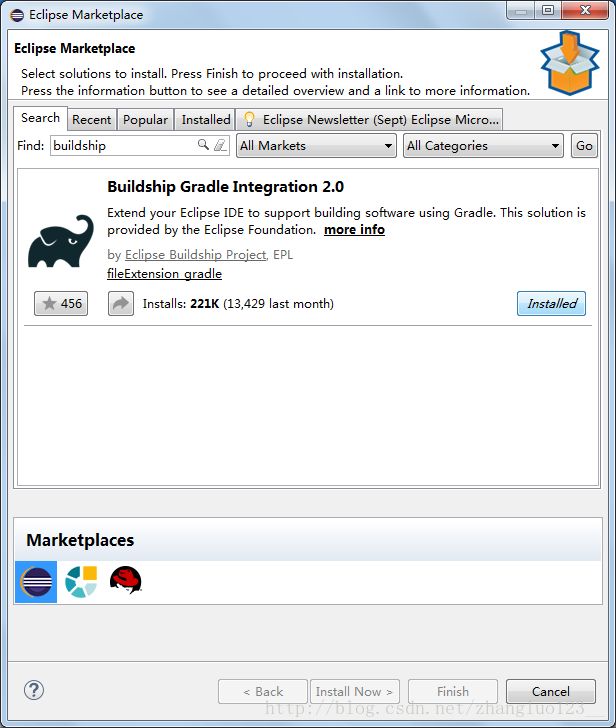
或者help->Eclipse MarketPlace中搜索buildship插件直接安装。
这里我选择的第二种,因为大部分最近发布的eclipse版本都会有自带的buildship,相对容易。然后配置Gradle的一些参数,完成后即可看到下图:
如果选择第一种,在Install New Software中输入gradle -会有相应的地址提示出来或者按图中地址手动进行输入,选择一个进行安装即可。

进行完以上操作后,重启eclipse后在File->New->Other中可找到Gradle Project的选择,我们接下来就可以进行工程的创建了。
创建Gradle Project
创建出默认配置的Gradle工程后,首先需要在你的用户目录下(C:\Users\你的用户名.m2)替换一个叫repository的文件夹,其中包含了jetty的相关jar包。在build.gradle中进行以下信息的添加:
repositories {
    // Use jcenter for resolving your dependencies.
    // You can declare any Maven/Ivy/file repository here.
     maven{url 'C:/Users/你的用户名/.m2/repository'}
}

dependencies {
    compile 'commons-dbcp:commons-dbcp:1.4'
    compile 'com.h2database:h2:1.4.193'
    compile 'org.eclipse.jetty.aggregate:jetty-all:9.4.6.v20170531'
    runtime "org.slf4j:slf4j-api:1.6.6"
    runtime 'log4j:log4j:1.2.12'
    runtime 'org.eclipse.jetty:apache-jsp:9.4.6.v20170531'
    testImplementation 'junit:junit:4.12'
}
jar{
   exclude("**/log4j.properties")
   exclude("**/log4j.xml")
}
在build.gradle右键refresh可加载本地仓库下的依赖包到项目中。
在src->main下新建一个webapp文件夹,里面新建WEB_INF文件包含web.xml, index.html和存放jar包的lib文件夹。
web.xml中配置你的servlet的路径映射信息:
    <servlet>
        <servlet-name>helloServletservlet-name>
        <servlet-class>
                      package1.package2.servlet.HelloController
        servlet-class>
    servlet>

    <servlet-mapping>
        <servlet-name>helloServletservlet-name>
        <url-pattern>/hello/controllerurl-pattern>
    servlet-mapping>
接下来在helloController(继承自HttpServlet)中写入你想要请求的页面信息或其他数据,这里例如请求index.html中信息,
HelloController.java
@Override
protected void doGet(HttpServletRequest req, HttpServletResponse resp) throws ServletException, IOException {
        req.getRequestDispatcher("index.html");
}
再新建一个执行启动的类Main.java
package training.adv.jetty;

import java.io.File;
import java.lang.management.ManagementFactory;

import org.eclipse.jetty.annotations.AnnotationConfiguration;
import org.eclipse.jetty.io.SelectChannelEndPoint;
import org.eclipse.jetty.jmx.MBeanContainer;
import org.eclipse.jetty.plus.jndi.Resource;
import org.eclipse.jetty.plus.webapp.EnvConfiguration;
import org.eclipse.jetty.plus.webapp.PlusConfiguration;
import org.eclipse.jetty.server.Server;
import org.eclipse.jetty.webapp.Configuration;
import org.eclipse.jetty.webapp.FragmentConfiguration;
import org.eclipse.jetty.webapp.JettyWebXmlConfiguration;
import org.eclipse.jetty.webapp.WebAppContext;

import training.adv.db.DatabaseUtils;

public class EmbeddedJettyServer {
    private static final int HTTPPORT = 8084;
    private static Server server;
    //root是你要发布的项目名称
    private static final String CONTEXT = "/root";

    public static void main(String[] args) throws Exception {
        server = new Server(HTTPPORT);

        MBeanContainer mbContainer = new MBeanContainer(ManagementFactory.getPlatformMBeanServer());
        server.addBean(mbContainer);

        WebAppContext wac = new WebAppContext();
        wac.setServer(server);
        wac.setContextPath(CONTEXT);
        File warfile = new File("src/main/webapp");
        wac.setWar(warfile.getAbsolutePath());
        wac.setExtractWAR(true);

        Configuration.ClassList classlist =
                Configuration.ClassList.setServerDefault(server);
        classlist.addAfter(FragmentConfiguration.class.getName(),
                EnvConfiguration.class.getName(), PlusConfiguration.class.getName());
        classlist.addBefore(JettyWebXmlConfiguration.XML_CONFIGURATION,
                AnnotationConfiguration.class.getName());

        server.setHandler(wac);
        server.setStopAtShutdown(true);
        try {
            server.start();
            server.join();
        } catch (Exception e) {
            e.printStackTrace();
        }
    }
}
执行后即可启动,在浏览器中输入你的localhost:8084/root/hello/controller
即可看到相应的index.html信息。

