Windows Azure VM Role (2) 创建VHDVHD
《Windows Azure Platform 系列文章目录》
在开始本次教学之前,请安装Windows Server 2008 R2的操作系统,并且添加Hyper-V组件,最后还需要准备Windows Server 2008 R2的英文版ISO镜像。
主要的步骤如下:
- 使用Hyper-V创建基于Windows Server 2008 R2的VHD
- 在VHD里,安装Windows Server 2008 R2企业版操作系统(必须是英文版,可以是试用版,在这里下载)
- 在VHD里,安装IIS和.NET Framework
- 在VHD做收尾工作
- 将VHD上传到Windows Azure VM Image里
现在开始我们的教学:
一.使用Hyper-V创建VHD
1.打开Hyper-V Manager
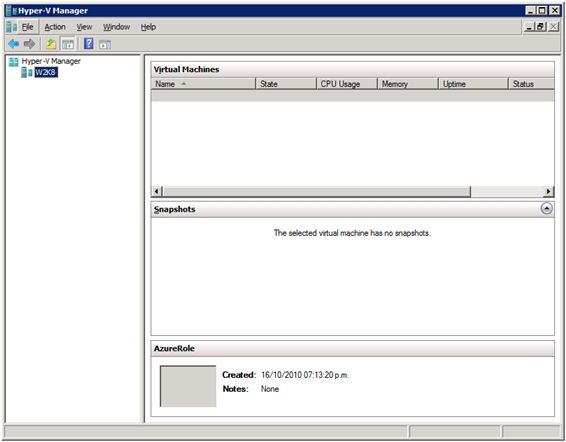
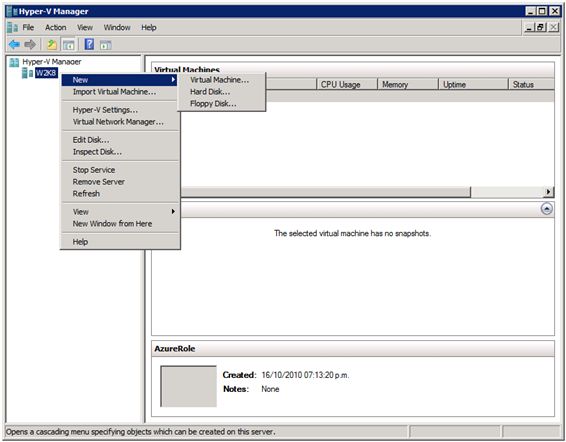
2.在Hyper-V Manager里,右键server name,然后New-> VIrtual Machine,在欢迎窗口里直接选择"Next"
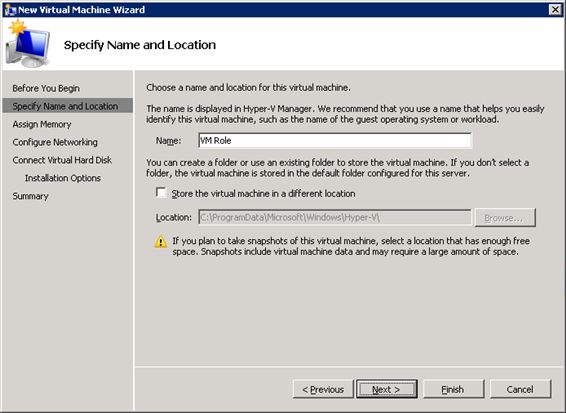
3.在"Specify Name and Location"里,Name输入"VM Role",然后选择"Next"
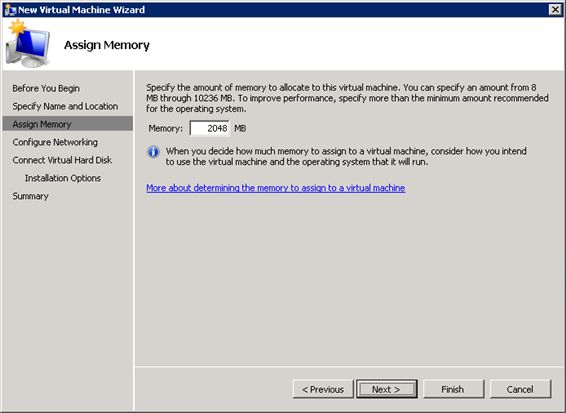
4.在"Assign Memory"里,Memory设置成2048MB
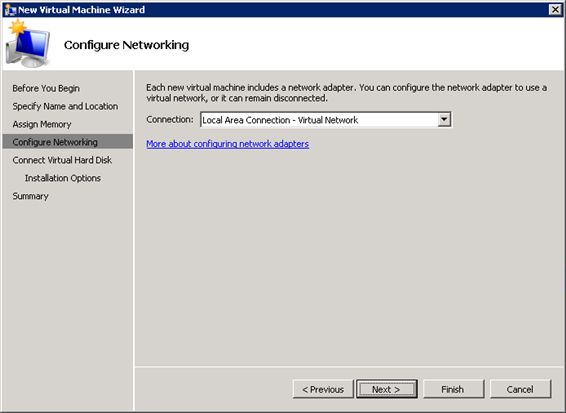
5.在"Configure Networking"里,选择"Local Area Connection - Virtual Network"。这一步的主要功能是为了能让Server 2008 VHD通过网络更新Windows Update。
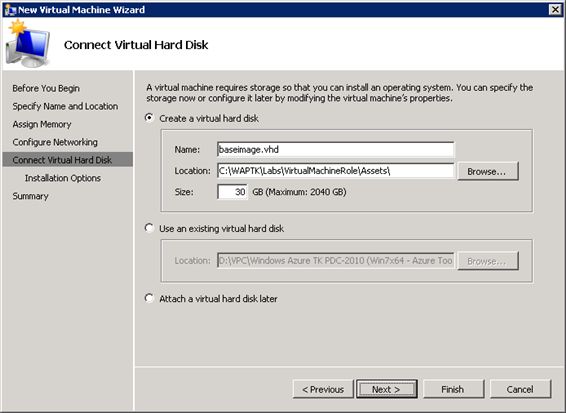
6.在"Connect Virtual Disk"里,选择"Create a virtual hard disk"
- 在Name里输入VHD的名称(注意不要包含空格),我们这里输入baseimage.vhd
- 在Location设置这个VHD在本次磁盘的路径
- 在Size里设置这个VHD的大小,我们设置成30G
Azure VM Size和VHD Size的关系如下:
| Windows Azure VM size | Maximum mounted VHD size |
|---|---|
| Extra Small |
15 GB |
| Small |
35 GB |
| Medium, Large, or Extra Large |
65 GB |
具体可以参考MSDN文章:《How to Create the Base VHD for a VM Role in Windows Azure》 http://msdn.microsoft.com/en-us/library/windowsazure/gg465391.aspx
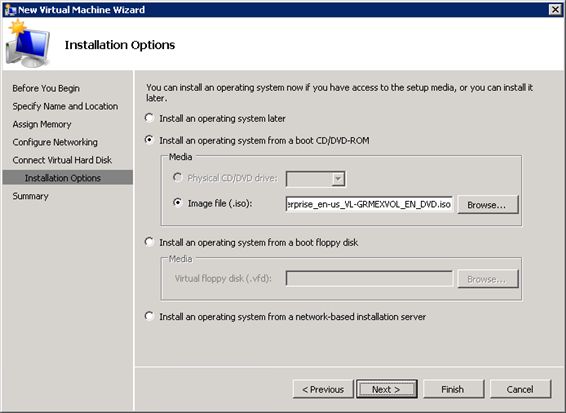
7.在"Installation Option"里,点击"Browse"浏览Windows Server 2008 R2的ISO文件,然后选择"Next"
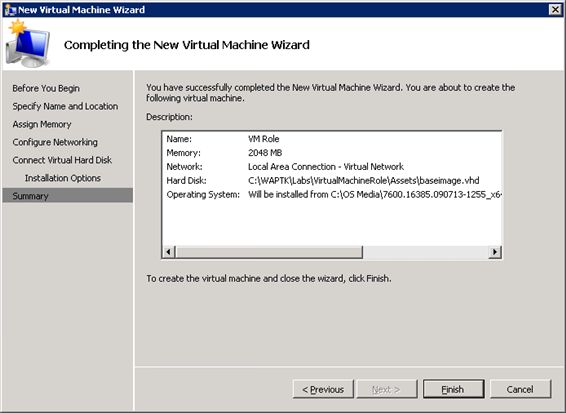
8.点击"Finish"完成创建VHD
9.在"Hyper-V Manager" -> "Virtual Machine"里,就能看到我们之前创建的Virtual Machine,然后选择"Connect"。如果没有看到,请右键 -> "Refresh"
10.在"Virtual Machine Connection"窗口里,点击"Start",启动Virtual Machine
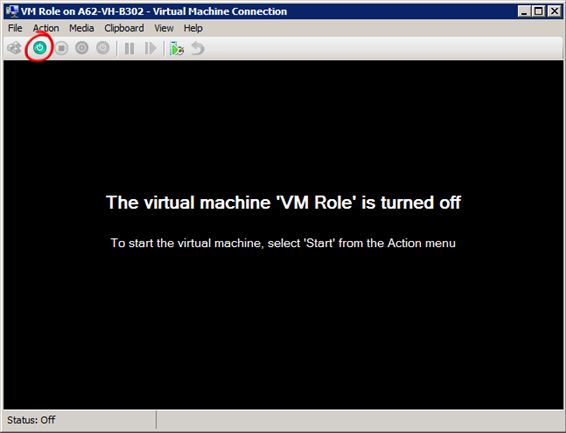
11.启动完Virtual Machine之后,我们就开始安装Windows Server 2008 R2的步骤。