Seata-server 1.4.0下载及安装(附百度云下载地址)
前言
百度云下载较慢,这里博主梯子下载好放进了百度网盘
百度云下载地址:
链接:https://pan.baidu.com/s/1yorT07pwG0m-fQRiI0Mg_Q
提取码:04og
并且,这里给出seata官方文档
安装及配置
下载之后,需要修改file.conf和registry.conf两个文件,其中为保险起见,先给file.conf做个备份

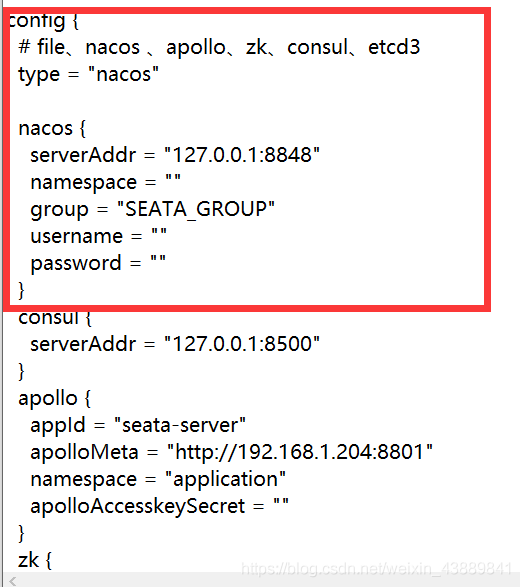
这里博主使用nacos作注册中心,所以type的file要改成nacos

同时,也用nacos作配置中心,所以config的type也要改成nacos。

继续对file.conf进行配置,这里本来默认配置mode为file,我们改成db,并且配置数据库的账号和密码。

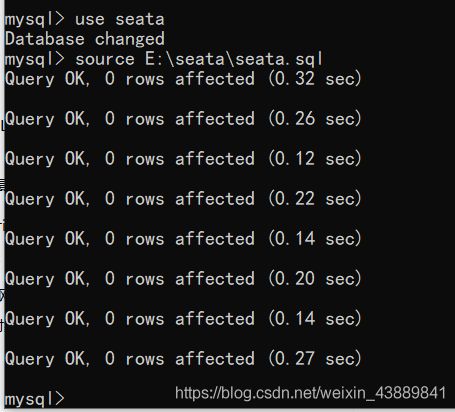
细心的小伙伴可能也发现了,这里seata默认会去连接我们本机的seata数据库,所以需要创建seata数据库,并创建一些表


seata.sql如下,由于本文重在下载安装seata,日后再在一篇新博文介绍seata的思想以及与微服务框架的整合,这里只简单说明一下,以下几张表是为保存seata起作用中保留数据而建立的。
drop table if exists `global_table`;
create table `global_table` (
  `xid` varchar(128)  not null,
  `transaction_id` bigint,
  `status` tinyint not null,
  `application_id` varchar(32),
  `transaction_service_group` varchar(32),
  `transaction_name` varchar(128),
  `timeout` int,
  `begin_time` bigint,
  `application_data` varchar(2000),
  `gmt_create` datetime,
  `gmt_modified` datetime,
  primary key (`xid`),
  key `idx_gmt_modified_status` (`gmt_modified`, `status`),
  key `idx_transaction_id` (`transaction_id`)
);

-- the table to store BranchSession data
drop table if exists `branch_table`;
create table `branch_table` (
  `branch_id` bigint not null,
  `xid` varchar(128) not null,
  `transaction_id` bigint ,
  `resource_group_id` varchar(32),
  `resource_id` varchar(256) ,
  `lock_key` varchar(128) ,
  `branch_type` varchar(8) ,
  `status` tinyint,
  `client_id` varchar(64),
  `application_data` varchar(2000),
  `gmt_create` datetime,
  `gmt_modified` datetime,
  primary key (`branch_id`),
  key `idx_xid` (`xid`)
);

-- the table to store lock data
drop table if exists `lock_table`;
create table `lock_table` (
  `row_key` varchar(128) not null,
  `xid` varchar(96),
  `transaction_id` long ,
  `branch_id` long,
  `resource_id` varchar(256) ,
  `table_name` varchar(32) ,
  `pk` varchar(36) ,
  `gmt_create` datetime ,
  `gmt_modified` datetime,
  primary key(`row_key`)
);

-- the table to store seata xid data
-- 0.7.0+ add context
-- you must to init this sql for you business databese. the seata server not need it.
-- 此脚本必须初始化在你当前的业务数据库中,用于AT 模式XID记录。与server端无关(注:业务数据库)
-- 注意此处0.3.0+ 增加唯一索引 ux_undo_log
drop table if exists `undo_log`;
CREATE TABLE `undo_log` (
  `id` bigint(20) NOT NULL AUTO_INCREMENT,
  `branch_id` bigint(20) NOT NULL,
  `xid` varchar(100) NOT NULL,
  `context` varchar(128) NOT NULL,
  `rollback_info` longblob NOT NULL,
  `log_status` int(11) NOT NULL,
  `log_created` datetime NOT NULL,
  `log_modified` datetime NOT NULL,
  `ext` varchar(100) DEFAULT NULL,
  PRIMARY KEY (`id`),
  UNIQUE KEY `ux_undo_log` (`xid`,`branch_id`)
) ENGINE=InnoDB AUTO_INCREMENT=1 DEFAULT CHARSET=utf8;
启动Nacos作注册中心和配置中心
在启动seata前,我们应该启动注册中心和配置中心,本文使用Nacos,故应先启动Nacos
Nacos百度云下载及安装
启动Nacos后

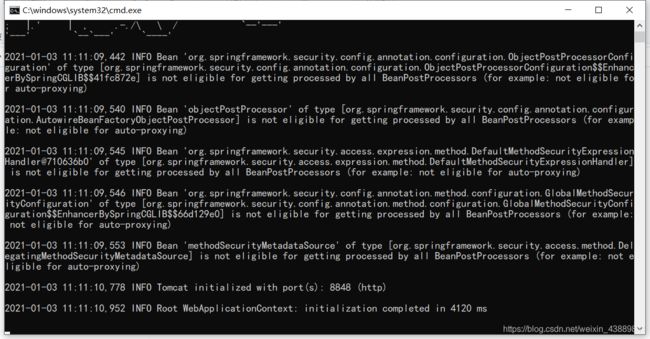
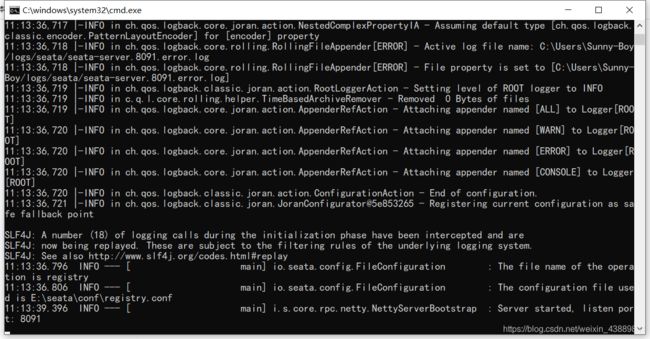
再去启动seata-server,seata已经为我们写好了启动的bat脚本,双击即可。


在Nacos注册中心中,可以看到已注册成功
