02 介绍
1:
2: #Cleanup
3: # Run as root, of course
4:
5: cd /var/log
6: cat /dev/null > messages
7: cat /dev/null > wtmp
8:
9: echo "Log cleaned up."
1: #!/bin/bash
2: # Proper header for a Bash script.
3:
4: # Cleanup, version 2
5:
6: # Run as root, of course.
7: # Insert code here to print error message and exit if not root.
8:
9: LOG_DIR=/var/log
10: # Variables are better than hard-coded values.
11: cd $LOG_DIR
12:
13: cat /dev/null > messages
14: cat /dev/null > wtmp
15:
16: echo "Logs cleaned up."
17:
18: exit # The right and proper method of "exiting" from a script.
1: #!/bin/bash
2: # Cleanup, version 3
3:
4: # Warning:
5: # ---------------------------------------------
6: # This script uses quite a number of features that will be explained
7: #+ later on.
8: # By the time you've finished the first halt of the book,
9: #+ there should be nothing mysterious about it.
10:
11:
12:
13: LOG_DIR=/var/log
14: ROOT_UID=0 # only users with $UID 0 have root privileges.
15: LINES=50 # default number of lines saved.
16: E_XCD=66 # can't change directory ?
17: E_NOTROOT=67 # Non-root exit error.
18:
19:
20:
21:
22: # Run as root, of course.
23: if [ "$UID" -ne "$ROOT_UID" ]
24: then
25: echo "Must be root to run this script."
26: exit $E_NOTROOT
27: fi
28:
29: if [ -n "$1" ]
30: # Test if command line argument present(non-empty).
31: then
32: lines=$1
33: else
34: lines=$LINES # default, if not specified on command line.
35: fi
36:
37:
38: # Stephane Chazelas suggests the following,
39: #+ as a better way of checking command line arguments,
40: #+ but this is still a bit advanced for this stage of the tutorial.
41: #
42: # E_WORNGARGS=65 # Non-numerical argument (bad arg format)
43: #
44: # case "$1" in
45: # "" ) lines=50;;
46: # *[!0-9]*) echo "Usage: `basename $0` file-to-cleanup"; exit $E_WRONGARGS;;
47: # * ) lines=$1;;
48: # esac
49: #* Skip ahead to "Loops" chapter to decipher all this.
50:
51: cd $LOG_DIR
52:
53: if [ `pwd` != "$LOG_DIR" ] # or if ["$PWD" != "$LOG_DIR" ]
54: # Not in /var/log?
55: then
56: echo "Can't change to $LOG_DIR."
57: exit $E_XCD
58: fi # Doublecheck if in right directory, before messing with log file.
59:
60: # far more efficient is:
61: #
62: # cd /var/log || {
63: # echo "Cannot change to necessary directory." >&2
64: # exit $E_XCD;
65: # }
1. 注意使用 模块化的编程方法
2. 使用变量代替常量, 这样可以做到一改全改
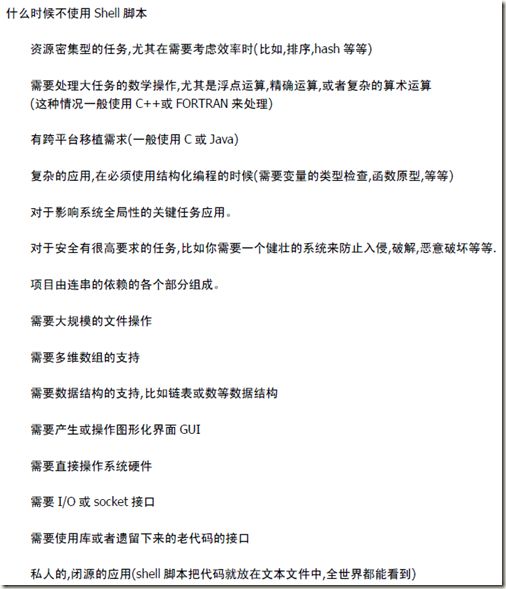
什么时候不使用 sheill
调用一个脚本
两种方法, 使用 sh 来执行脚本, 不过不推荐这种做法, 因为这样禁用了脚本从 stdin 中读数据的功能. 更方便的方法是让脚本本身就具有可执行权限, 通过 chmod 命令可以修改.
比如: chmod 555 scriptname
chmod +rx scriptname (注意+号后边不能有空格)
chmod u+rx scriptname (只给脚本所有者增加读和执行的权限)
最后, 在脚本测试没问题之后, 你可能想把它移动到 /usr/local/bin, 来让你的脚本对所有用户都可以使用, 这样直接敲脚本名字就可以运行了
注意:
1. unix 味道的脚本, #! /bin/sh, 即在 ! 后要有个空格.
2. #! 任务是命令解释器, 另外这个要在第 1 行
