Android评论功能的制作详解
第一步的话就是我们的布局文件的制作:主要是我们的MainActivity文件
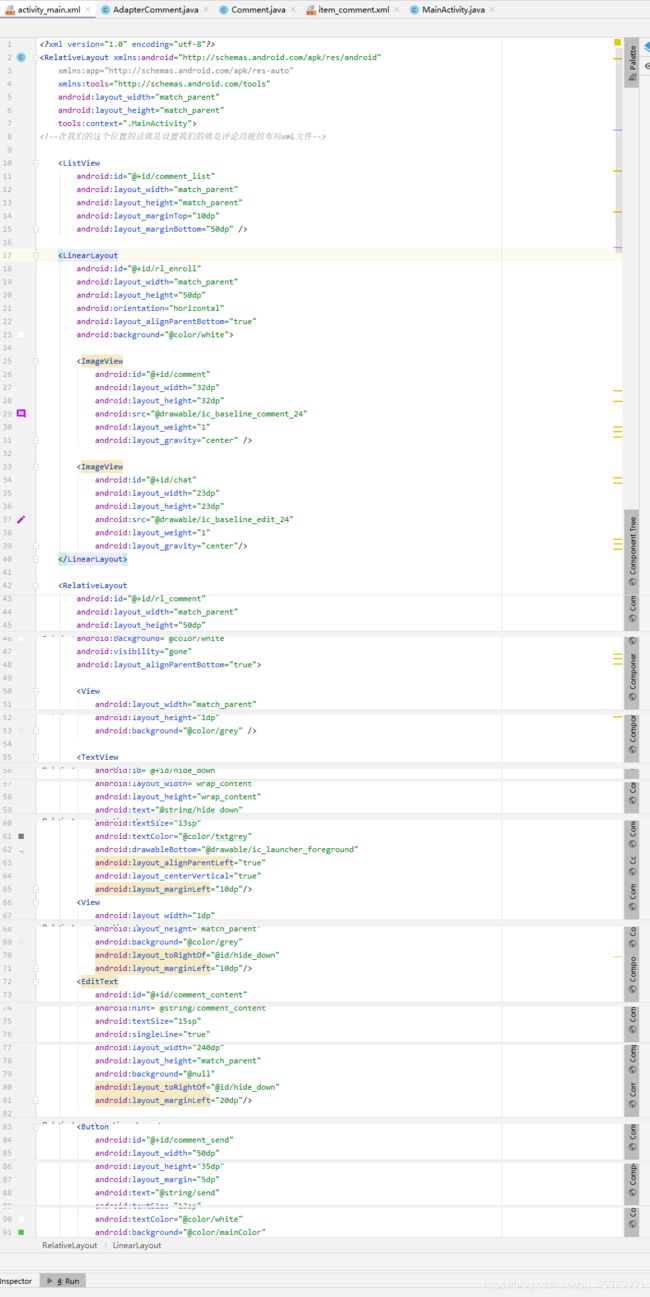
布局文件的详细代码:
xml version="1.0" encoding="utf-8"?>
<RelativeLayout xmlns:android="http://schemas.android.com/apk/res/android"
    xmlns:app="http://schemas.android.com/apk/res-auto"
    xmlns:tools="http://schemas.android.com/tools"
    android:layout_width="match_parent"
    android:layout_height="match_parent"
    tools:context=".MainActivity">
<!--在我们的这个位置的话就是设置我们的就是评论功能的布局xml文件-->

    <ListView
        android:id="@+id/comment_list"
        android:layout_width="match_parent"
        android:layout_height="match_parent"
        android:layout_marginTop="10dp"
        android:layout_marginBottom="50dp" />

    <LinearLayout
        android:id="@+id/rl_enroll"
        android:layout_width="match_parent"
        android:layout_height="50dp"
        android:orientation="horizontal"
        android:layout_alignParentBottom="true"
        android:background="@color/white">

        <ImageView
            android:id="@+id/comment"
            android:layout_width="32dp"
            android:layout_height="32dp"
            android:src="@drawable/ic_baseline_comment_24"
            android:layout_weight="1"
            android:layout_gravity="center" />

        <ImageView
            android:id="@+id/chat"
            android:layout_width="23dp"
            android:layout_height="23dp"
            android:src="@drawable/ic_baseline_edit_24"
            android:layout_weight="1"
            android:layout_gravity="center"/>
    </LinearLayout>

    <RelativeLayout
        android:id="@+id/rl_comment"
        android:layout_width="match_parent"
        android:layout_height="50dp"
        android:background="@color/white"
        android:visibility="gone"
        android:layout_alignParentBottom="true">

        <View
            android:layout_width="match_parent"
            android:layout_height="1dp"
            android:background="@color/grey" />

        <TextView
            android:id="@+id/hide_down"
            android:layout_width="wrap_content"
            android:layout_height="wrap_content"
            android:text="@string/hide_down"
            android:textSize="13sp"
            android:textColor="@color/txtgrey"
            android:drawableBottom="@drawable/ic_launcher_foreground"
            android:layout_alignParentLeft="true"
            android:layout_centerVertical="true"
            android:layout_marginLeft="10dp"/>
        <View
            android:layout_width="1dp"
            android:layout_height="match_parent"
            android:background="@color/grey"
            android:layout_toRightOf="@id/hide_down"
            android:layout_marginLeft="10dp"/>
        <EditText
            android:id="@+id/comment_content"
            android:hint="@string/comment_content"
            android:textSize="15sp"
            android:singleLine="true"
            android:layout_width="240dp"
            android:layout_height="match_parent"
            android:background="@null"
            android:layout_toRightOf="@id/hide_down"
            android:layout_marginLeft="20dp"/>

        <Button
            android:id="@+id/comment_send"
            android:layout_width="50dp"
            android:layout_height="35dp"
            android:layout_margin="5dp"
            android:text="@string/send"
            android:textSize="13sp"
            android:textColor="@color/white"
            android:background="@color/mainColor"
            android:layout_alignParentRight="true"
            android:layout_marginRight="10dp"
            android:layout_marginLeft="15dp"/>
    </RelativeLayout>

</RelativeLayout>
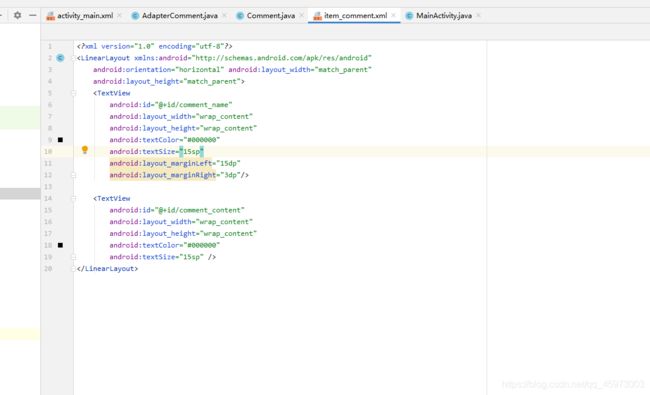
详细的代码如下:
xml version="1.0" encoding="utf-8"?>
<LinearLayout xmlns:android="http://schemas.android.com/apk/res/android"
    android:orientation="horizontal" android:layout_width="match_parent"
    android:layout_height="match_parent">
    <TextView
        android:id="@+id/comment_name"
        android:layout_width="wrap_content"
        android:layout_height="wrap_content"
        android:textColor="#000000"
        android:textSize="15sp"
        android:layout_marginLeft="15dp"
        android:layout_marginRight="3dp"/>

    <TextView
        android:id="@+id/comment_content"
        android:layout_width="wrap_content"
        android:layout_height="wrap_content"
        android:textColor="#000000"
        android:textSize="15sp" />
</LinearLayout>
然后的话就是设置我们的相关于信息的java文件:
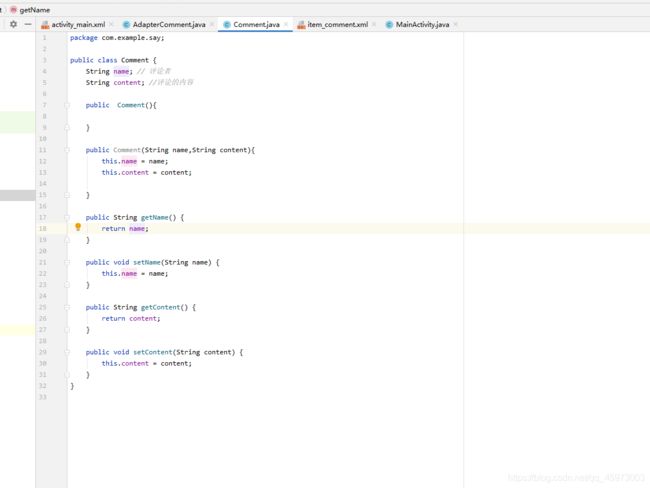 `package com.example.say;
public class Comment {
String name; // 评论者
String content; //评论的内容
public  Comment(){

}

public Comment(String name,String content){
    this.name = name;
    this.content = content;

}

public String getName() {
    return name;
}

public void setName(String name) {
    this.name = name;
}

public String getContent() {
    return content;
}

public void setContent(String content) {
    this.content = content;
}
}
`
然后的话就是我们的适配器既可以在外面单独创建一个适配器也可以在我们的mainactivity的内部创建一个适配器:
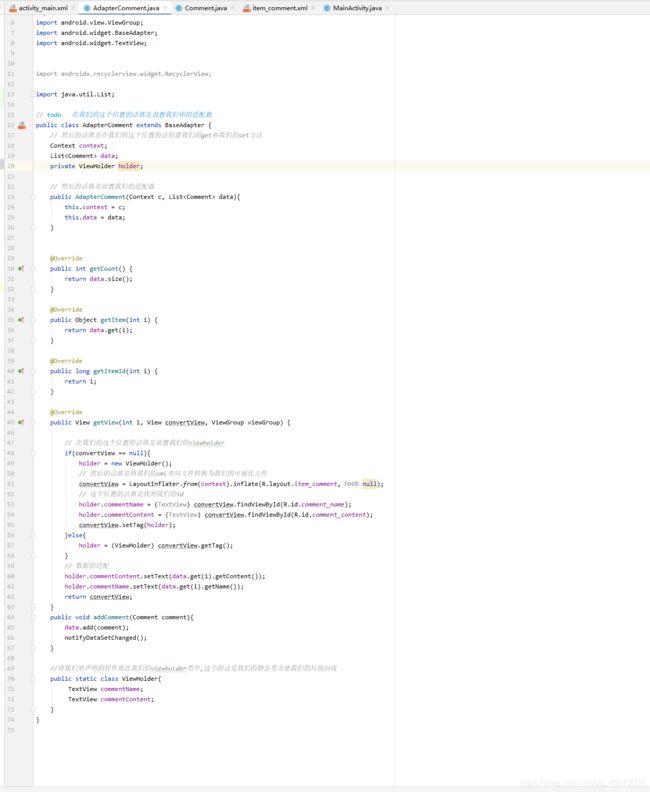 详细的代码如下所示:
package com.example.say;

import android.content.Context;
import android.view.LayoutInflater;
import android.view.View;
import android.view.ViewGroup;
import android.widget.BaseAdapter;
import android.widget.TextView;


import androidx.recyclerview.widget.RecyclerView;

import java.util.List;

// todo   在我们的这个位置的话就是设置我们你的适配器
public class AdapterComment extends BaseAdapter {
    // 然后的话就是在我们的这个位置的话创建我们的get和我们的set方法
    Context context;
    List<Comment> data;
    private ViewHolder holder;

    // 然后的话就是设置我们的适配器
    public AdapterComment(Context c, List<Comment> data){
        this.context = c;
        this.data = data;
    }


    @Override
    public int getCount() {
        return data.size();
    }

    @Override
    public Object getItem(int i) {
        return data.get(i);
    }

    @Override
    public long getItemId(int i) {
        return i;
    }

    @Override
    public View getView(int i, View convertView, ViewGroup viewGroup) {

        // 在我们的这个位置的话就是设置我们的viewholder
        if(convertView == null){
            holder = new ViewHolder();
            // 然后的话就是将我们的xml布局文件转换为我们的可视化文件
            convertView = LayoutInflater.from(context).inflate(R.layout.item_comment,null);
            // 这个位置的话就是找到我们的id
            holder.commentName = (TextView) convertView.findViewById(R.id.comment_name);
            holder.commentContent = (TextView) convertView.findViewById(R.id.comment_content);
            convertView.setTag(holder);
        }else{
            holder = (ViewHolder) convertView.getTag();
        }
        // 数据的适配
        holder.commentContent.setText(data.get(i).getContent());
        holder.commentName.setText(data.get(i).getName());
        return convertView;
    }
    public void addComment(Comment comment){
        data.add(comment);
        notifyDataSetChanged();
    }

    //将我们要声明的控件放在我们的viewholder类中,这个的话是我们的静态类方便我们的垃圾回收
    public static class ViewHolder{
         TextView commentName;
         TextView commentContent;
    }
}
然后的话就是我们的主要的mainactivity的代码:
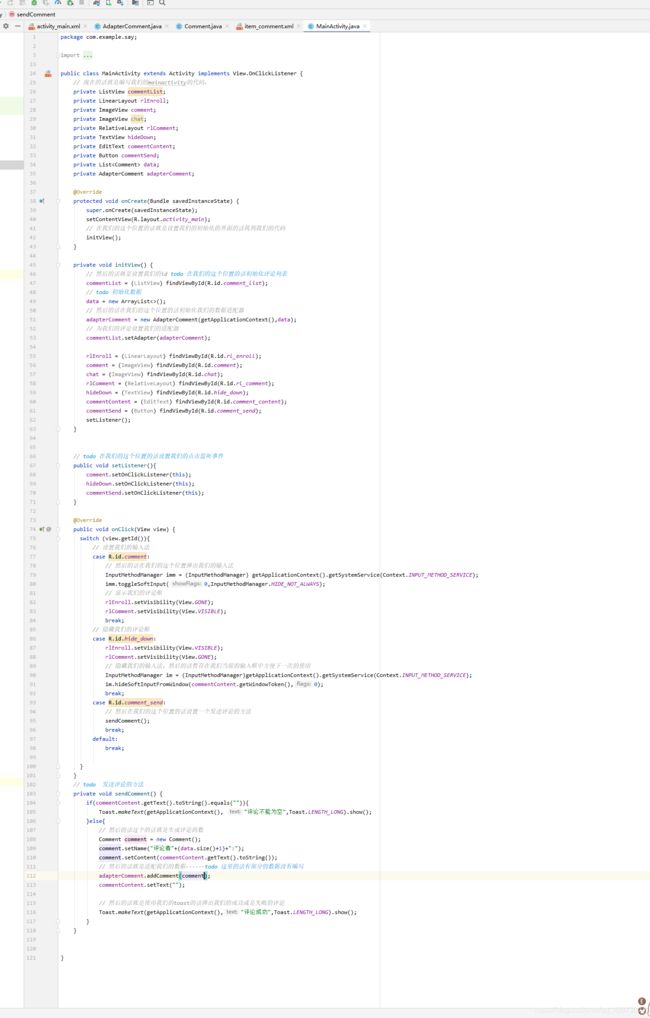
主要的详细代码:
加粗样式
package com.example.say;

import androidx.appcompat.app.AppCompatActivity;

import android.app.Activity;
import android.content.Context;
import android.os.Bundle;
import android.view.View;
import android.view.ViewGroup;
import android.view.inputmethod.InputMethodManager;
import android.widget.BaseAdapter;
import android.widget.Button;
import android.widget.EditText;
import android.widget.ImageView;
import android.widget.LinearLayout;
import android.widget.ListView;
import android.widget.RelativeLayout;
import android.widget.TextView;
import android.widget.Toast;

import java.util.ArrayList;
import java.util.List;

public class MainActivity extends Activity implements View.OnClickListener {

    // 现在的话就是编写我们的mainactivity的代码、
    private ListView commentList;
    private LinearLayout rlEnroll;
    private ImageView comment;
    private ImageView chat;
    private RelativeLayout rlComment;
    private TextView hideDown;
    private EditText commentContent;
    private Button commentSend;
    private List<Comment> data;
    private AdapterComment adapterComment;

    @Override
    protected void onCreate(Bundle savedInstanceState) {

        super.onCreate(savedInstanceState);
        setContentView(R.layout.activity_main);
        // 在我们的这个位置的话就是设置我们的初始化的界面的话找到我们的代码
        initView();
    }

    private void initView() {

        // 然后的话就是设置我们的id todo 在我们的这个位置的话初始化评论列表
        commentList = (ListView) findViewById(R.id.comment_list);
        // todo 初始化数据
        data = new ArrayList<>();
        // 然后的话在我们的这个位置的话初始化我们的数据适配器
        adapterComment = new AdapterComment(getApplicationContext(),data);
        // 为我们的评论设置我们的适配器
        commentList.setAdapter(adapterComment);

        rlEnroll = (LinearLayout) findViewById(R.id.rl_enroll);
        comment = (ImageView) findViewById(R.id.comment);
        chat = (ImageView) findViewById(R.id.chat);
        rlComment = (RelativeLayout) findViewById(R.id.rl_comment);
        hideDown = (TextView) findViewById(R.id.hide_down);
        commentContent = (EditText) findViewById(R.id.comment_content);
        commentSend = (Button) findViewById(R.id.comment_send);
        setListener();
    }


    // todo 在我们的这个位置的话设置我们的点击监听事件
    public void setListener(){

        comment.setOnClickListener(this);
        hideDown.setOnClickListener(this);
        commentSend.setOnClickListener(this);
    }

    @Override
    public void onClick(View view) {

      switch (view.getId()){

          // 设置我们的输入法
          case R.id.comment:
              // 然后的话在我们的这个位置弹出我们的输入法
              InputMethodManager imm = (InputMethodManager) getApplicationContext().getSystemService(Context.INPUT_METHOD_SERVICE);
              imm.toggleSoftInput(0,InputMethodManager.HIDE_NOT_ALWAYS);
              // 显示我们的评论框
              rlEnroll.setVisibility(View.GONE);
              rlComment.setVisibility(View.VISIBLE);
              break;
          // 隐藏我们的评论框
          case R.id.hide_down:
              rlEnroll.setVisibility(View.VISIBLE);
              rlComment.setVisibility(View.GONE);
              // 隐藏我们的输入法,然后的话暂存在我们当前的输入框中方便下一次的使用
              InputMethodManager im = (InputMethodManager)getApplicationContext().getSystemService(Context.INPUT_METHOD_SERVICE);
              im.hideSoftInputFromWindow(commentContent.getWindowToken(),0);
              break;
          case R.id.comment_send:
              // 然后在我们的这个位置的话设置一个发送评论的方法
              sendComment();
              break;
          default:
              break;

      }
    }
    // todo  发送评论的方法
    private void sendComment() {

        if(commentContent.getText().toString().equals("")){

            Toast.makeText(getApplicationContext(), "评论不能为空",Toast.LENGTH_LONG).show();
        }else{

            // 然后的话这个的话就是生成评论的数
            Comment comment = new Comment();
            comment.setName("评论者"+(data.size()+1)+":");
            comment.setContent(commentContent.getText().toString());
            // 然后的话就是适配我们的数据------todo 这里的话有部分的数据没有编写
            adapterComment.addComment(comment);
            commentContent.setText("");

            // 然后的话就是使用我们的toast的话弹出我们的成功或是失败的评论
            Toast.makeText(getApplicationContext(),"评论成功",Toast.LENGTH_LONG).show();
        }
    }


}
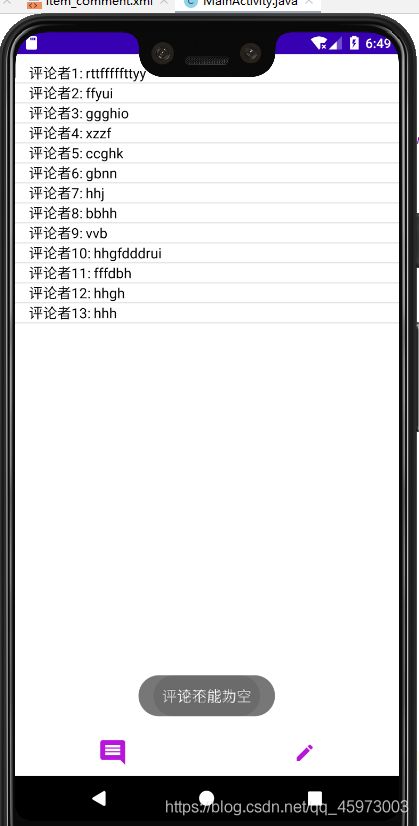
然后的话就是程序的运行效果图:
参考来自:
参考博客:https://github.com/yeaper/android_sample/tree/master/InputDemo
