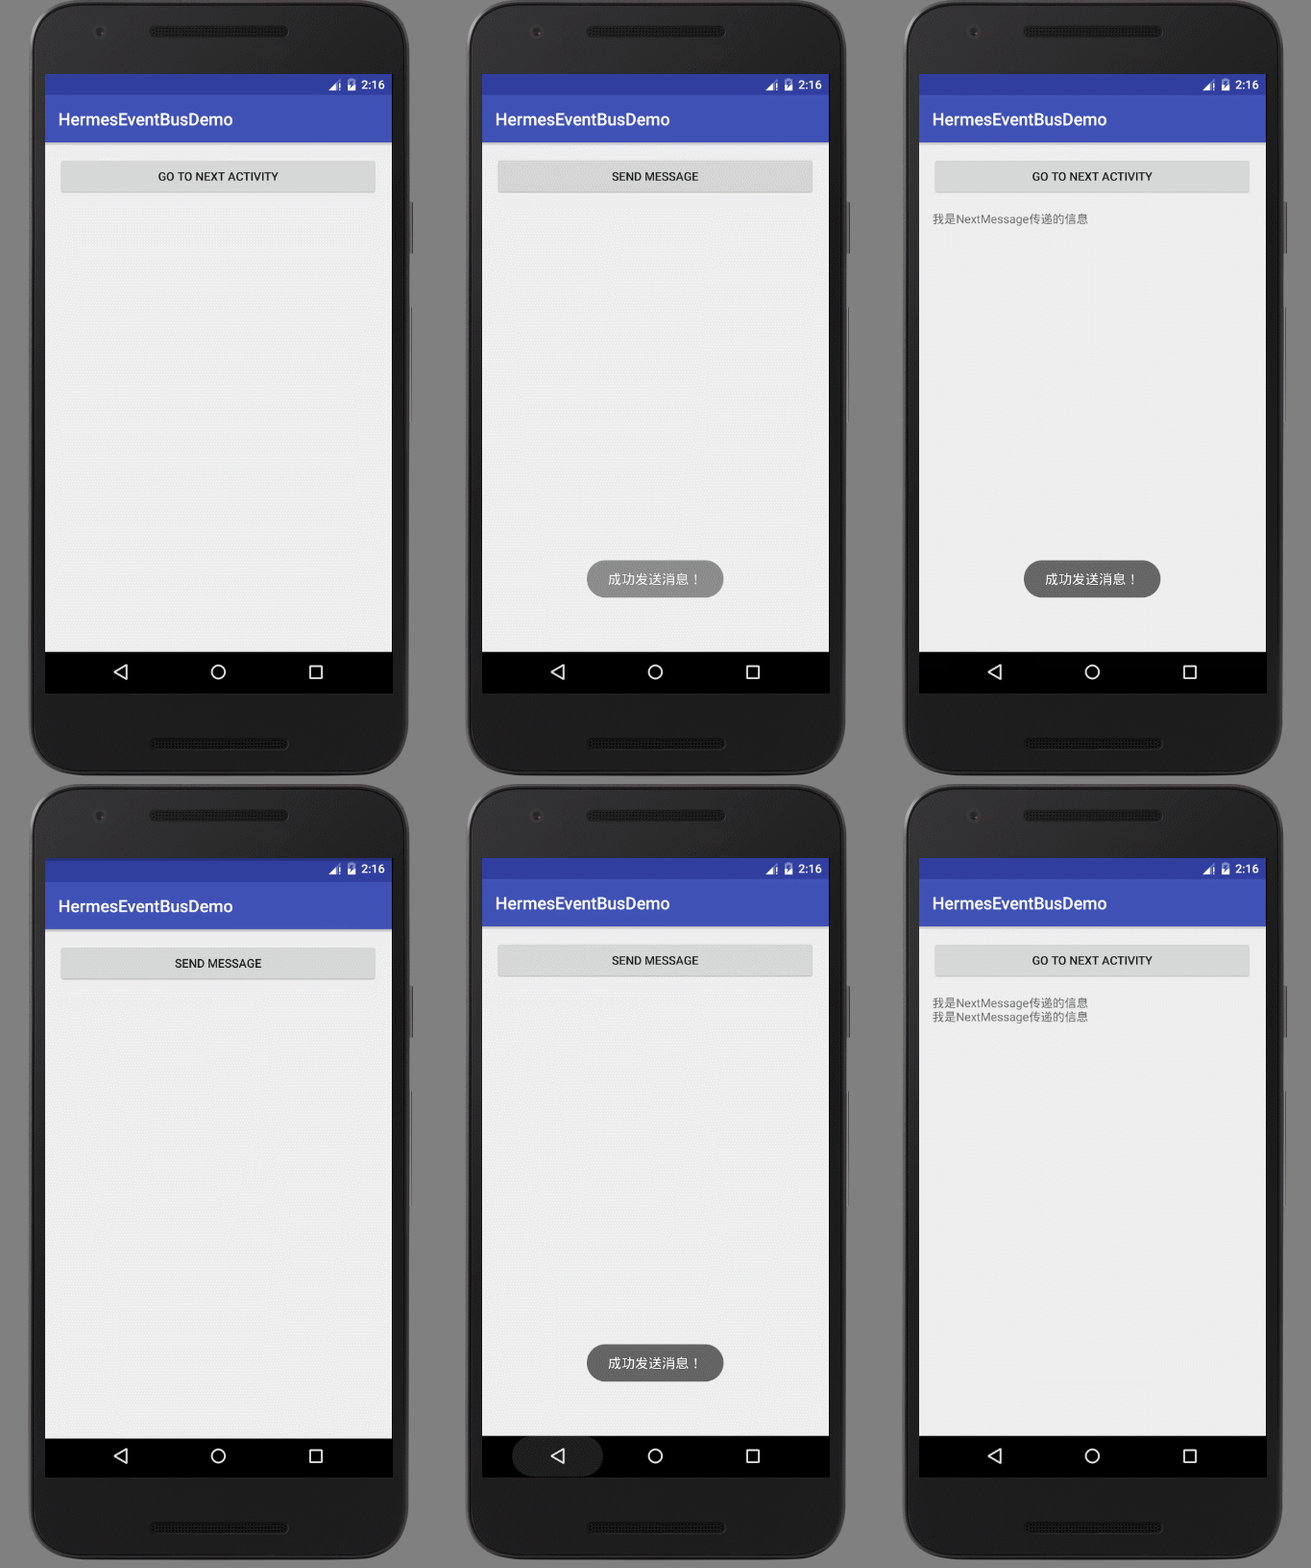
先上一波效果图吸引注意力
蟹棒友情提示: GIF 1.54M 小心流量乱跑哦!
效果图还不够?
拜访 HermesEventBus
Demo HermesEventBusDemo
What is EventBus
相信开发 Android 的伙伴们应该对 EventBus 耳熟能详了,EventBus 是一款在 Android 平台发布的 发布/订阅 事件总线,主要用来替代 Intent,Handler,Broadcast 在 Fragment,Activity,Service,线程之间传递消息,简化各组件之间的通讯,优点开销小,代码优雅,能够很好的解耦业务与界面交互,缺点是很容易混淆程序逻辑,而且无法进程间通信
What is HermesEventBus
HermesEventBus 拥有 EventBus 全部的作用和相同的 API (内部依赖EventBus) ,其主要作用就是我们今天要谈谈的基于 EventBus 的进程间通信,由 『热的饿了么』开源,不明觉厉 - -
How to use it like EventBus (EventBus 般使用姿势)
新建 Main app, 在 build.gradle(Module: app) 添加 HermesEventBus 依赖
dependencies {
    // 添加 HermesEventBus 依赖
    compile 'xiaofei.library:hermes-eventbus:0.3.0'
}
然后就可以像你使用 EventBus 一样使用 HermesEventBus 了
首先你需要一个这样的布局
一个 Button 用于跳转到 NextActivity,一个 TextView 用于接收返回消息,So easy,这样的简单布局蟹棒相信年轻司机们心领神会
新建 NextActivity,布局内仅有一个 Button 用于发送事件
点击 Button 触发 sendMessage 事件
这样就使用 HermesEventBus 发送了一个消息,也是相当于使用 EventBus,无非在使用 EventBus 时 HermesEventBus.getDefault() 被替换成了 EventBus.getDefault() 方法
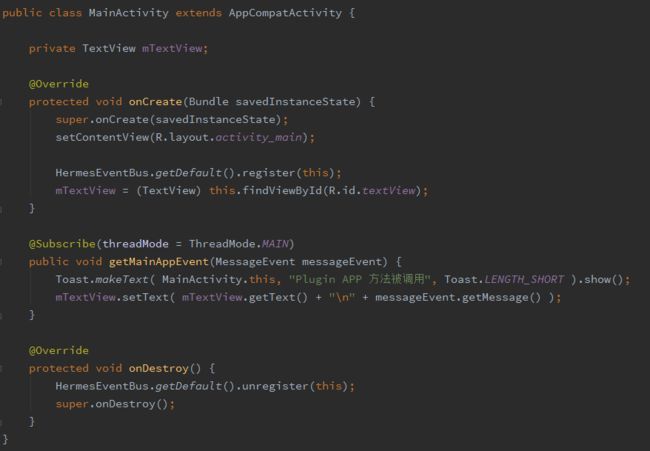
当然需要接收到消息,我们还得在 MainActivity 注册 HermesEventBus 接收者
代码一目了然,onCreate 里面注册,onDestory 里面注销,使用 Subscript 注解注册接收者,指定 ThreadMode 在 UI 线程运行,这样就完成了 HermesEventBus 的 Like EventBus
看不懂以上部分的年轻司机蟹棒建议先了解 EventBus3.0 的使用姿势
How to use HermesEventBus
上面蟹棒带领年轻司机们了解了 HermesEventBus 同一个 APP 的通信技巧,接下来的重头戏,进程间通信,Look
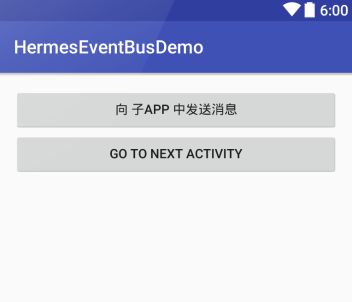
向 MainActivity 的布局中再次添加一个 Button 触发 sendEventToChildApp 方法
发送消息的方法和我们上面使用 HermesEventBus 发送消息的方法一致,接下来创建 MyApplication 类继承自 Application,在 onCreate 中调用如下方法
在 Main App 的 Manifest 文件中注册 MyApplication,并注册如下 service
新建我们的第二个 APP,这里姑且叫 Plugin APP,AndroidStudio 右键项目 new > module
PluginAPP 的 build.gradle 中同样需要依赖 HermesEventBus
dependencies {
    // 添加 HermesEventBus 依赖
    compile 'xiaofei.library:hermes-eventbus:0.3.0'
}
在 Plugin APP 中创建 MyApplication 继承自 Application,onCreate 方法中执行如下代码
Plugin APP 的 MainActivity 布局如下
同样的我们需要在 PluginAPP 中的 MainActivity 中注册接收者,与正常 HermesEventBus 注册一般无二
完成了,是不是没有想象中的复杂,只要懂得使用 EventBus ,使用 HermesEventBus 很简单
注意点
目前为止,我们拥有 MainApp 与 PluginApp 两个 App,并且正常注册了接收者与发布者,正常的实现了进程间通讯,但是这里有需要注意的一点,在 MainApp / MainActivity 执行的 post 方法 内部参数是 MessageEvent,同样的 PluginApp / MainActivity 中接收的参数也是 MessageEvent ,**这两个 MessageEvent 唯一的不同点是存在于两个不同的 APP 中,其他的类名,包名,方法名全部要一致才可以正常调用,另外在 APP 混淆时务必将这两个类 Keep **
总结
HermesEventBus 的使用姿势与 EventBus 的使用姿势相差无几,不过在 EventBus 的基础上多出了进程间通讯的功能,回想我们之前是如何实现进程间通讯的 全局Broadcast,Content Provider,AIDL Service 等,HermesEventBus 提供了更加便利的方式,蟹棒也带领大家 Get 到一个进程间通信的新姿势!看完不点个喜欢吗?


