动画事物
CATransaction是 Core Animation 中的事务类,在iOS中的图层中,图层的每个改变都是事务的一部分,CATransaction可以对多个layer的属性同时进行修改,同时负责批量的把多个图层树的修改作为一个原子更新到渲染树。
属性和方法了解
- 创建和提交事物(Creating and Committing Transactions)
 // 当前线程创建一个新的事物(Transaction),可嵌套
 open class func begin()

 // 提交当前事物中的所有改动,如果事物不存在将会出现异常
 open class func commit()

 // 提交任意的隐式动画,将被延迟一直到嵌套的显示事物被完成
 open class func flush()
- 重写动画时间(Overriding Animation Duration and Timing)
 // 获取动画时间,默认0.25秒
 open class func animationDuration() -> CFTimeInterval
 // 设置动画时间
 open class func setAnimationDuration(_ dur: CFTimeInterval)

 // 默认nil,设置和获取CAMediaTimingFunction(速度控制函数)
 open class func animationTimingFunction() -> CAMediaTimingFunction?
 open class func setAnimationTimingFunction(_ function: CAMediaTimingFunction?)
- 失效属性动画(Temporarily Disabling Property Animations)
 // 每一个线程事物属性都有存取器,即设置和获取方法,默认为false,允许隐式动画
 open class func disableActions() -> Bool
 open class func setDisableActions(_ flag: Bool)
- 回调闭包(Getting and Setting Completion Block Objects)
 // 动画完成之后被调用
 open class func completionBlock() -> (() -> Void)?
 open class func setCompletionBlock(_ block: (() -> Void)?)
- 管理并发(Managing Concurrency)
 // 两个方法用于动画事物的加锁与解锁 在多线程动画中,保证修改属性的安全
 open class func lock()
 open class func unlock()
- 设置和获取事物属性(Getting and Setting Transaction Properties)
 open class func value(forKey key: String) -> Any?
 open class func setValue(_ anObject: Any?, forKey key: String)
支持的属性
// 设置动画持续时间
public let kCATransactionAnimationDuration: String

// 设置停用animation类动画
public let kCATransactionDisableActions: String

// 设置动画时序效果
public let kCATransactionAnimationTimingFunction: String

// 设置动画完成后的回调
public let kCATransactionCompletionBlock: String
CATransaction事务类分为隐式事务和显式事务,注意以下两组概念的区分:
- 隐式动画和隐式事务
隐式动画通过隐式事务实现动画 。
- 显式动画和显式事务
显式动画有多种实现方式,显式事务是一种实现显式动画的方式。
隐式事务
隐式事务是基于CALayer,任何对于CALayer属性的修改,都是隐式事务.这样的事务会在run-loop中被提交。
首先看一个简单例子
class ViewController: UIViewController {

    lazy var layer: CALayer = {
        let layer = CALayer()
        layer.frame = CGRect(x: 100, y: 100, width: 100, height: 100)
        layer.backgroundColor = UIColor.red.cgColor
        return layer
    }()

    lazy var button: UIButton = {
        let button = UIButton(type: .custom)
        button.setTitle("button", for: .normal)
        button.setTitleColor(UIColor.black, for: .normal)
        button.frame = CGRect(x: 100, y: 250 , width: 100, height: 50)
        button.addTarget(self, action: #selector(buttonClick) , for: .touchUpInside)
        return button
    }()

    override func viewDidLoad() {
        super.viewDidLoad()
        view.layer.addSublayer(layer)
        view.addSubview(button)
    }

    @objc func buttonClick() {
        layer.backgroundColor = UIColor.yellow.cgColor
    }
}
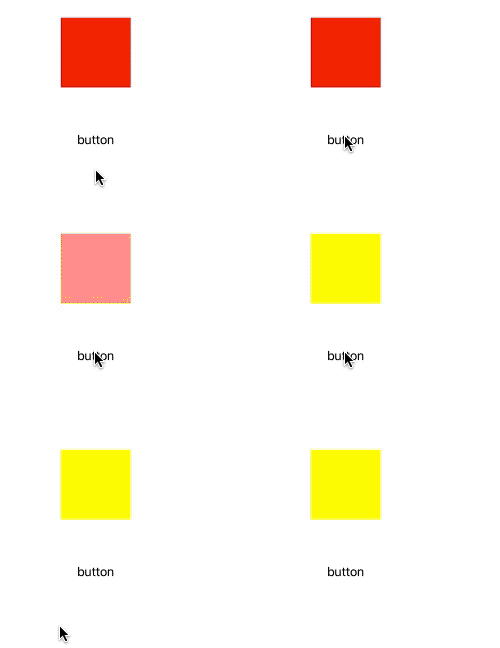
代码很简单,而且并没有添加动画相关的代码,但运行程序之后,单击按钮,layer的颜色是有渐变的效果的,即动画效果,这就是隐式动画
隐式事务是CoreAnimation的一部分,是对layer-tree进行原子更新为render-tree的机制,由CoreAnimation帮助创建事务,当前线程的runloop下次循环就会自动commit,如果当前线程没有runloop,或者runloop被阻塞,则应该使用显示事务,即手动创建CATransaction
显示事务
显示的调用事物,修改buttonClick方法
@objc func buttonClick() {
     CATransaction.begin()
     layer.backgroundColor = UIColor.yellow.cgColor
     CATransaction.commit()
}
仅仅是简单的调用CATransaction的begin和commit方法就可以实现显示事务,运行程序之后看到的效果是一样的。还有相关方法可以设置,比如:设置动画时间以及事务完成的闭包
 @objc func buttonClick() {
     CATransaction.begin()
     CATransaction.setAnimationDuration(2) // 时间2秒
     CATransaction.setCompletionBlock {
         print("tranction end")
     }
     layer.backgroundColor = UIColor.yellow.cgColor
     CATransaction.commit()
 }
使用非常简单,但是需要注意代码的先后顺序,需要将更改的关键代码放在设置时间和完成回调之后,这样才能达到想要的效果,如果放在之前,相当于在执行动画操作时,还没有对其进行动画时间和完成回调的赋值
在完成的回调中也可以对layer进行修改,同样默认是隐式动画,如果需要设置时间,需要显示设置。
 @objc func buttonClick() {
     CATransaction.begin()
     CATransaction.setAnimationDuration(2)
     CATransaction.setCompletionBlock {
     CATransaction.setAnimationDuration(1)
         self.layer.backgroundColor = UIColor.cyan.cgColor
     }
     layer.backgroundColor = UIColor.yellow.cgColor
     CATransaction.commit()
 }
嵌套多个事务组
效果类似于一组动画同时进行的效果的效果
 @objc func buttonClick() {
     CATransaction.begin()
     CATransaction.setAnimationDuration(2)
     CATransaction.setCompletionBlock {
         CATransaction.setAnimationDuration(1)
         self.layer.frame = CGRect(x: 50, y: 100, width: 100, height: 100)
     }
     layer.backgroundColor = UIColor.yellow.cgColor

    CATransaction.begin()
    layer.cornerRadius = 20
    CATransaction.commit()

    CATransaction.commit()
 }
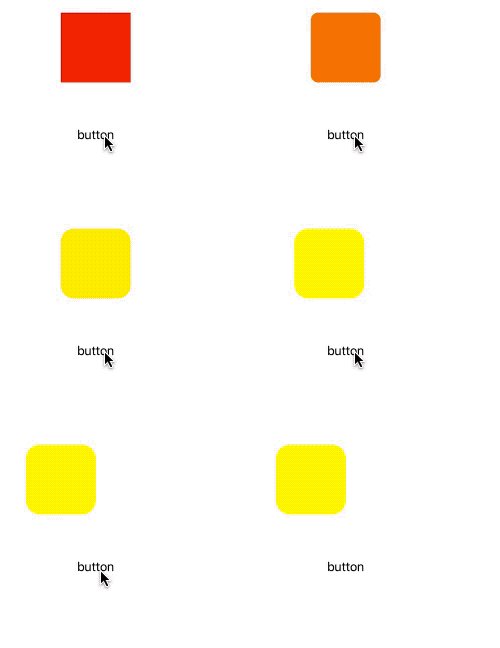
相当于先改变颜色和圆角,是同时进行的,修改圆角属性默认是0.25s,最后移动layer。
除了同时修改layer的动画,我们还可以组合UIView和CALayer的动画
 func addStyledButton() {
     styledButton = UIButton(frame: CGRect(x: 0, y: 0, width: 125, height: 125))
     styledButton.backgroundColor = UIColor(red: 57/255.0, green: 73/255.0, blue: 171/255.0, alpha: 1)
     styledButton.layer.cornerRadius = styledButton.frame.width/2
     styledButton.center = self.view.center

     self.view.addSubview(styledButton)
 }

 func animateButton(duration: CFTimeInterval = 1.0) {
     let oldValue = styledButton.frame.width/2
     let newButtonWidth: CGFloat = 60

     let timingFunction = CAMediaTimingFunction(controlPoints: 0.65, -0.55, 0.27, 1.55)

     /* Do Animations */
     CATransaction.begin()
     CATransaction.setAnimationDuration(duration)
     CATransaction.setAnimationTimingFunction(timingFunction)

     // View animations
     UIView.animate(withDuration: duration) {
          self.styledButton.frame = CGRect(x: 0, y: 0, width: newButtonWidth, height: newButtonWidth)
          self.styledButton.center = self.view.center
     }

     // Layer animations
     let cornerAnimation = CABasicAnimation(keyPath: #keyPath(CALayer.cornerRadius))
     cornerAnimation.fromValue = oldValue
     cornerAnimation.toValue = newButtonWidth/2

     styledButton.layer.cornerRadius = newButtonWidth/2
     styledButton.layer.add(cornerAnimation, forKey: #keyPath(CALayer.cornerRadius))

     CATransaction.commit()
 }
如果上面的例子不是CALyer,而是UIView,则并不会触发隐式事务动画,同样对于显示事务动画也不会有作用,这是因为UIKit禁止了事务动画。
之所以CALyer可以对事务动画作出响应,是因为CALyer的实例方法
open func action(forKey event: String) -> CAAction?
可以对其进行响应,返回对应的action。但对于UIView来说,UIView作为CALyer的代理,则根据名称来获取action,会遵循以下顺序
1)如果有代理,则调用代理方法
optional public func action(for layer: CALayer, forKey event: String) -> CAAction?
2)如果没有委托,或者委托没有实现action(for layer: CALayer, forKey event: String) 方法,图层接着检查包含属性名称对应行为映射的actions字典
3)检查layer的style层级中每个actions字典
4)调用layer的类方法
open class func defaultAction(forKey event: String) -> CAAction?
所以当需要做事务动画时,会按照如上顺序获取对应的action,如果获取到的是nil,则不会对事务动画做出响应,如果返回非nil,则可以做事务动画,因此,UIView通过其代理方法func action(for layer: CALayer, forKey event: String)返回nil来禁止事务动画。
如果想实现UIView的隐式动画,可以自定义UIView,并重写func action(for layer: CALayer, forKey event: String)方法返回对应的action
//  CustomView.swift
class CustomView: UIView {
    override func action(for layer: CALayer, forKey event: String) -> CAAction? {
        return layer.actions?[event]
    }
}

//  ViewController.swift
 lazy var button: UIButton = {
        let button = UIButton(type: .custom)
        button.setTitle("button", for: .normal)
        button.setTitleColor(UIColor.black, for: .normal)
        button.frame = CGRect(x: 100, y: 250 , width: 100, height: 50)
        button.addTarget(self, action: #selector(buttonClick) , for: .touchUpInside)
        return button
    }()

lazy var myView: CustomView = {
        let view = CustomView(frame: CGRect(x: 100, y: 100, width: 100, height: 100))
        view.backgroundColor = UIColor.red
        return view
    }()

 override func viewDidLoad() {
     super.viewDidLoad()
     view.addSubview(myView)
     view.addSubview(button)
 }

 @objc func buttonClick() {
      myView.backgroundColor = UIColor.yellow
  }
运行程序之后,可以看到根之前CALayer是一样的效果
关于事务动画,还有一个场景会经常用到,即键盘监听。在某些情况下,需要对键盘弹出进行监听,并弹出一个输入框
 NotificationCenter.default.addObserver(self,
                                        selector: #selector(keyboardWillShow(_:)),
                                        name: UIResponder.keyboardWillShowNotification ,
                                        object: nil)
 NotificationCenter.default.addObserver(self,
                                        selector: #selector(keyboardWillHide(_:)),
                                        name:  UIResponder.keyboardWillHideNotification,
                                        object: nil)

 @objc func keyboardWillShow(_ notification: Notification) {
 }

@objc func keyboardWillHide(_ notification: Notification) {
 }
可以知道输入框与键盘总是保持相同的速率出现和消失,其实这是因为在键盘弹出和消失情况下发送通知,是在事务动画之中执行的,如果想要禁用动画效果,只需要在开始和结束两个方法中禁用即可
@objc func keyboardWillShow(_ notification: Notification) {
        UIView.setAnimationsEnabled(false)
        //...
        UIView.setAnimationsEnabled(true)
}

@objc func keyboardWillHide(_ notification: Notification) {
        UIView.setAnimationsEnabled(false)
        //...
        UIView.setAnimationsEnabled(true)
}
参考
CATransaction
隐式动画


