工业缺陷检测项目实战(一)——基于opencv的工件缺陷检测C++实现
基于opencv的工件缺陷检测C++实现
作为研究生,每一个项目都很重要,这里给大家分享一个好入门项目,代码纯自己写,网上都是python的,但是有些企业要求C++编写项目,所以希望大家能学到东西。
一. 问题陈述
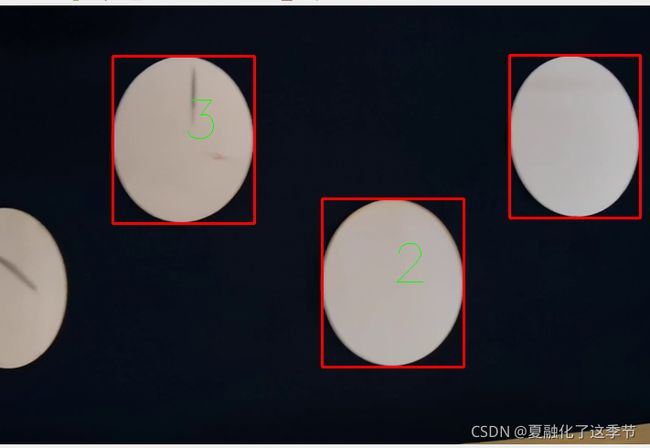
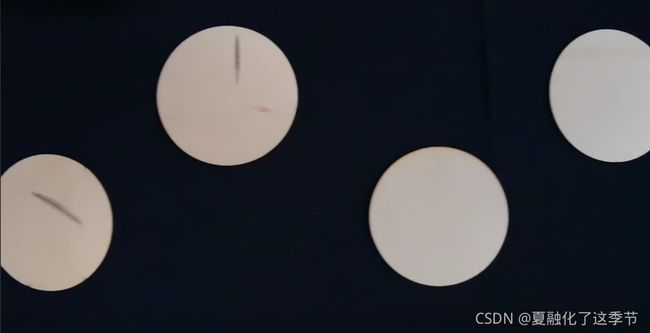
工件的展示,这是一个视频,然后工件一个个经过,要检测出哪个工件有缺陷,并且分类缺陷的种类。可以看到缺陷是不止一种。

二. 代码步骤
1.读取图像,转为灰度图并二值化
cvtColor(img, gray, COLOR_BGR2GRAY);
threshold(gray, thresh, 127, 255, THRESH_TOZERO_INV);、
2.寻找轮廓
std::vector hireachy;
std::vector> contours;
findContours(thresh, contours, hireachy, RETR_LIST, CHAIN_APPROX_NONE);
3.遍历轮廓,对工件圈进行统计,防止重复标记
原理是计算图像矩,可以确定图像的灰度中心,根据每个时刻每个工件的中心位置的变换,可以判断画面里是否出现新的工件。同时,也要记得更新每个时刻每个工件的位置。具体代码实现可以参考完整工程文件。这里贴出部分:
for (size_t cnt = 0; cnt < contours.size(); cnt++)
        {
            double area = contourArea(contours[cnt]); //求轮廓面积(大约的)
            if (area > 18000 & area < 28000)          //把工件圈出来
            {
                mu[cnt] = moments(contours[cnt], false); //计算图像矩,表示工件的位置
                //计算图像质心位置
                double cx = mu[cnt].m10 / mu[cnt].m00;
                double cy = mu[cnt].m01 / mu[cnt].m00;
                boundRect[cnt] = boundingRect(Mat(contours[cnt])); //计算外接矩形

                new_object = true;
                //通过质心位置判断视频出现的工件是否是最新的
                if (cx > 100) //工件要全部出现
                {
                    if (products.size() > 0) //判断出现的工件是不是新的
                    {
                        for (size_t i = 0; i < products.size(); i++)
                        {
                            //存在一个
                            if (fabs(cx - products[i].getX()) <= 35 && fabs(cy - products[i].getY()) <= 35)
                            {
                                new_object = false;
                                //更新位置参数
                                products[i].updateCoords(cx, cy, boundRect[cnt].x, boundRect[cnt].y, boundRect[cnt].width, boundRect[cnt].height);
                            }
                        }
                    }
                    if (new_object == true)
                    {
                        Product p(pid, cx, cy, boundRect[cnt].x, boundRect[cnt].y, boundRect[cnt].width, boundRect[cnt].height);
                        p.save_pic(img);
                        products.emplace_back(p);
                        p.count = pid;
                        defects = p.defect_detect(); //缺陷检测
                        pid += 1;
                    }
                }
                //圈出来
                rectangle(img, boundRect[cnt].tl(), boundRect[cnt].br(), Scalar(0, 0, 255), 2, 8, 0);
            }
        }
4.遍历轮廓,把工件圈出来,顺便保存调试,如下图。圈出来的原理也不难,其实就是通过函数
boundRect[cnt] = boundingRect(Mat(contours[cnt]));
计算外接矩形,就可以获得矩形的左上角和右下角坐标,就可以画了。效果如下:
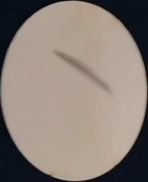
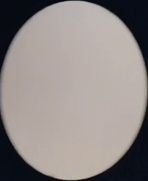
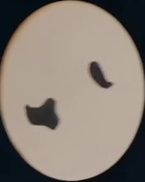
5.对每个框进行缺陷提取,原理依然是轮廓检测加面积判断。效果如下:
![]()
![]()
6.缺陷类型判断,这里利用直方图统计。即统计0-255中每个像素的个数,根据个数,转为百分比,接着我们设定一个阈值,就可以判断出缺陷类型。部分代码:
          //------------------------直方图计算
            Mat hist;
            //设定像素取值范围
            int histSize = 256;
            float range[] = {0, 256};
            const float *histRanges = {range};
            // hist索引为像素,值为像素点的个数
            calcHist(&resul, 1, 0, Mat(), hist, 1, &histSize, &histRanges, true, false);
            //-------------------------判断缺陷
            float sum = 0;
            for (int i = 0; i < 256; i++)
            {
                float bin_val = hist.at(i); //遍历hist元素(注意hist中是float类型)
                sum = sum + bin_val;               //计算总的个数
            }
            // std::cout << "sum:"
            //           << sum << "\n";
            //计算各个像素点的个数百分比
            for (int i = 0; i < 256; i++)
            {
                if (hist.at(i) > 0) //像素点个数大于0的时候
                {
                    hist.at(i) = hist.at(i) / sum;
                }
                // std::cout << "hist:"
                //           << hist.at(i) << "\n";
            }
            float hist_sum_scratch = 0;
            float hist_sum_blot = 0;
            for (int i = 90; i < 135; i++) //比较灰的
            {
                hist_sum_scratch = hist_sum_scratch + hist.at(i);
            }
            std::cout << "hist_sum_scratch:"
                      << hist_sum_scratch << "\n";
            for (int i = 15; i < 90; i++) //比较黑的
            {
                hist_sum_blot = hist_sum_blot + hist.at(i);
            }
            std::cout << "hist_sum_blot:"
                      << hist_sum_blot << "\n";
            if (hist_sum_scratch >= hist_sum_blot)
            {
                Defect d(1, boundRect[cnt].x, boundRect[cnt].y, boundRect[cnt].width, boundRect[cnt].height);
                Result.emplace_back(d);
                state = 1;
                std::cout << "此处缺陷划痕"
                          << "\n";
            }
            if (hist_sum_scratch < hist_sum_blot)
            {
                Defect d(2, boundRect[cnt].x, boundRect[cnt].y, boundRect[cnt].width, boundRect[cnt].height);
                Result.emplace_back(d);
                state = 2;
                std::cout << "此处缺陷污渍"
                          << "\n";
            }
到此就可以完成啦!!!
三. 最终效果:
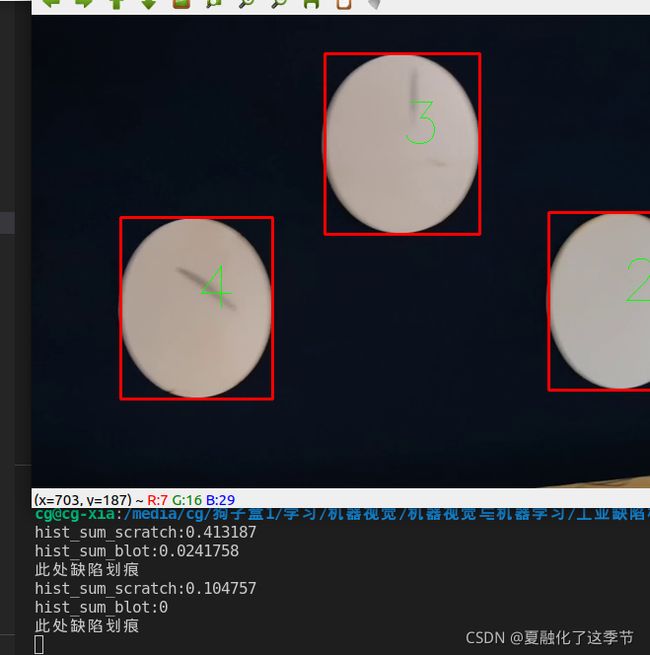
可以看到,会在终端打印相关消息
C++代码纯自己写,有多文件,大家可以再这里下载:
https://download.csdn.net/download/weixin_39735688/43759941
因为花费不少时间,所以希望大家给点报酬支持一下,继续加油进入下一个实战项目分享。
