Python数据分析 1.Matplotlib绘图—折线图
Python数据分析 1.Matplotlib绘图—折线图
Matplotlib: 主要做数据可视化图表,模仿MATLAB构建
基础绘图:
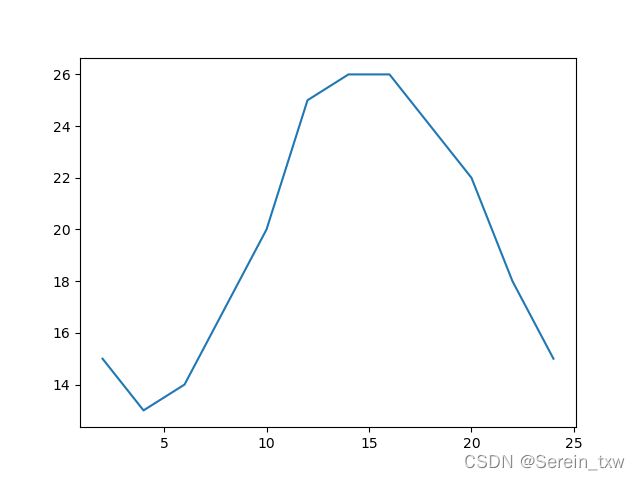
from matplotlib import pyplot as plt
x = range(2, 26, 2)
y = [15, 13, 14, 17, 20, 25, 26, 26, 24, 22, 18, 15]
plt.plot(x, y)
plt.show()
- 设置图片大小
- 保存到本地
- 描述信息(x轴、y轴、图片标题)
- 调整x或y的刻度间距
- 线条样式(颜色、透明度)
- 标记特殊点(最高点、最低点)
- 添加水印
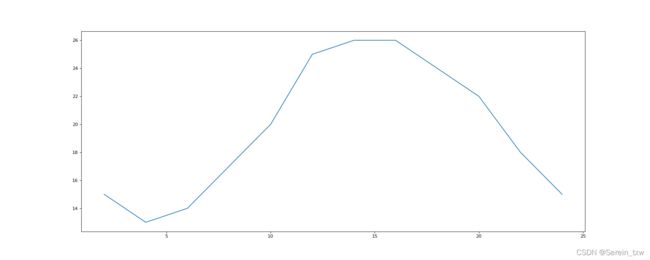
# 设置图片大小
from matplotlib import pyplot as plt
x = range(2, 26, 2)
y = [15, 13, 14, 17, 20, 25, 26, 26, 24, 22, 18, 15]
plt.figure(figsize=(20,8), dpi = 80)
plt.plot(x, y)
plt.show()
# 保存到本地
from matplotlib import pyplot as plt
x = range(2, 26, 2)
y = [15, 13, 14, 17, 20, 25, 26, 26, 24, 22, 18, 15]
plt.plot(x, y)
plt.savefig("./t1.png")
plt.savefig("./sig_size.png")    # 矢量图格式
# 设定x轴和y轴的刻度
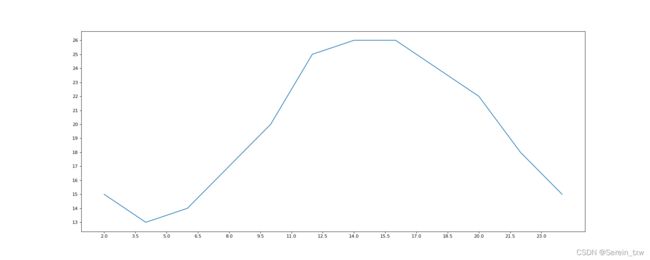
from matplotlib import pyplot as plt
x = range(2, 26, 2)
y = [15, 13, 14, 17, 20, 25, 26, 26, 24, 22, 18, 15]
plt.figure(figsize=(20,8), dpi = 80)
_xtick_labels = [i/2 for i in range(4,49)]
plt.xticks(_xtick_labels[::3])
plt.yticks(range(min(y), max(y)+1))
plt.plot(x, y)
plt.show()
案例练习:10点到12点的温度变化
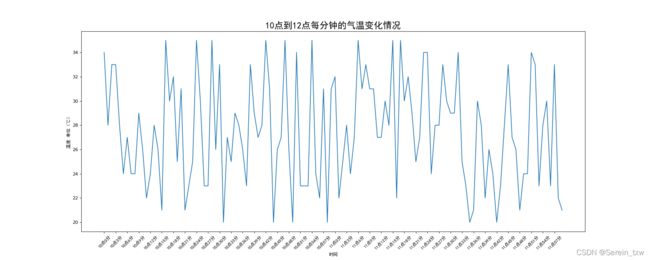
from matplotlib import pyplot as plt
import random
from matplotlib import font_manager

my_font = font_manager.FontProperties(fname = "C:/Windows/Fonts/simhei.ttf")

x = range(120)
y = [random.randint(20,35) for i in range(120)]
plt.figure(figsize=(20,8), dpi = 80)

_x = list(x)
_xticks_labels = ["10点{}分".format(i) for i in range(60)]
_xticks_labels += ["11点{}分".format(i) for i in range(60)]
plt.xticks(_x[::3], _xticks_labels[::3], rotation=45, fontproperties = my_font)

plt.xlabel("时间", fontproperties = my_font)
plt.ylabel("温度 单位(℃)", fontproperties = my_font)
plt.title("10点到12点每分钟的气温变化情况", fontproperties = my_font, size = 20)

plt.plot(x, y)
plt.show()
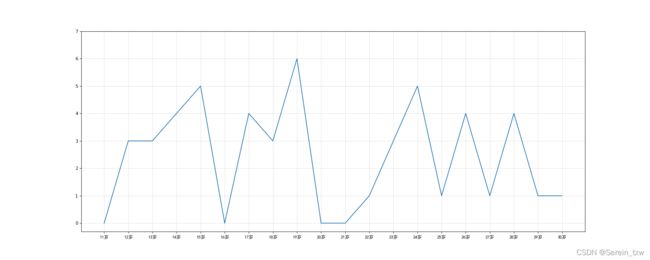
案例练习:绘制网格
from matplotlib import pyplot as plt
from matplotlib import font_manager
import random

my_font = font_manager.FontProperties(fname = "C:/Windows/Fonts/simhei.ttf")

y = [random.randint(0,6) for i in range(11,31)]
x = range(11,31)

# 设置图形大小
plt.figure(figsize = (20,8), dpi=80)

plt.plot(x,y)

_xticks_label = ["{}岁".format(i) for i in range(11,31)]
plt.xticks(x, _xticks_label, fontproperties = my_font)
plt.yticks(range(0,8))

# 绘制网格
plt.grid(alpha = 0.4) # alpha透明度
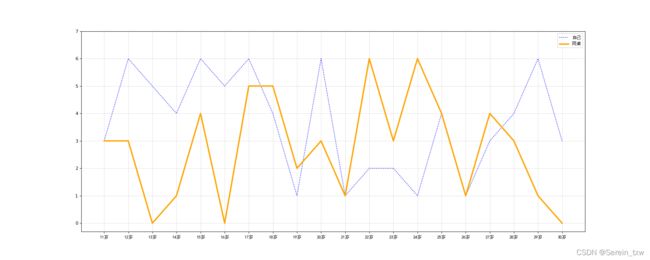
案例练习:双折线图
(标签设置、线条形状)
from matplotlib import pyplot as plt
from matplotlib import font_manager
import random

my_font = font_manager.FontProperties(fname = "C:/Windows/Fonts/simhei.ttf")

y1 = [random.randint(0,6) for i in range(11,31)]
y2 = [random.randint(0,6) for i in range(11,31)]
x = range(11,31)

# 设置图形大小
plt.figure(figsize = (20,8), dpi=80)

plt.plot(x,y1,label = "自己", color = "blue", linestyle = ":")
plt.plot(x,y2,label = "同桌", color = "orange", linewidth = 3)

_xticks_label = ["{}岁".format(i) for i in range(11,31)]
plt.xticks(x, _xticks_label, fontproperties = my_font)
plt.yticks(range(0,8))

# 绘制网格
plt.grid(alpha = 0.4) # alpha透明度

# 添加图例
plt.legend(prop = my_font) # 字体参数是prop
- 绘制了折线图(plt.plot)
- 设置了图片的大小和分辨率(plt.figure)
- 实现了图片的保存(plt.savefig)
- 设置了xy轴上的刻度和字符串(xticks)
- 解决了刻度稀疏和密集的问题(xticks)
- 设置了标题,xy轴的lable(title,xlable,ylable)
- 设置了字体(font_manager. fontProperties,matplotlib.rc)
- 在一个图上绘制多个图形(plt多次plot即可)
- 为不同的图形添加图例(legend)
