C++开发实战(三):通过python调用C++接口
一、生成的dll文件提供接口了吗?
1、上一篇文章,我们生成了dll文件,现在我们来使用看看,要调用的类如下
class AutoTest {
//private:
public:
//USB5538数据采集器
HANDLE createUSB5538();
void releaseUSB5538(HANDLE hDevice);
void resetUSB5538(HANDLE hDevice); //复位,相当于与PC重连,等同于重新插上USB
void getUSB5538DI_All(HANDLE hDevice, BYTE bDISts[16]); //bDISts[16]为output参数
void setUSB5538DO_All(HANDLE hDevice, BYTE bDOSts[16]); //bDOSts[16]为input参数
int getUSB5538DI_One(HANDLE hDevice, int iDI);
void setUSB5538DO_One(HANDLE hDevice, int iDO, int value);
};
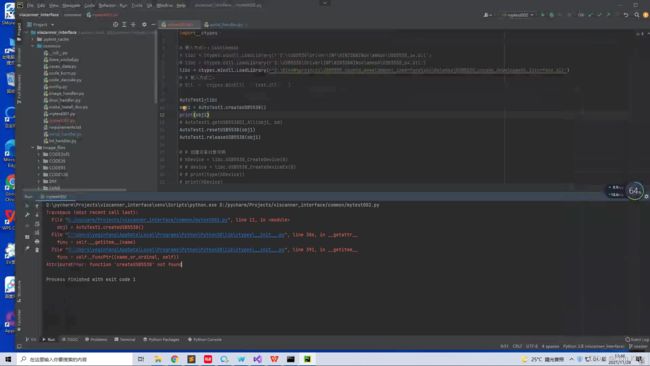
(1)如下图,尝试以python的方式对AutoTest类进行调用,没有成功
(2)尝试直接调用其方法,还是没能成功
(3)问题分析
dll文件并没有提供接口,应该是再编译的时候没暴露出来导致的。可解决的方式是重新编译暴露该接口的编译文件或者直接编译成python可调用的模块(即扩展模块)。
二、使用C++扩展python模块,方便调用
1、扩展python模块流程实践
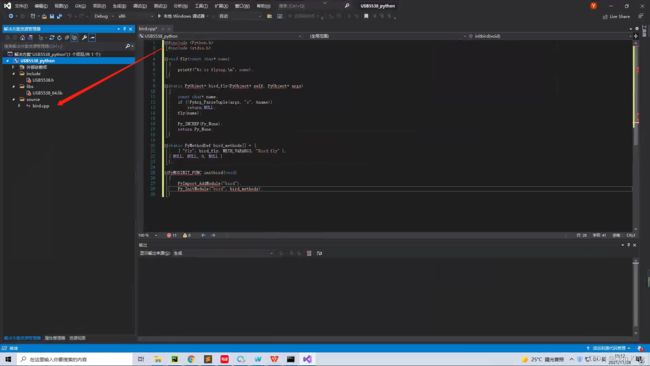
(1)先创建新的工程,并添加c文件
#include

static PyObject* uniqueCombinations(PyObject* self)
{
    return Py_BuildValue("s", "uniqueCombinations() return value (is of type 'string')");
}

static char uniqueCombinations_docs[] =
    "usage: uniqueCombinations(lstSortableItems, comboSize)\n";

/* deprecated:
static PyMethodDef uniqueCombinations_funcs[] = {
    {"uniqueCombinations", (PyCFunction)uniqueCombinations,
    METH_NOARGS, uniqueCombinations_docs},
    {NULL}
};
use instead of the above: */

static PyMethodDef module_methods[] = {
    {"uniqueCombinations", (PyCFunction) uniqueCombinations,
    METH_NOARGS, uniqueCombinations_docs},
    {NULL}
};


/* deprecated :
PyMODINIT_FUNC init_uniqueCombinations(void)
{
    Py_InitModule3("uniqueCombinations", uniqueCombinations_funcs,
        "Extension module uniqueCombinations v. 0.01");
}
*/

static struct PyModuleDef Combinations =
{
    PyModuleDef_HEAD_INIT,
    "Combinations", /* name of module */
    "usage: Combinations.uniqueCombinations(lstSortableItems, comboSize)\n", /* module documentation, may be NULL */
    -1, /* size of per-interpreter state of the module, or -1 if the module keeps state in global variables. */
    module_methods
};

PyMODINIT_FUNC PyInit_Combinations(void)
{
    return PyModule_Create(&Combinations);
}
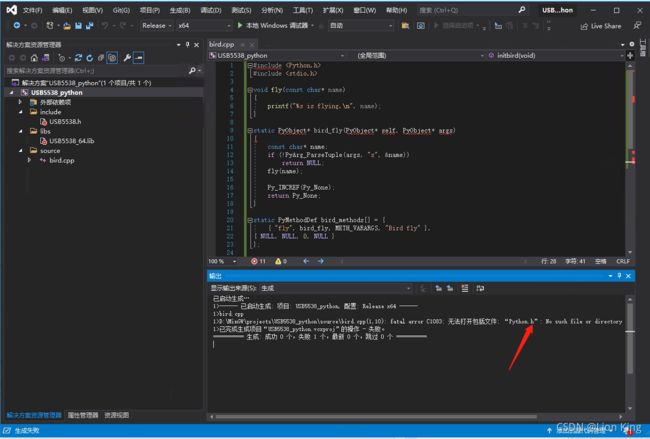
(2)报“没有头文件”的错误与处理
已启动生成…
1>------ 已启动生成: 项目: USB5538_python, 配置: Release x64 ------
1>bird.cpp
1>D:\MinGW\projects\USB5538_python\source\bird.cpp(1,10): fatal error C1083: 无法打开包括文件: “Python.h”: No such file or directory
1>已完成生成项目“USB5538_python.vcxproj”的操作 - 失败。
========== 生成: 成功 0 个,失败 1 个,最新 0 个,跳过 0 个 ==========
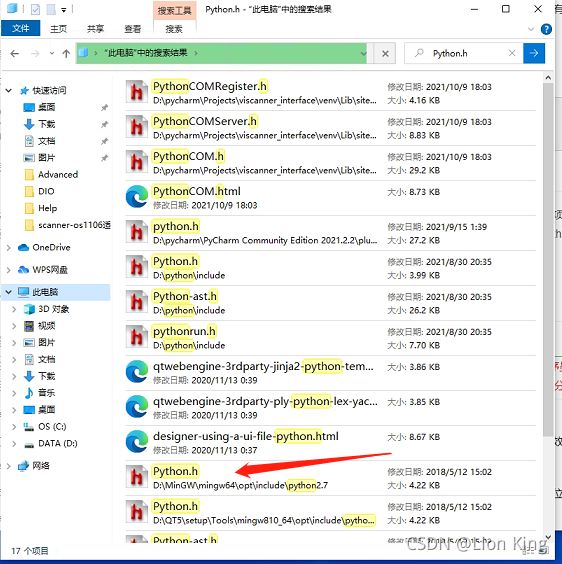
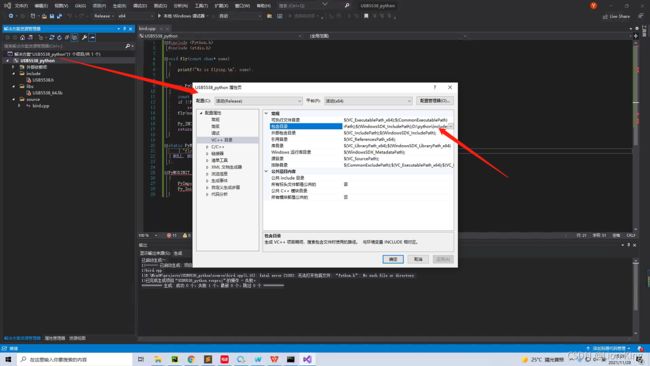
(3)查看头文件,应该是存在该文件的
(4)我的python环境其实也是有该文件的
(6)但是,无法打开文件“python39.lib”
(7)文件倒是存在
(8)将库目录添加,并成功解决该问题。
(9)又暴露了其他错误(没一个省心的。。。)
已启动生成…
1>------ 已启动生成: 项目: USB5538_python, 配置: Release x64 ------
1>  正在创建库 D:\MinGW\projects\USB5538_python\x64\Release\USB5538_python.lib 和对象 D:\MinGW\projects\USB5538_python\x64\Release\USB5538_python.exp
1>MSVCRT.lib(exe_main.obj) : error LNK2001: 无法解析的外部符号 main
1>D:\MinGW\projects\USB5538_python\x64\Release\USB5538_python.exe : fatal error LNK1120: 1 个无法解析的外部命令
1>已完成生成项目“USB5538_python.vcxproj”的操作 - 失败。
========== 生成: 成功 0 个,失败 1 个,最新 0 个,跳过 0 个 ==========
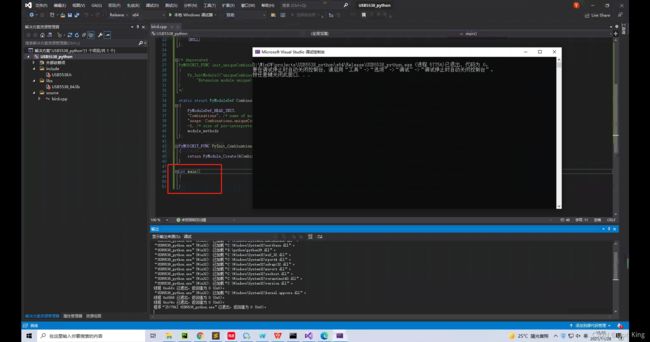
(10)在上述文件末尾添加入口函数即可:
int main()
{

}
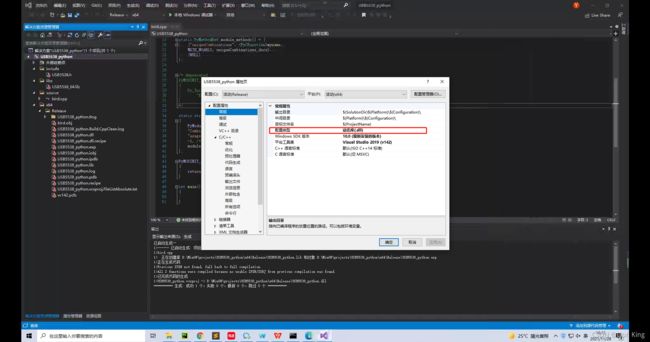
(11)接着设置如下:
三、使用python调用
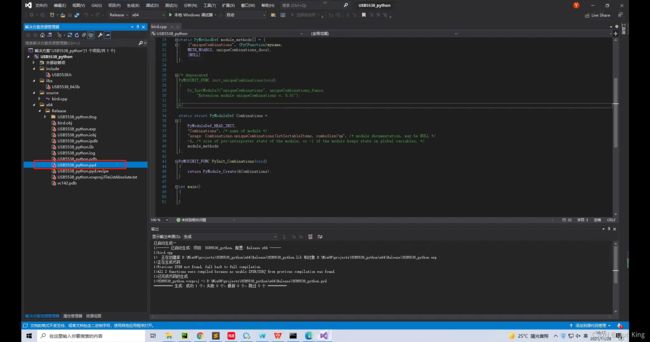
1、通过上述操作,应该能生成.pyd文件,那么,我们尝试打包成python库吧!
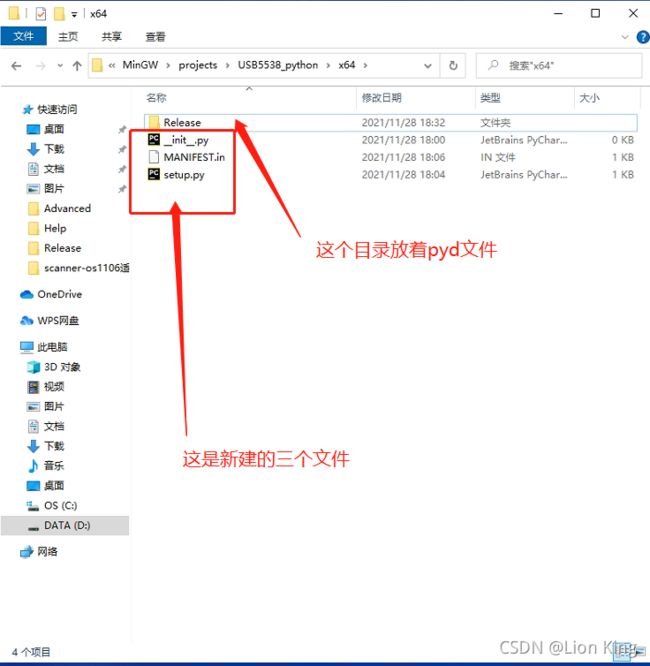
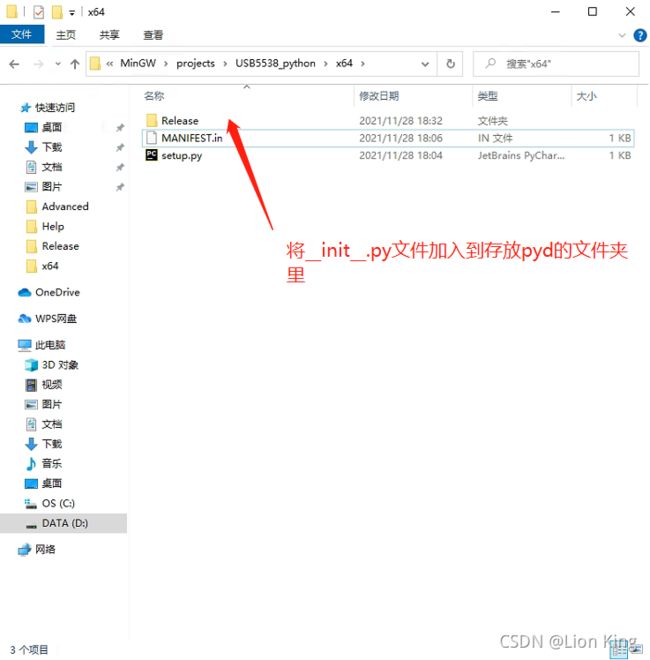
2、新建的文件内容与操作:
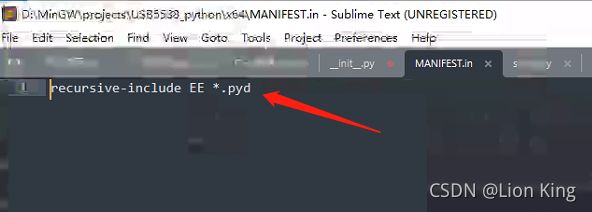
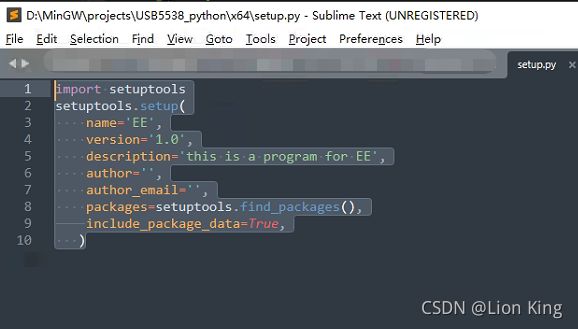
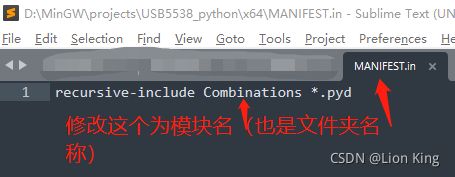
recursive-include EE *.pydimport setuptools
setuptools.setup(
name='EE',
version='1.0',
description='this is a program for EE',
author='',
author_email='',
packages=setuptools.find_packages(),
include_package_data=True,
)3、在当前目录下,打开cmd,执行打包指令
pip install wheel
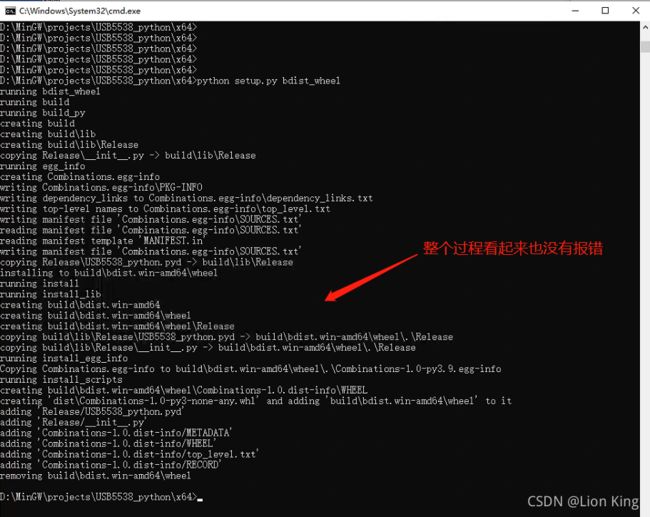
python setup.py bdist_wheel
recursive-include Release *.pyd4、继续生成后,拿去安装看看
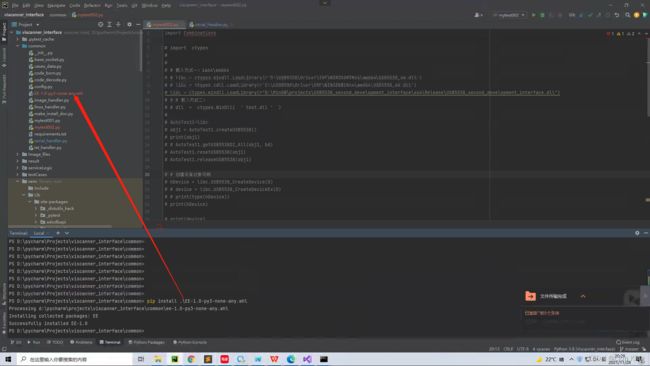
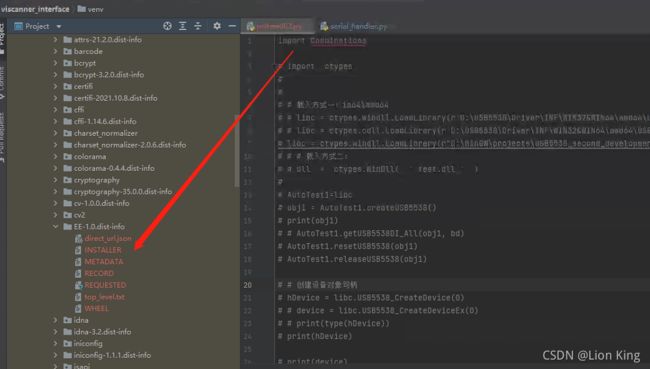
如图,安装成功,但是导入模块的时候,还是错误,因为该目录下没有py文件。按理说,应该会生成两个文件夹,一个库文件夹,一个详细信息文件夹,现在只有后者!
5、尝试解决该问题
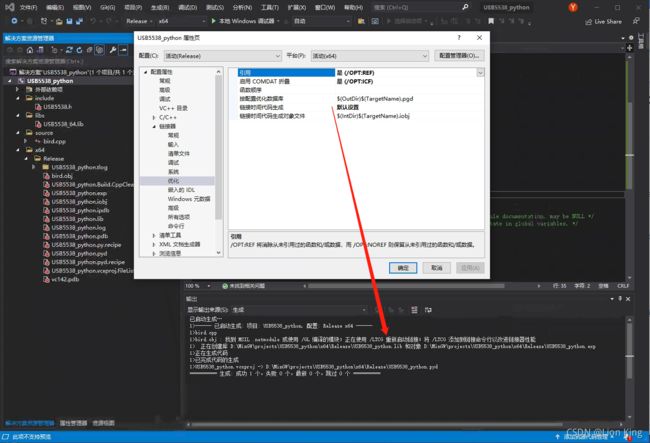
(1)先查看编译时的提示,感觉可能会有问题
已启动生成…
1>------ 已启动生成: 项目: USB5538_python, 配置: Release x64 ------
1>bird.cpp
1>  正在创建库 D:\MinGW\projects\USB5538_python\x64\Release\USB5538_python.lib 和对象 D:\MinGW\projects\USB5538_python\x64\Release\USB5538_python.exp
1>正在生成代码
1>Previous IPDB not found, fall back to full compilation.
1>All 2 functions were compiled because no usable IPDB/IOBJ from previous compilation was found.
1>已完成代码的生成
1>USB5538_python.vcxproj -> D:\MinGW\projects\USB5538_python\x64\Release\USB5538_python.pyd
========== 生成: 成功 1 个,失败 0 个,最新 0 个,跳过 0 个 ==========
(2)优化链路后,不再有上述提示,不过即使这样,也没能成功安装模块
(3)研究C++文件,查阅官方文档
Python - Extension Programming with C
如官方文档所说,已经添加了Python.h文件
The Header File Python.h
You need include Python.h header file in your C source file, which gives you access to the internal Python API used to hook your module into the interpreter.

Make sure to include Python.h before any other headers you might need. You need to follow the includes with the functions you want to call from Python.
根据文档的要求,检查了对象规范,没有问题
The C Functions
The signatures of the C implementation of your functions always takes one of the following three forms −

static PyObject *MyFunction( PyObject *self, PyObject *args );

static PyObject *MyFunctionWithKeywords(PyObject *self,
                                 PyObject *args,
                                 PyObject *kw);

static PyObject *MyFunctionWithNoArgs( PyObject *self );
检查了函数映射,没有问题
The Method Mapping Table
This method table is a simple array of PyMethodDef structures. That structure looks something like this −

struct PyMethodDef {
   char *ml_name;
   PyCFunction ml_meth;
   int ml_flags;
   char *ml_doc;
};
检查了模块名称,也没有问题
The Initialization Function
The last part of your extension module is the initialization function. This function is called by the Python interpreter when the module is loaded. It is required that the function be named initModule, where Module is the name of the module.

The initialization function needs to be exported from the library you will be building. The Python headers define PyMODINIT_FUNC to include the appropriate incantations for that to happen for the particular environment in which we're compiling. All you have to do is use it when defining the function.

Your C initialization function generally has the following overall structure −
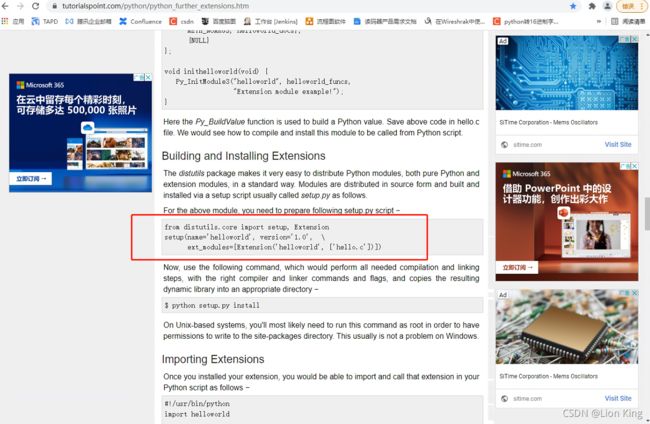
官方提供了另一种编译方式:
(4)尝试官方提供的程序,直接运行看看,还没运行就已经报错了
(5)寻找最新文档继续尝试
1. Extending Python with C or C++ — Python 3.10.0 documentation
根据新的文档,对源文件做了如下注释和规范上的修改,然而没啥用。
#define PY_SSIZE_T_CLEAN  // 建议在包含Python.h之前总是定义PY_SSIZE_T_CLEAN。
#include   // 打包成python扩展所需要的头文件

// 函数的三种实现方式,C函数通常是通过将Python模块和函数名组合在一起命名的,如模块是Combinations(也是.cpp名称),函数是uniqueCombinations,组成了一个函数名
static PyObject* Combinations_uniqueCombinations(PyObject* self)  // 定义功能有三种方式,详细文档(旧文档)请查阅https://www.tutorialspoint.com/python/python_further_extensions.htm
{
    return Py_BuildValue("s", "uniqueCombinations() return value (is of type 'string')");
};

/*
函数的三种实现方式例子:
static PyObject *MyFunction( PyObject *self, PyObject *args );  // METH_VARARGS

static PyObject *MyFunctionWithKeywords(PyObject *self,PyObject *args,PyObject *kw);  // METH_KEYWORDS

static PyObject *MyFunctionWithNoArgs( PyObject *self );  // METH_NOARGS
*/

static char uniqueCombinations_docs[] ="usage: uniqueCombinations(lstSortableItems, comboSize)\n";  // 随意定义的文档字符串描述

// 方法映射表,方法表是一个简单的PyMethodDef结构数组
static PyMethodDef module_methods[] = {
    {"uniqueCombinations", (PyCFunction)Combinations_uniqueCombinations, METH_NOARGS, uniqueCombinations_docs},
    { NULL, NULL, 0, NULL }
    // 格式解释:{ml_name,ml_meth,ml_flags,ml_doc}
    // ml_name:这是Python解释器在Python程序中使用的函数名。
    // ml_meth:这必须是函数名。
    // ml_flags:函数的三种实现方式,上述例子中已经标明对应字段选择
    // ml_doc:可以为空值,四个选项对应的空值分别为:{ NULL, NULL, 0, NULL }
};

// 模块后面加module,比较规范。这个结构必须在模块的初始化函数中传递给解释器。初始化函数必须命名为PyInit_name(),其中name是模块的名称,并且应该是模块文件中定义的唯一非静态项
static struct PyModuleDef Combinationsmodule =
{
    PyModuleDef_HEAD_INIT,
    "Combinations",  /* 模块名称 */
    "usage: Combinations.uniqueCombinations(lstSortableItems, comboSize)\n", /* 模块文档*/
    -1, /* 模块的每个解释器状态的大小,如果模块在全局变量中保持状态,则为-1。*/
    module_methods  /* 方法映射表 , 即需要引用定义好的引射表*/
};

// 初始化函数,之前的初始化方法 PyMODINIT_FUNC initModule() 已弃用,新文档见 https://docs.python.org/3/extending/extending.html
PyMODINIT_FUNC PyInit_Combinations(void)
{
    return PyModule_Create(&Combinationsmodule);  // 它返回一个模块对象,并根据模块定义中的表(PyMethodDef结构的数组)将内置函数对象插入到新创建的模块中。
}
感觉源文件没啥问题了,看看生成安装包的规范是怎样的:
生成wheel文件后进行安装,导入模块成功,但是没有函数。不过,又推进了一步!!!
python setup.py bdist_wheel(6)安装的模块为啥没有方法?
查阅官方文档,有这么描述:可以用c++编写扩展模块。一些限制适用。如果主程序(Python解释器)被C编译器编译并链接,则不能使用带构造函数的全局对象或静态对象。如果主程序是由c++编译器链接的,这不是一个问题。Python解释器将调用的函数(特别是模块初始化函数)必须使用extern "C"声明。没有必要将Python头文件放在extern "C"{…} -如果定义了__cplusplus符号,它们已经使用了这种形式(所有最近的c++编译器)
官方描述:
It is possible to write extension modules in C++. Some restrictions apply. If the main program (the Python interpreter) is compiled and linked by the C compiler, global or static objects with constructors cannot be used. This is not a problem if the main program is linked by the C++ compiler. Functions that will be called by the Python interpreter (in particular, module initialization functions) have to be declared using extern "C". It is unnecessary to enclose the Python header files in extern "C" {...} — they use this form already if the symbol __cplusplus is defined (all recent C++ compilers define this symbol).
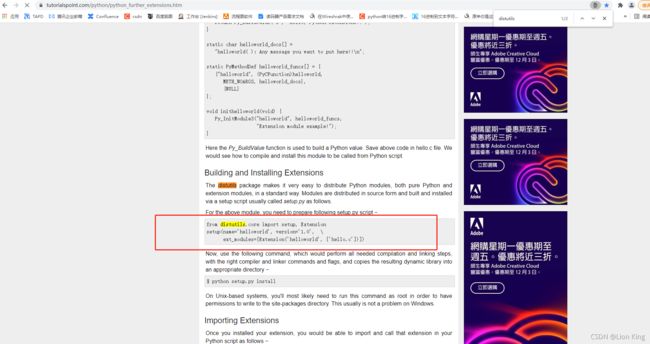
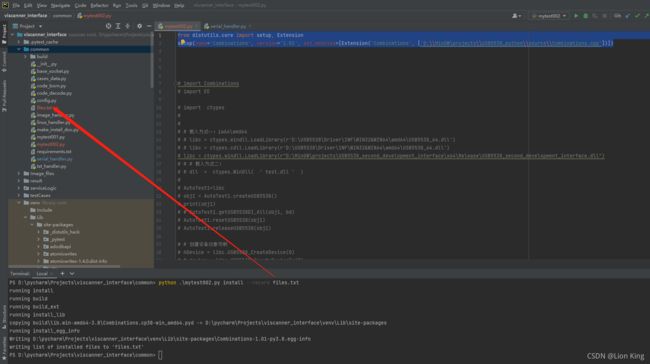
出错的原因可能是官方说的需要使用extern "C"声明?还是说我使用的setuptools编译得有问题?毕竟以前的编译方式如下:
咋们换种编译方式试试:
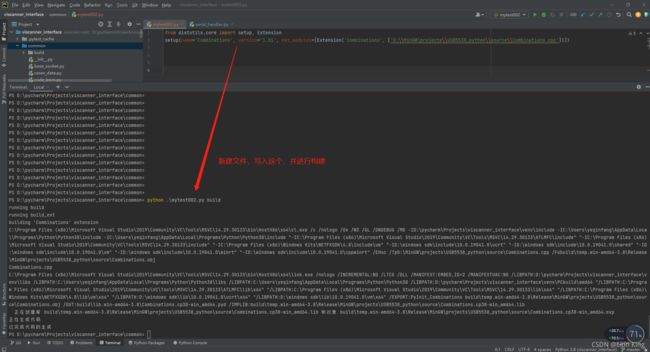
任意新建py文件,写入下面代码:
from distutils.core import setup, Extension
setup(name='Combinations', version='1.01', ext_modules=[Extension('Combinations', ['D:\\MinGW\projects\\USB5538_python\\source\\Combinations.cpp'])])
进行构建和安装:
python .\mytest002.py build
python .\mytest002.py install --record files.txt
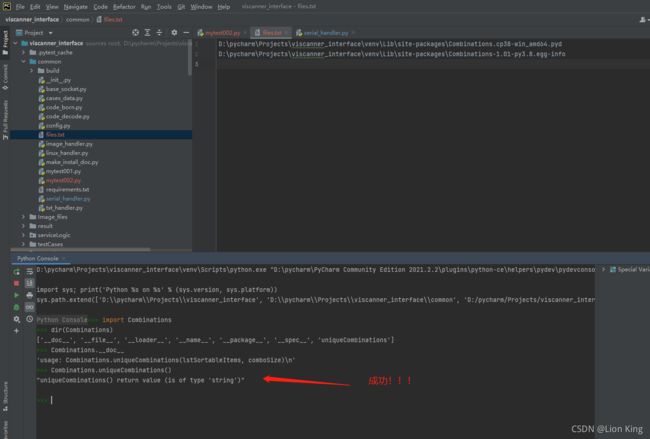
运行看看:
PyDev console: starting.
Python 3.8.2 (tags/v3.8.2:7b3ab59, Feb 25 2020, 23:03:10) [MSC v.1916 64 bit (AMD64)] on win32
import Combinations
dir(Combinations)
['__doc__', '__file__', '__loader__', '__name__', '__package__', '__spec__', 'uniqueCombinations']
Combinations.__doc__
'usage: Combinations.uniqueCombinations(lstSortableItems, comboSize)\n'
Combinations.uniqueCombinations()
"uniqueCombinations() return value (is of type 'string')"

