springboot+shiro+layuimini实现后台管理系统的权限控制(一)基础环境搭建
一、框架简介
springboot自然不必要多说,是现在主流的web框架;
layuimini是一款基于layui的后台管理系统前端框架,简单易上手,功能也比较齐全,适合后台开发人员使用。
Apache Shiro 是 Java 的一个安全框架。目前,使用 Apache Shiro 的人越来越多,因为它相当简单,对比 Spring Security,可能没有 Spring Security 做的功能强大,但是在实际工作时可能并不需要那么复杂的东西,所以使用小而简单的 Shiro 就足够了。对于它俩到底哪个好,这个不必纠结,能更简单的解决项目问题就好了。
二、环境搭建
1、新建springboot项目,并在pom中导入相关的依赖:
            org.springframework.boot
            spring-boot-starter-thymeleaf


            junit
            junit
            4.9


            org.apache.shiro
            shiro-spring
            1.7.1


            mysql
            mysql-connector-java
            5.1.34


            com.alibaba
            druid-spring-boot-starter
            1.1.10


            org.mybatis.spring.boot
            mybatis-spring-boot-starter
            2.1.0


            log4j
            log4j
            1.2.17


            commons-codec
            commons-codec
            1.14


            com.google.code.gson
            gson


            com.github.theborakompanioni
            thymeleaf-extras-shiro
            2.0.0
2、构建Springboot项目框架:
2、配置application.yml
server:
  port: 8080   #端口号

spring:
  #数据源设置
  datasource:
    type: com.alibaba.druid.pool.DruidDataSource
    driver-class-name: com.mysql.jdbc.Driver
    url: jdbc:mysql://xxxx:3306/test_shiro?useUnicode=true&characterEncoding=utf-8&autoReconnect=true&zeroDateTimeBehavior=convertToNull&allowMultiQueries=true&useSSL=false
    username: root
    password: ****
    druid:
      initial-size: 10     #初始化连接池大小
      min-idle: 10         #最小大小
      max-active: 50       #最大大小
      max-wait: 60000      #获取连接时最大等待时间,单位毫秒
      time-between-eviction-runs-millis: 60000   #配置间隔多久才进行一次检测,检测需要关闭的空闲连接,单位是毫秒
      min-evictable-idle-time-millis: 300000     #配置一个连接在池中最小生存的时间,单位是毫秒
      validation-query: SELECT 1 FROM DUAL       #用来检测连接是否有效的sql
      test-while-idle: true                      #申请连接的时候检测,建议配置为true,不影响性能,并且保证安全性
      testOnBorrow: false                        #获取连接时执行检测,建议关闭,影响性能
      testOnReturn: false                        #归还连接时执行检测,建议关闭,影响性能
      pool-prepared-statements: false            #是否开启PSCache,PSCache对支持游标的数据库性能提升巨大,oracle建议开启,mysql下建议关闭
      filters: stat,wall                   #配置扩展插件,常用的插件有=>stat:监控统计  log4j:日志  wall:防御sql注入
  #thymeleaf设置 prefix:指定模板页面存放路径;suffix:指定模板页面名称的后缀;cache:模板缓存
  thymeleaf:
    prefix: classpath:/templates/
    suffix: .html
    cache: false
# mybatis设置 mapper-locations:mapper扫描路径;type-aliases-package:model扫描路径,设置以后,mapper中的resultType可以不用全路径
mybatis:
  mapper-locations: classpath:mapper/*.xml
  type-aliases-package: com.example.demo.model

logging:
  level:
    com.example.demo.mapper: trace
3、导入layuimini;
下载地址:layui-mini: layuimini,后台admin前端模板,基于 layui 编写的最简洁、易用的后台框架模板。只需提供一个接口就直接初始化整个框架,无需复杂操作。 - Gitee.com
解压出来的结构是这样的:
基本上就是普通web前端的项目结构,唯一要说明的一点就是api文件夹,api文件夹下放的是静态的json文件,用来渲染数据用的, 后面我们会用接口来替换掉。
我们把它引入到我们的项目中,静态资源都放在static下,页面文件都放在templates下:
4、前后端联通
在controller包下新建PageController用来绑定页面:
@Controller
public class PageController {

    @RequestMapping("/")
    public String index() {
        return "/index";
    }
}
因为我们引进了thymeleaf作为模板引擎,所以这里return不需要加.html。
然后我们就可以点击一下运行,看一下效果:
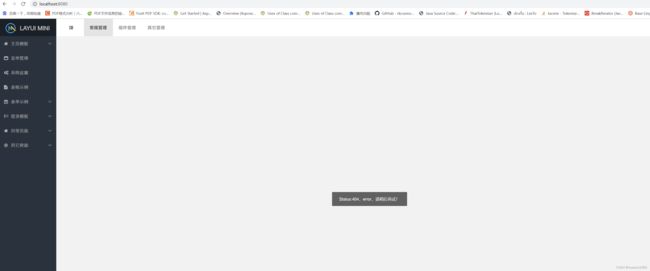
 菜单模块已经加载出来了,但是点击菜单返回的都是提示404。原因在于目前菜单的数据都是通过api文件夹下init.json加载出来的,我们查看这个文件发现,这里的href都是带.html,之前已经说过我们使用的是thymeleaf模板引擎,无法加载后缀名为html的路径,因此如果我们需要将这里的href的后缀都去掉,并且在controller中将href与页面进行绑定:
@Controller
public class PageController {

    @RequestMapping("/")
    public String index() {
        return "/index";
    }

    @RequestMapping("/page/welcome-1")
    public String welcome1() {
        return "/page/welcome-1";
    }
}
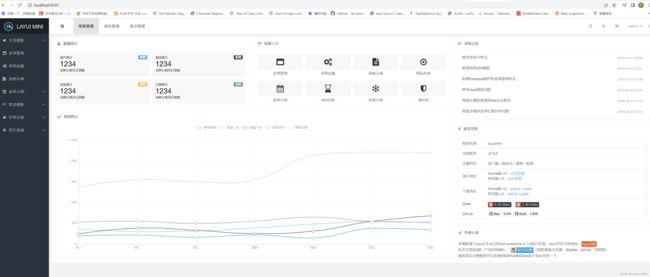
再次点击运行,我们就能看到主页一被加载出来了:
好了,至此我们就完成了基础环境的搭建,shiro环境已经被我们引入,并且layuimini也可以作为项目的前端来进行使用了。下一篇,我们就将实现利用shiro实现对登录用户的认证。


