目标检测 YOLOv5 - 最新版本v6.2模型在瑞芯微 Rockchip设备上运行的方案
目标检测 YOLOv5 - 最新版本v6.2模型在瑞芯微 Rockchip设备上运行的方案
包含pytorch模型转rknn
flyfish
模型的导出
本例是以640x640的输入来说明
git clone https://github.com/ultralytics/yolov5  # clone
cd yolov5
pip install -r requirements.txt  # install
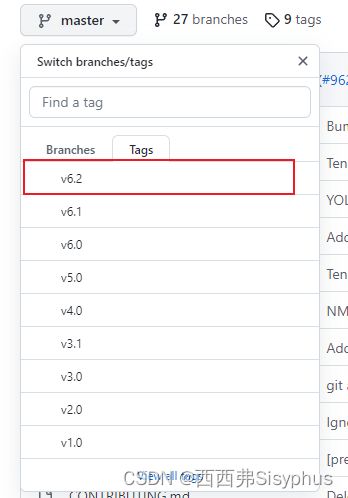
可以切换到v6.2然后执行导出onnx
python export.py --weights yolov5s.pt --include torchscript onnx
或者直接下载v6.2的源码
需要更改导出部分
这个为了说明如何编写代码,导出了4部分。在使用时要么输出3部分,要么输出1部分,只选其一。

方案1 模型的输出如下

[1,25200,85]
主要是后处理的编写
def yolov5_post_process(input_image, outputs):
      class_ids = []
      confidences = []
      boxes = []
      # Rows.
      rows = outputs[0].shape[1]

      # Iterate through detections.
      for r in range(rows):
            row = outputs[0][0][r]
            confidence = row[4]
            # Discard bad detections and continue.
            if confidence >= CONFIDENCE_THRESHOLD:
                  classes_scores = row[5:]
                  # Get the index of max class score.
                  class_id = np.argmax(classes_scores)
                  #  Continue if the class score is above threshold.
                  if (classes_scores[class_id] > SCORE_THRESHOLD):
                        confidences.append(confidence)
                        class_ids.append(class_id)
                        cx, cy, w, h = row[0], row[1], row[2], row[3]
                        left = int((cx - w/2) * x_factor)
                        top = int((cy - h/2) * y_factor)
                        width = int(w * x_factor)
                        height = int(h * y_factor)
                        box = np.array([left, top, width, height])
                        boxes.append(box)

      indices = cv2.dnn.NMSBoxes(boxes, confidences, CONFIDENCE_THRESHOLD, NMS_THRESHOLD)
      for i in indices:
            box = boxes[i]
            left = box[0]
            top = box[1]
            width = box[2]
            height = box[3]

            cv2.rectangle(input_image, (left, top), (left + width, top + height), (255, 0, 0), 2)

            label = "{}:{:.2f}".format(CLASSES[class_ids[i]], confidences[i])

            cv2.putText(input_image, label,
                    (left,top),
                    cv2.FONT_HERSHEY_SIMPLEX,
                    0.6, (0, 0, 255), 2)
      return input_image
方案1完整的pytorch模型转rknn代码下载地址
https://github.com/shaoshengsong/rockchip_rknn_yolov5
方案2 模型的输出如下
 (1, 3, 80, 80, 85)
 (1, 3, 40, 40, 85)
 (1, 3, 20, 20, 85)
在写代码时根据输出的name编写
ret = rknn.load_onnx(model=ONNX_MODEL, outputs=['339', '377', '415'])
if ret != 0:
    print('Load model failed!')
    exit(ret)
print('done')
中间转换的shape
(3, 80, 80, 85)
(3, 40, 40, 85)
(3, 20, 20, 85)
最终使用的shape
(80, 80, 3, 85)
(40, 40, 3, 85)
(20, 20, 3, 85)
方案2完整的pytorch模型转rknn代码下载地址
https://github.com/shaoshengsong/rockchip_rknn_yolov5
在yolov5_v6.2文件夹中
方案3
需要在Ubuntu下进行预编译和量化
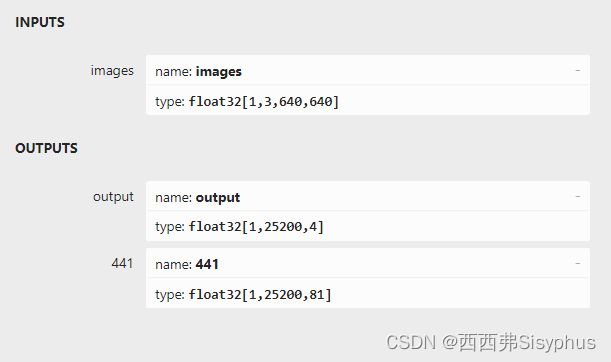
为了Rockchip的设备使用量化,这里把box和score分开了。
box范围是0-640
score的范围是0-1
box 由[x_center, y_center, width, height] 变成了[left, top, right, bottom]
常见的边框(bounding box )坐标表示方法
最后模型导出的样子如下,输出两部分