pyecharts解决不能显示图像
pyecharts解决不能显示图像
jupyter
最近学习pyecharts时在jupyter当中不能出现图像,总结了一下解决方法。
pyecharts-assets 提供了 pyecharts 的静态资源文件。可通过 localhost-server 或者 notebook-server 启动本地服务。首先将项目下载到本地
# 通过 git clone
$ git clone https://github.com/pyecharts/pyecharts-assets.git

# 或者直接下载压缩包
$ wget https://github.com/pyecharts/pyecharts-assets/archive/master.zip
Localhost-Server
启动服务器
$ cd pyecharts-assets
$ python -m http.server
设置 host
# 只需要在顶部声明 CurrentConfig.ONLINE_HOST 即可
from pyecharts.globals import CurrentConfig

CurrentConfig.ONLINE_HOST = "http://127.0.0.1:8000/assets/"

# 接下来所有图形的静态资源文件都会来自刚启动的服务器
from pyecharts.charts import Bar
bar = Bar()
Notebook-Server
安装扩展插件
$ cd pyecharts-assets
# 安装并激活插件
$ jupyter nbextension install assets
$ jupyter nbextension enable assets/main
设置 host
 # 只需要在顶部声明 CurrentConfig.ONLINE_HOST 即可
from pyecharts.globals import CurrentConfig, OnlineHostType

# OnlineHostType.NOTEBOOK_HOST 默认值为 http://localhost:8888/nbextensions/assets/
CurrentConfig.ONLINE_HOST = OnlineHostType.NOTEBOOK_HOST

# 接下来所有图形的静态资源文件都会来自刚启动的服务器
from pyecharts.charts import Bar
bar = Bar()
本地资源
# 只需要在顶部声明 CurrentConfig.ONLINE_HOST 即可
from pyecharts.globals import CurrentConfig, OnlineHostType

# OnlineHostType.NOTEBOOK_HOST
CurrentConfig.ONLINE_HOST = "E:/Software/pyecharts-assets-master/assets/"

# 接下来所有图形的静态资源文件都会来自本地资源
from pyecharts.charts import Bar
bar = Bar()
其他根据。
jupyter lab
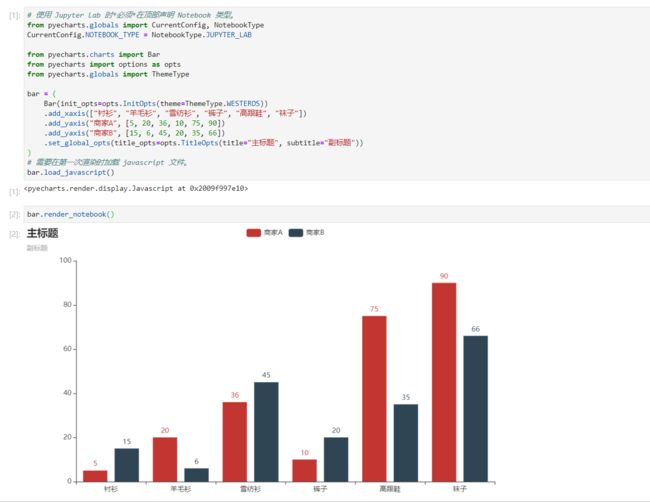
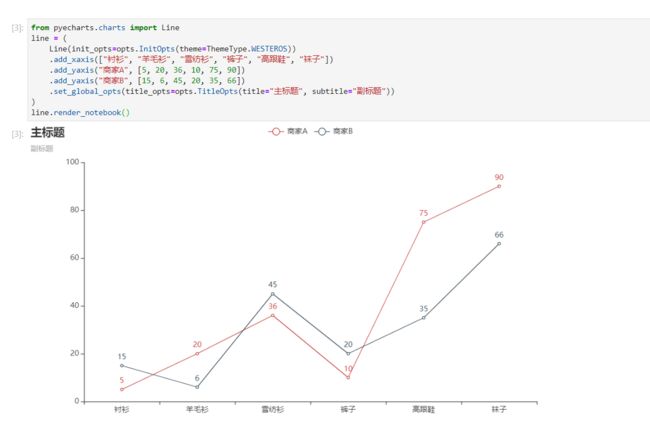
Jupyter Lab 渲染的时候有两点需要注意
-
在顶部声明 Notebook 类型,必须在引入 pyecharts.charts 等模块前声明
from pyecharts.globals import CurrentConfig, NotebookType CurrentConfig.NOTEBOOK_TYPE = NotebookType.JUPYTER_LAB -
在第一次渲染的时候调用
load_javascript()会预先加载基本 JavaScript 文件到 Notebook 中。如若后面其他图形渲染不出来,则请开发者尝试再次调用,因为load_javascript只会预先加载最基本的 js 引用。而主题、地图等 js 文件需要再次按需加载。 -
load_javascript()和render_notebook()方法需要在不同的 cell 中调用,这是 Notebook 的内联机制,其实本质上我们是返回了带有_html_,_javascript_对象的 class。notebook 会自动去调用这些方法。
Nteract
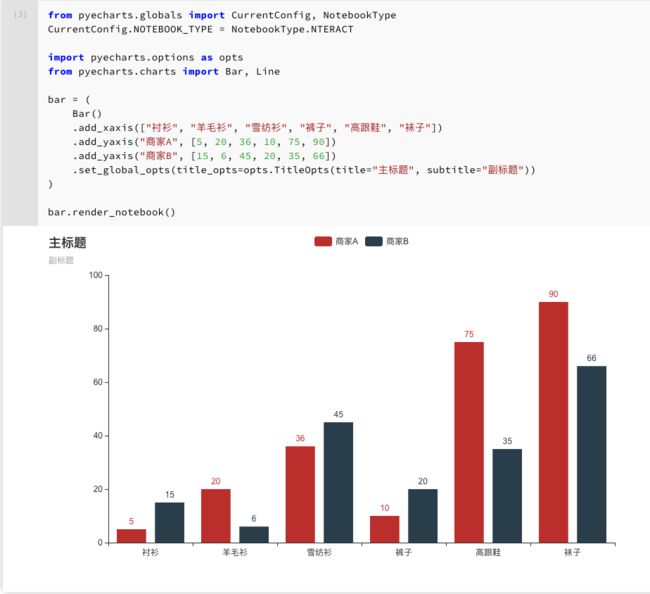
Nteract 渲染的时候有两点需要注意
-
在顶部声明 Notebook 类型,必须在引入 pyecharts.charts 等模块前声明
 from pyecharts.globals import CurrentConfig, NotebookType
 CurrentConfig.NOTEBOOK_TYPE = NotebookType.NTERACT
nteract 调用 render_notebook 方法即可渲染
from pyecharts.globals import CurrentConfig, NotebookType
CurrentConfig.NOTEBOOK_TYPE = NotebookType.NTERACT

import pyecharts.options as opts
from pyecharts.charts import Bar, Line

bar = (
    Bar()
    .add_xaxis(["衬衫", "羊毛衫", "雪纺衫", "裤子", "高跟鞋", "袜子"])
    .add_yaxis("商家A", [5, 20, 36, 10, 75, 90])
    .add_yaxis("商家B", [15, 6, 45, 20, 35, 66])
    .set_global_opts(title_opts=opts.TitleOpts(title="主标题", subtitle="副标题"))
)

bar.render_notebook()
Zeppelin
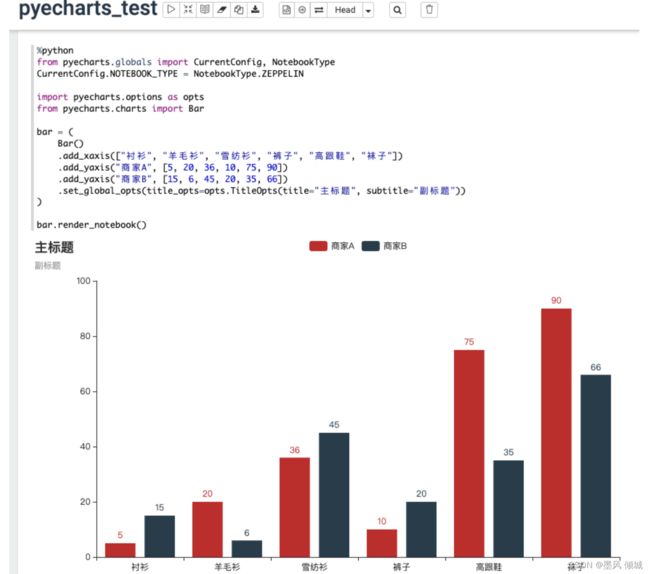
Zeppelin 渲染的时候有需要注意
-
在顶部声明 Notebook 类型,必须在引入 pyecharts.charts 等模块前声明
 from pyecharts.globals import CurrentConfig, NotebookType
 CurrentConfig.NOTEBOOK_TYPE = NotebookType.ZEPPELIN
Zeppelin 调用 render_notebook 方法即可渲染
%python
from pyecharts.globals import CurrentConfig, NotebookType
CurrentConfig.NOTEBOOK_TYPE = NotebookType.ZEPPELIN

import pyecharts.options as opts
from pyecharts.charts import Bar

bar = (
    Bar()
    .add_xaxis(["衬衫", "羊毛衫", "雪纺衫", "裤子", "高跟鞋", "袜子"])
    .add_yaxis("商家A", [5, 20, 36, 10, 75, 90])
    .add_yaxis("商家B", [15, 6, 45, 20, 35, 66])
    .set_global_opts(title_opts=opts.TitleOpts(title="主标题", subtitle="副标题"))
)

bar.render_notebook()


