PyTorch之torchvision.transforms实战
PyTorch之torchvision.transforms实战
#Pyton Image Library PIL 一个python图片库
from PIL import Image
from torchvision import transforms
import matplotlib.pyplot as plt
%matplotlib inline
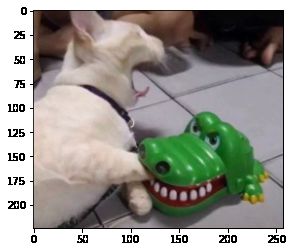
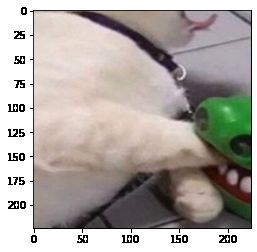
img = Image.open(r"C:\Users\pandas\Pictures\QQ图片20211021234845.jpg")
print(img.size)
plt.imshow(img)
(1668, 1450)

transforms.Compose
transformer = transforms.Compose([
transforms.Resize(256),
transforms.transforms.RandomResizedCrop((224), scale = (0.5,1.0)),
transforms.RandomHorizontalFlip(),
])
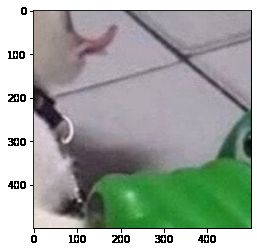
test_a = transformer(img)
plt.imshow(test_a)

transforms.Resize
对载入的图片数据按照我们的需要进行缩放,传递给这个类的size可以是一个整型数据,也可以是一个类似于 (h ,w) 的序列。如果输入是个(h,w)的序列,h代表高度,w代表宽度,h和w都是int,则直接将输入图像resize到这个(h,w)尺寸,相当于force。如果使用的是一个整型数据,则将图像的短边resize到这个int数,长边则根据对应比例调整,图像的长宽比不变。
# 等比缩放
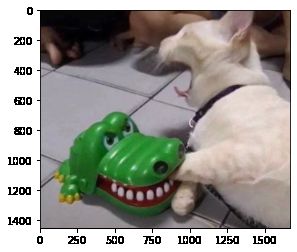
test1 = transforms.Resize(224)(img)
print(test1.size)
plt.imshow(test1)
(257, 224)
transforms.Scale
对载入的图片数据我们的需要进行缩放,用法和torchvision.transforms.Resize类似。。传入的size只能是一个整型数据,size是指缩放后图片最小边的边长。举个例子,如果原图的height>width,那么改变大小后的图片大小是(size*height/width, size)。
# 等比缩放
test2 = transforms.Scale(224)(img)
print(test2.size)
plt.imshow(test2)
(257, 224)


C:\Users\pandas\anaconda3\envs\pytorch_test\lib\site-packages\torchvision\transforms\transforms.py:317: UserWarning: The use of the transforms.Scale transform is deprecated, please use transforms.Resize instead.
  warnings.warn("The use of the transforms.Scale transform is deprecated, " +

transforms.CenterCrop
test3 = transforms.CenterCrop((500,500))(img)
print(test3.size)
plt.imshow(test3)
(500, 500)
test4 = transforms.CenterCrop(224)(img)
print(test4.size)
plt.imshow(test4)
(224, 224)

transforms.RandomCrop
test5 = transforms.RandomCrop(224)(img)
print(test5.size)
plt.imshow(test5)
(224, 224)
test6 = transforms.RandomCrop((300,300))(img)
print(test6.size)
plt.imshow(test6)
(300, 300)

transforms.RandomHorizontalFlip
test7 = transforms.RandomHorizontalFlip()(img)
print(test7.size)
plt.imshow(test7)
(1668, 1450)
transforms.RandomVerticalFlip
test8 = transforms.RandomVerticalFlip()(img)
print(test8.size)
plt.imshow(test8)
(1668, 1450)

transforms.RandomResizedCrop
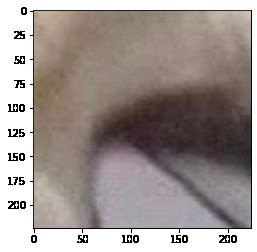
test9 = transforms.RandomResizedCrop(224)(img)
print(test9.size)
plt.imshow(test9)
(224, 224)
test9 = transforms.RandomResizedCrop(224,scale=(0.5,0.8))(img)
print(test9.size)
plt.imshow(test9)
(224, 224)

显示图片对比
# RandomResizedCrop 将给定图像随机裁剪为不同的大小和宽高比,然后缩放所裁剪得到的图像为制定的大小
print("原图大小:",img.size)
# Crop代表剪裁到某个尺寸
data1 = transforms.RandomResizedCrop(224)(img)
# data1、data2、data3尺寸一样,长宽都是224*224  size也可以是一个Integer,在这种情况下,切出来的图片的形状是正方形
print("随机裁剪后的大小:",data1.size)
data2 = transforms.RandomResizedCrop(224)(img)
data3 = transforms.RandomResizedCrop(224)(img)

# 放四个格,布局为2*2
plt.subplot(2,2,1),plt.imshow(img),plt.title("Original")
plt.subplot(2,2,2),plt.imshow(data1),plt.title("Transform 1")
plt.subplot(2,2,3),plt.imshow(data2),plt.title("Transform 2")
plt.subplot(2,2,4),plt.imshow(data3),plt.title("Transform 3")
plt.show()
原图大小: (1668, 1450)
随机裁剪后的大小: (224, 224)

# 以输入图的中心点为中心点做指定size的crop操作
img1 = transforms.CenterCrop(224)(img)
img2 = transforms.CenterCrop(224)(img)
img3 = transforms.CenterCrop(224)(img)
# img1、img2、img3三个图是一样的
plt.subplot(2,2,1),plt.imshow(img),plt.title("Original")
plt.subplot(2,2,2), plt.imshow(img1), plt.title("Transform 1")
plt.subplot(2,2,3), plt.imshow(img2), plt.title("Transform 2")
plt.subplot(2,2,4), plt.imshow(img3), plt.title("Transform 3")
plt.show()

# 以给定的概率随机水平旋转给定的PIL的图像,默认为0.5
img1 = transforms.RandomHorizontalFlip()(img)
img2 = transforms.RandomHorizontalFlip()(img)
img3 = transforms.RandomHorizontalFlip()(img)

plt.subplot(2,2,1),plt.imshow(img),plt.title("Original")
plt.subplot(2,2,2), plt.imshow(img1), plt.title("Transform 1")
plt.subplot(2,2,3), plt.imshow(img2), plt.title("Transform 2")
plt.subplot(2,2,4), plt.imshow(img3), plt.title("Transform 3")
plt.show()
