在ubuntu/windows中安装nnUNet并训练自己的数据
nn我的环境是windows10+ 1080ti 11g
30系列显卡首先安装适合的cuda再配置,建议cuda >11. x
我的3090是torch1.8.0+ cuda111
torchvision 是0.9.0 + cu111
大多数问题都是 torch+cuda版本不正确
1.首先创建conda环境
conda create -n nnUNet python=3.7 -y
2.安装Pytorch环境,版本问题可根据自己的显卡cuda环境
首先查看自己的cuda版本
nvcc -V
建议去Pytorch管网,找Previous版本(https://pytorch.org/get-started/previous-versions/)
我的环境安装pytorch1.7.1, cuda=10.1, 可自行更换为相应版本的cuda
30系列显卡 cuda>=11.x
添加清华源加快下载速度
#添加镜像源
conda config --add channels https://mirrors.tuna.tsinghua.edu.cn/anaconda/pkgs/main
conda config --add channels https://mirrors.tuna.tsinghua.edu.cn/anaconda/pkgs/free
conda config --add channels https://mirrors.tuna.tsinghua.edu.cn/anaconda/pkgs/r
conda config --add channels https://mirrors.tuna.tsinghua.edu.cn/anaconda/pkgs/pro
conda config --add channels https://mirrors.tuna.tsinghua.edu.cn/anaconda/pkgs/msys2
在下面命令中去除末尾的 -c pytorch ,因为该命令是从官网下载,太慢了。
1080ti:
conda install pytorch==1.7.1 torchvision==0.8.2 torchaudio==0.7.2 cudatoolkit=10.1
3090
pip install torch==1.8.0+cu111 torchvision==0.9.0 torchaudio==0.8.0 -f https://download.pytorch.org/whl/torch_stable.html
或者
conda install pytorch==1.8.0 torchvision==0.9.0 torchaudio==0.8.0 cudatoolkit=11.1
3.可选项(直接复制)
pip install --upgrade git+https://github.com/nanohanno/hiddenlayer.git@bugfix/get_trace_graph#egg=hiddenlayer
4. 安装nnUNet
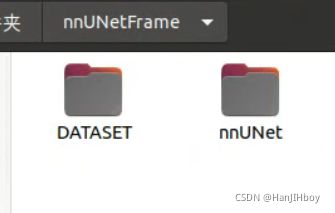
创建自己的文件夹, nnUNetFrame,然后跳转到这个文件夹
cd nnUNetFrame
git clone https://github.com/MIC-DKFZ/nnUNet.git
cd nnUNet
pip install -e .
5. 整理数据集的文件夹
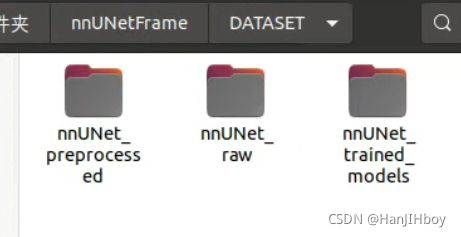
在创建的nnUNetFrame中,新建DATASET
在DATASET中创建三个文件夹
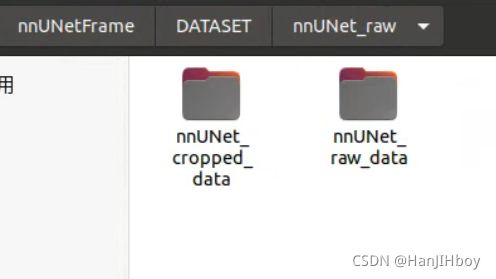
在nnUNet_raw中创建两个文件夹
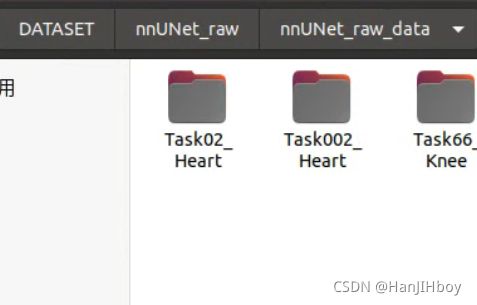
在最后的nnUNet_raw中放置自己的数据集,如下图第一个文件夹是官方数据集,都按照其格式更改
文件格式
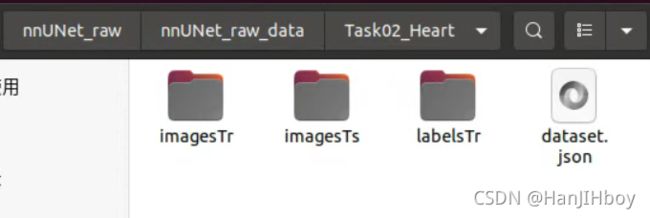
imagesTr : 训练数据
imagesTs : 测试数据
labelsTr : 训练标签
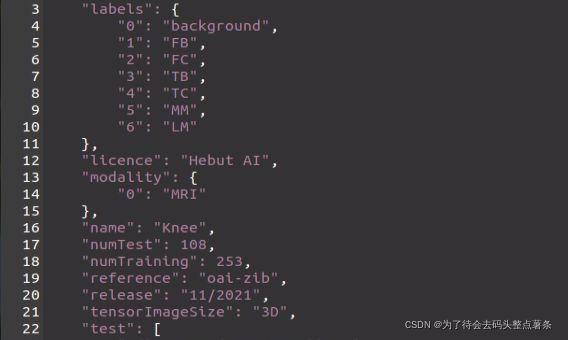
dataset.json : 文件内容描述,包括名称,医学图像类别,标签内容,训练数据和标签数据对
该文件是数据预处理的依据,需要针对自己数据修改
6. 设置nnUNet读取文件的路径(Linux,windows不用)
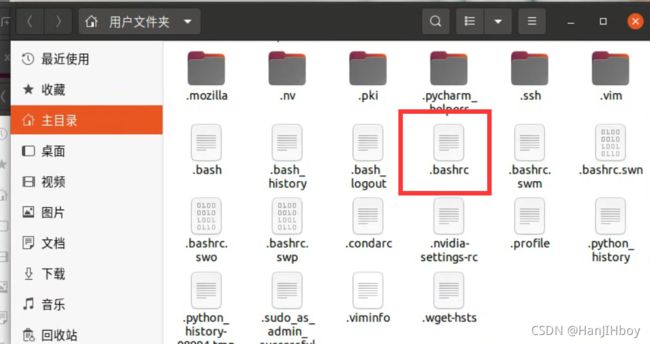
第一步:在home目录下按ctrl + h,显示隐藏文件;
第二步:找到.bashrc文件,打开(vim也可以)
第三步:在文档末尾添加下面三行,右上角保存文件,观察下面保存成功后关闭。
注意斜杠,不要少打
在home下打开终端,输入source .bashrc来更新该文档。

7. 转换数据集,让nnUNet识别
默认使用linux操作 -i 后添加路径
nnUNet_convert_decathlon_task -i /home/dluser/nnUNetFrame/DATASET/nnUNet_raw/nnUNet_raw_data/Task66_k
把路径换成自己的就好了
如果自己没有dataset.json,找代码更改里面的内容,我在windows上修改的,然后传到xftp
建议查看这里https://blog.csdn.net/qq_43210029/article/details/121350185
下面这个函数需要在环境中安装batchgenerators,在这里查找该项目
https://github.com/MIC-DKFZ/
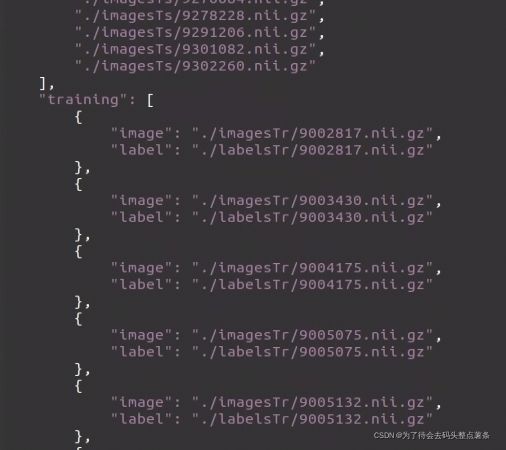
生成的json文件如下
预处理, 把xxx换成自己数据集的编号
nnUNet_plan_and_preprocess -t xxx --verify_dataset_integrity
# 这个代码只执行一次就行,主要多了末尾的验证
nnUNet_plan_and_preprocess -t   xx
# 不想验证就运行这一步
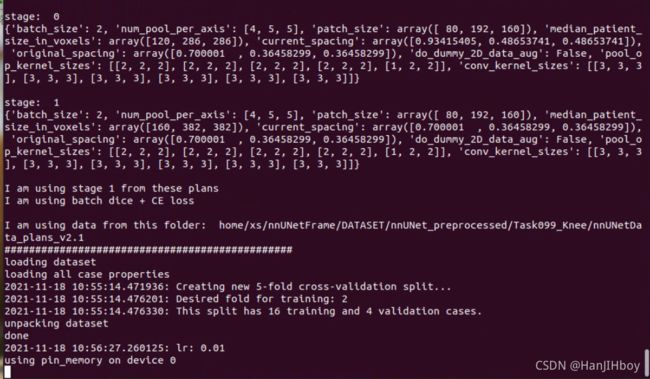
8. 开始训练 xx是数据集编号
xx为你的数据编号比如,66。 all代表5-fold验证,可填写1-5
nnUNet_train 3d_fullres nnUNetTrainerV2 xx all
截图为上传数据ing,等待开始训练,此过程的时间受数据量大小的影响
 windows和linux都可以打开Pycharm找到如下函数
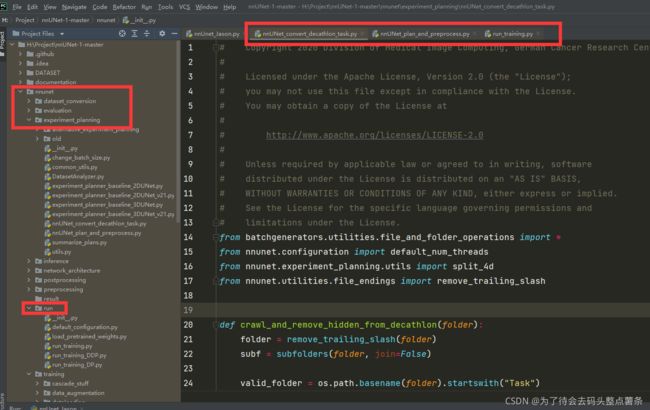
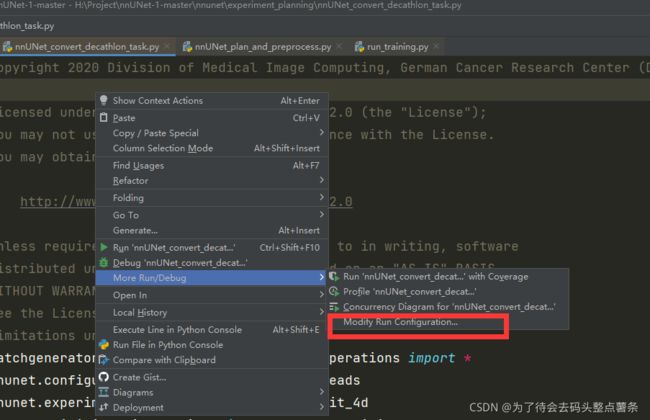
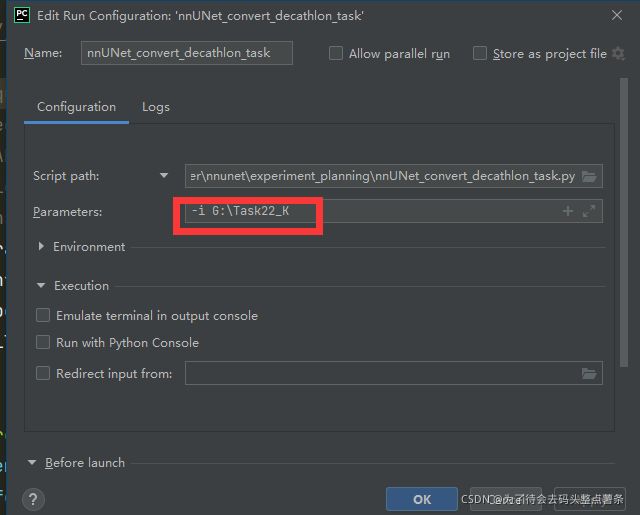
添加参数,方便报错提示和debug
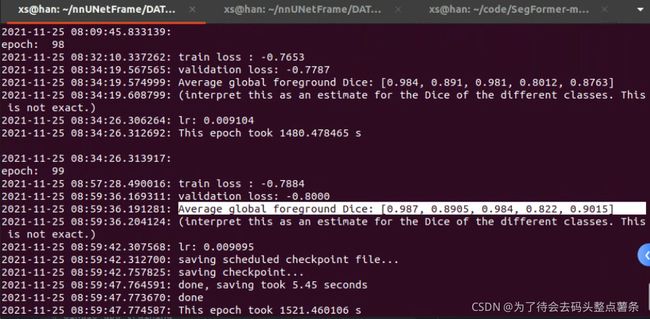
训练结果:
9. 推理
在raw_data文件下创建inferTs文件夹用于保存推理结果,使用如下命令进行推理
nnUNet_predict -i /home/你的主机用户名/nnUNetFrame/DATASET/nnUNet_raw/nnUNet_raw_data/Task0xx/imagesTs/ -o /home/你的主机用户名/nnUNetFrame/DATASET/nnUNet_raw/nnUNet_raw_data/Taskxx/inferTs -t 8 -m 3d_fullres -f 4
如果嫌太长可以跳转到文件目录下
cd nnUNetFrame/DATASET/nnUNet_raw/nnUNet_raw_data/Task0xx/
nnUNet_predict -i imagesTs/ -o inferTs -t   66 -m 3d_fullres -f all
换训练模型,重新预测
python inference/predict_simple.py -i INPUT_FOLDER -o OUTPUT_FOLDER -t 817 -tr LetsGoTrainer -m 3d_fullres -f all --disable_tta

nnUNet_predict -i imagesTs/ -o inferTs -t 66 -tr LetsGoTrainer -m 3d_fullres -f all --disable_tta
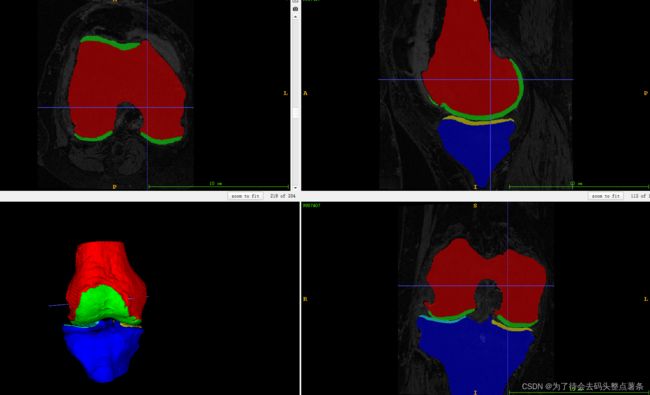
使用ITK-SNAP查看验证结果
参考:
https://blog.csdn.net/weixin_42061636/article/details/107623757
https://blog.csdn.net/u014264373/article/details/117417790
https://blog.csdn.net/weixin_42061636/article/details/107719274