Halcon学习---深度学习篇segment1~数据集预处理
程序部分:
*
*此示例是一系列示例的一部分,该示例总结了DL分段的工作流程。 它使用MVTec药丸数据集。
*
*四个部分是:
* 1.数据集预处理。
* 2.训练模型。
* 3.评估训练后的模型。
* 4.推断新图像。
*
*此示例包含第1部分:“数据集预处理
dev_update_off ()
*在此示例中,在执行预处理步骤之前,将在图形窗口中对其进行说明。 将以下参数设置为false可以跳过此可视化。
ShowExampleScreens := true
*
*初始示例窗口和参数等。
dev_example_init (ShowExampleScreens, ExampleInternals)
*
if (ShowExampleScreens)
*
* Introduction text of example series.
dev_display_screen_introduction_part_1 (ExampleInternals)
stop ()
dev_display_screen_introduction_part_2 (ExampleInternals)
stop ()
*
* Explain semantic segmentation data.
dev_display_screen_segmentation_data (ExampleInternals)
stop ()
*
* Explain splitting the dataset.
dev_display_screen_split_dataset (ExampleInternals)
stop ()
*
* Explain preprocessing parameters.
dev_display_screen_preprocessing_params (ExampleInternals)
stop ()
dev_display_screen_weight_images (ExampleInternals)
stop ()
* 为了进行语义分割,需要为每个图像都具有一个对应的weight_image,它为图像中的每个像素分配特定的权重。
* 在使用preprocess_dl_dataset进行预处理的过程中,将自动生成这些图像,从而根据像素所属的类别对像素进行加权。
* Explain the next steps.
dev_display_screen_next_steps (ExampleInternals)
***************************************************************************************
*现在将执行预处理步骤,读取和拆分数据集可能需要几秒钟的时间,变量检查窗口将显示预处理的进度。
*预处理完成后,将显示一些预处理的图像。
***************************************************************************************
stop ()
endif
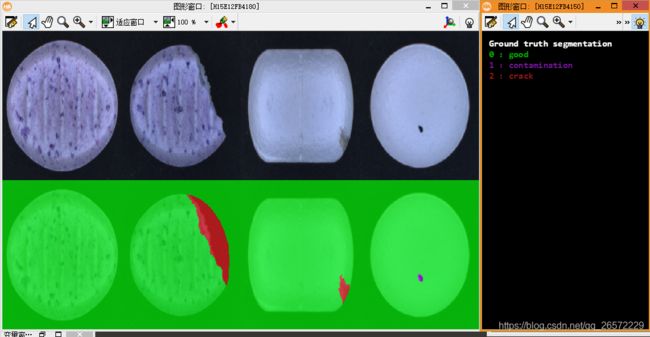
*分三类:0 dood/1 contamination 污染/2 crack 裂纹
* ***********************************
* *** Set Input/Output paths. ***
* ***********************************
*
* Directory with image data.包含图像数据的目录。
ImageDir := 'pill'
* Directory with ground truth segmentation images.带有groundtruth分割图像的目录。
SegmentationDir := 'labels/pill'
*
*所有示例数据都将写入此文件夹。
ExampleDataDir := 'segment_pill_defects_data'
*由preprocess_dl_dataset写入的任何输出的数据集目录基本名称。
*此名称将扩展为数据集在预处理后将具有的图像尺寸。
DataDirectoryBaseName := ExampleDataDir + '/dldataset_pill_'
* 单独存储预处理参数以使用它,例如 在推断过程中。
*此名称将扩展为数据集在预处理后将具有的图像尺寸。
PreprocessParamFileBaseName := ExampleDataDir + '/dl_preprocess_param_'
*
* *************************
* *** Set parameters ***
* *************************
*
* Class names.
ClassNames := ['good','contamination','crack']
* Class IDs.
ClassIDs := [0,1,2]
*
* Percentages for splitting the dataset.
TrainingPercent := 70
ValidationPercent := 15
*
*在预处理期间将图像缩放到的图像尺寸。
ImageWidth := 400
ImageHeight := 400
ImageNumChannels := 3
*
* 用于图像灰度值归一化的灰度值范围。
ImageRangeMin := -127
ImageRangeMax := 128
*
* 用于图像预处理的其他参数。
ContrastNormalization := 'false'
DomainHandling := 'full_domain'
IgnoreClassIDs := []
SetBackgroundID := []
ClassIDsBackground := []
*
* 为了获得可复制的分割,我们设置了一个随机种子。
*这意味着重新运行脚本会导致DLDataset的拆分。
SeedRand := 42
*
* ****************************************************************************
* ** 读取标记的数据并将其分为训练/验证和测试 ***
* ****************************************************************************
*
* 设置随机种子。
set_system ('seed_rand', SeedRand)
*
* Read the dataset.
read_dl_dataset_segmentation (ImageDir, SegmentationDir, ClassNames, ClassIDs, [], [], [], DLDataset)
*
* Generate the split.
split_dl_dataset (DLDataset, TrainingPercent, ValidationPercent, [])
*
* *********************************
* ** Preprocess the dataset ***
* *********************************
*
* Create the output directory if it does not exist yet.
file_exists (ExampleDataDir, FileExists)
if (not FileExists)
make_dir (ExampleDataDir)
endif
*
* 创建预处理参数。
create_dl_preprocess_param ('segmentation', ImageWidth, ImageHeight, ImageNumChannels, ImageRangeMin, ImageRangeMax, ContrastNormalization, DomainHandling, IgnoreClassIDs, SetBackgroundID, ClassIDsBackground, [], DLPreprocessParam)
*
* 单独存储预处理参数以使用它,例如 在推断过程中。
PreprocessParamFile := PreprocessParamFileBaseName + ImageWidth + 'x' + ImageHeight + '.hdict'
write_dict (DLPreprocessParam, PreprocessParamFile, [], [])
*
* 由preprocess_dl_dataset写入的任何输出的数据集目录。
DataDirectory := DataDirectoryBaseName + ImageWidth + 'x' + ImageHeight
*
* 预处理数据集。 这可能需要几分钟。
create_dict (GenParam)
set_dict_tuple (GenParam, 'overwrite_files', true)
preprocess_dl_dataset (DLDataset, DataDirectory, DLPreprocessParam, GenParam, DLDatasetFilename)
*
* *******************************************
* ** Preview the preprocessed dataset ***
* *******************************************
*
* 在继续进行训练之前,建议先检查预处理后的数据集。
*
* 显示10个随机选择的火车图像的DLSamples。
get_dict_tuple (DLDataset, 'samples', DatasetSamples)
find_dl_samples (DatasetSamples, 'split', 'train', 'match', SampleIndices)
tuple_shuffle (SampleIndices, ShuffledIndices)
read_dl_samples (DLDataset, ShuffledIndices[0:9], DLSampleBatchDisplay)
*
create_dict (WindowHandleDict)
for Index := 0 to |DLSampleBatchDisplay| - 1 by 1
* Loop over samples in DLSampleBatchDisplay.
dev_display_dl_data (DLSampleBatchDisplay[Index], [], DLDataset, ['image','segmentation_image_ground_truth'], [], WindowHandleDict)
get_dict_tuple (WindowHandleDict, 'segmentation_image_ground_truth', WindowHandleImage)
dev_set_window (WindowHandleImage[1])
Text := 'Press Run (F5) to continue'
dev_disp_text (Text, 'window', 400, 40, 'black', [], [])
stop ()
endfor
*
* 关闭用于可视化的窗口。
dev_display_dl_data_close_windows (WindowHandleDict)
*
if (ShowExampleScreens)
* Hint to the DL segmentation training process example.
dev_display_screen_next_example (ExampleInternals)
stop ()
* Close example windows.
dev_close_example_windows (ExampleInternals)
endif
数据集部分:
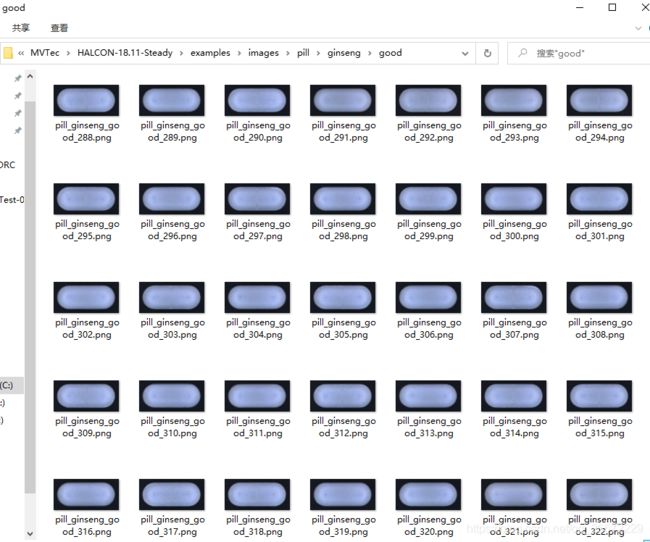
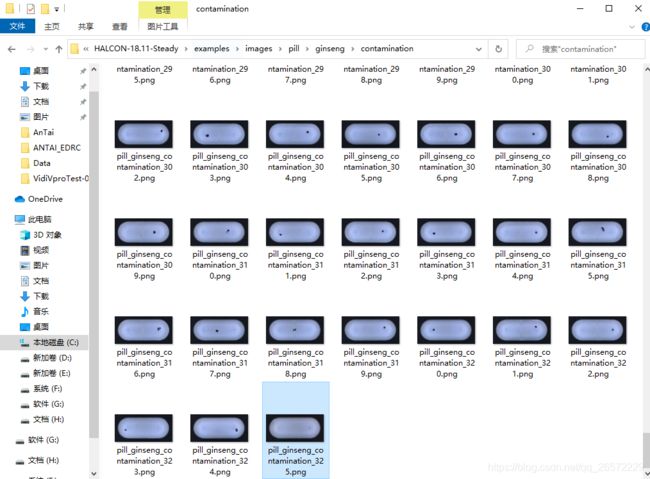
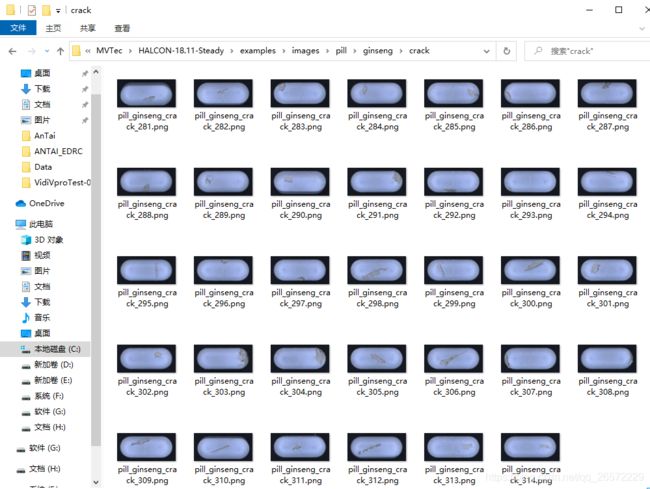
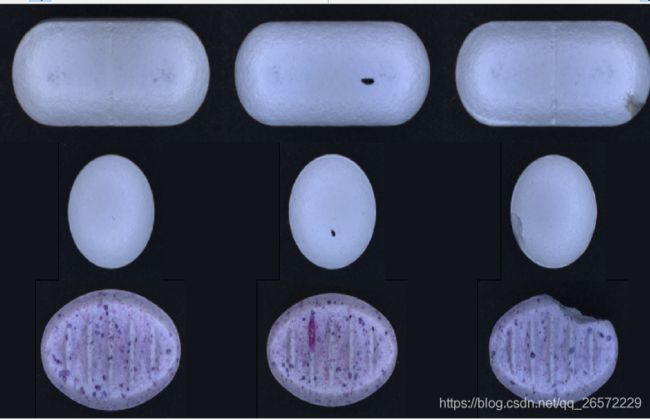
三种药品,每种药品分三类:0 good/1 contamination 污染/2 crack 裂纹
| 分类(三类) | good | contamination | crack | 图片分辨率 |
| magnesium | 289 | 317 | 324 | 300*300 |
| mint | 316 | 326 | 308 | 429*300 |
| ginseng | 322 | 325 | 314 | 632*300 |
表格中是每一种分类包含的图片数量,最后一列图片的大小,每种药片分辨率一样.
三种药片:magnesium、mint、ginseng,每种药片分3类:good、contamination、crack,共3*3=9类。
数据集分布:70%训练,15%验证,15%测试
注意数据处理的时候,后面一定要是000的三位数模式,否则数据预处理会出错!!!推荐2345看图王,可以批量重命名图片。
2020.10.29.更新
分别在三台电脑上测试结果:
| 1060 | 22min16s |
| 2080Ti | 12min49s |
| 1650 | 44min26s |


