关于深度学习实时检测的三种方法(三)——Opencv DNN加载ONNX模型
简介
随着研究的逐渐深入,我了解到pytorch训练模型再用libtorch加载实际上是一种很绕弯的方法,它的确能够满足我们的需求,但也许不是最好的一种方法。如今比较通用的模型格式是ONNX模型,所以我就在想能否使用这种通用的模型来解决问题呢?
远在天边,近在眼前,没想到OpenCV自己就有DNN模块能够直接加载,我们要做的只需要将pytorch训练出的pth模型转成ONNX模型即可。本文章将介绍如何实现将pytorch训练处的模型转成ONNX模型并用DNN加载预测。
pth模型转ONNX
上一篇文章我们介绍了如何用pytorch构建网络并且训练模型,训练出的模型格式为pth,不清楚的朋友可以自行去看看上一篇文章,这里接着上一篇,介绍一下如何转模型的格式。
1.加载pth模型:
model = LeNet5(6)

state_dict = torch.load(input_pth_model, map_location='cpu').state_dict()

# load the model
model.load_state_dict(state_dict)
这里说明一下,通过load().state_dict()加载的仅为模型的参数,能够更加轻量化节省内存提升运行速度。如果是直接load则是直接加载整个模型的所有数据,所占用内存会较大一些。
2.转化模型
dummy_input = torch.randn(1, 1, input_img_size, input_img_size)

input_names = ["input_image"]

output_names = ["output_classification"]

model.eval()

# 通过这里转化成onnx模型
torch.onnx.export(model, dummy_input, output_ONNX, verbose=True, input_names=input_names,

output_names=output_names)
其中input_img_size,input_pth_model,output_ONNX都需要自己指定。
加载ONNX模型
这里我们首先创建一个类,能够达到管理网络,加载模型并预测等功能。
类的创建
#include 类的实现
#include "Dnn.h"

/**
 * @brief   使用Opencv Dnn Module 读取ONNX模型
 * @note    如果OpenCV是使用Intel的推理引擎库编译的,则DNN_BACKEND_DEFAULT表示DNN_BACKEND_INFERENCE_ENGINE。
 *          否则表示DNN_BACKEND_OPENCV。
 */
Dnn_NumDetect::Dnn_NumDetect(const string &path)
{
    this->loadModel(path);
    //网络在支持的地方使用特定的计算后端
    this->Lenet5.setPreferableBackend(dnn::DNN_BACKEND_OPENCV);
    //网络在特定的目标设备上进行计算
    this->Lenet5.setPreferableTarget(dnn::DNN_TARGET_CPU);
}

/**
 * @brief   加载ONNX模型
 */
void Dnn_NumDetect::loadModel(const string &path)
{
    this->Lenet5 = dnn::readNetFromONNX(path);
    CV_Assert(!this->Lenet5.empty());
}

/**
 * @brief   运行前向传递以计算图层的输出
 * @return  指定层的第一个输出的Blob。
 */
Point2f Dnn_NumDetect::forward(Mat &src)
{
    CV_Assert(!this->Lenet5.empty());
    // 设置输入
    Mat input;
    input = dnn::blobFromImage(src);
    this->Lenet5.setInput(input);

    Mat prob = this->Lenet5.forward();
    // cout << prob <
    // 矩阵归一化
    this->Mat_Normalization(prob);
    // cout << prob <
    Point classIdPoint;
    double confidence;
    //查找最大值和最小值
    minMaxLoc(prob.reshape(1, 1), 0, &confidence, 0, &classIdPoint);
    int classId = classIdPoint.x;
    return Point2f(classId, confidence);
}
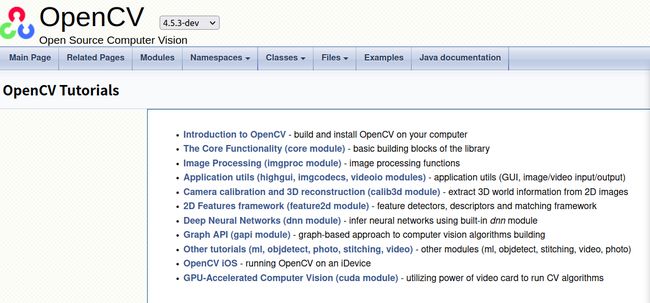
如果你需要用到更多关于DNN模块的功能,可以直接去opencv官网的tutorial上查找,其中的dnn module中有更多详细的介绍。
总结
关于数字识别,尝试了三种方式:
1、用torch直接构建LeNet5网络,产生pt模型
2、用pytorch训练出pth模型后转换成pt模型,在torch加载
3、用Opencv的dnn module 加载onnx模型(更方便用Openvino进行加速)
在计算运行时间的时候发现一个奇怪的现象,第一次预测时通常要花较长的时间,而之后运行时间将大幅度下降。
三种方式对比情况:
torch直接构建网络训练的时间最长,且准确率最低,不建议用这种方式。
torch加载pt模型和dnn module加载onnx模型准确率大致相同,但在运行时间上onnx模型更胜一筹。
参考内容
Deep Neural Networks (dnn module)
