使用opencv+python识别七段数码显示器的数字识别
# 导入必要的包
from imutils.perspective import four_point_transform
from imutils import contours
import imutils
import cv2

# 定义Python字典,代表0~9数字的七段数组
DIGITS_LOOKUP = {
    (1, 1, 1, 0, 1, 1, 1): 0,
    (0, 0, 1, 0, 0, 1, 0): 1,
    (1, 0, 1, 1, 1, 0, 1): 2,
    (1, 0, 1, 1, 0, 1, 1): 3,
    (0, 1, 1, 1, 0, 1, 0): 4,
    (1, 1, 0, 1, 0, 1, 1): 5,
    (1, 1, 0, 1, 1, 1, 1): 6,
    (1, 0, 1, 0, 0, 1, 0): 7,
    (1, 1, 1, 1, 1, 1, 1): 8,
    (1, 1, 1, 1, 0, 1, 1): 9
}

# 加载图像
image = cv2.imread("images\\clock.jpg")

# 1. LCD边缘可见
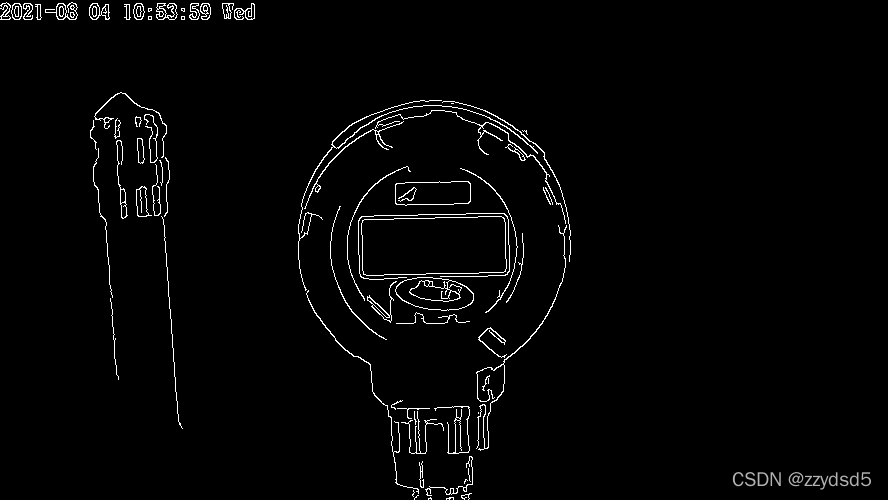
# 预处理步骤:保持宽高比的缩放,转换灰度,高斯模糊以减少高频噪音,Canny边缘检测器计算边缘图
image = imutils.resize(image, height=500)
gray = cv2.cvtColor(image, cv2.COLOR_BGR2GRAY)
blurred = cv2.GaussianBlur(gray, (5, 5), 0)
edged = cv2.Canny(blurred, 50, 200, 255)

# 2. 提取LCD本身
# 在边缘图中寻找轮廓,并按面积大小倒序排列
cnts = cv2.findContours(edged.copy(), cv2.RETR_EXTERNAL,
                        cv2.CHAIN_APPROX_SIMPLE)
cnts = imutils.grab_contours(cnts)
cnts = sorted(cnts, key=cv2.contourArea, reverse=True)
displayCnt = None

# 遍历轮廓
for c in cnts:
    # 应用轮廓近似
    peri = cv2.arcLength(c, True)
    approx = cv2.approxPolyDP(c, 0.02 * peri, True)

    # 如果边缘有4个顶点(vertices),则找到了恒温器并展示
    if len(approx) == 4:
        displayCnt = approx
        break

# 获得四个顶点后,可以通过四点透视变换提取LCD
# 提取恒温器,应用透视变换获得从上至下鸟瞰LCD图
warped = four_point_transform(gray, displayCnt.reshape(4, 2))
output = four_point_transform(image, displayCnt.reshape(4, 2))

# 3. 从LCD提取数字
# 阈值化透视变换后的图以在较亮的背景(即LCD显示屏的背景)上显示出较暗的区域(即数字);
# 应用一系列形态学运算来清理阈值图像
thresh = cv2.threshold(warped, 0, 255,
                       cv2.THRESH_BINARY_INV | cv2.THRESH_OTSU)[1]
kernel = cv2.getStructuringElement(cv2.MORPH_ELLIPSE, (1, 5))
thresh = cv2.morphologyEx(thresh, cv2.MORPH_OPEN, kernel)

# 应用轮廓过滤,寻找实际的数字
# 在阈值图像上寻找轮廓,并初始化数字轮廓lists
cnts = cv2.findContours(thresh.copy(), cv2.RETR_EXTERNAL,
                        cv2.CHAIN_APPROX_SIMPLE)
cnts = imutils.grab_contours(cnts)
digitCnts = []

# 遍历数字候选区域
for c in cnts:
    # 计算轮廓的边界框
    (x, y, w, h) = cv2.boundingRect(c)

    # 确定适当的宽度和高度约束需要几轮反复试验。建议循环遍历每个轮廓,分别绘制它们,并检查其尺寸。执行此过程可确保找到数字轮廓属性的共同点。
    # 如果轮廓足够大,则它是一个数字
    if w >= 15 and (h >= 30 and h <= 40):
        digitCnts.append(c)

# 4. 实际识别每个数字
# 从左到右排序轮廓,并初始化实际的数字列表
digitCnts = contours.sort_contours(digitCnts,
                                   method="left-to-right")[0]
digits = []

# 遍历每一个数字
for c in digitCnts:
    # 提取数字ROI区域
    (x, y, w, h) = cv2.boundingRect(c)
    roi = thresh[y:y + h, x:x + w]

    # 计算每一个七段部分的宽度、高度
    (roiH, roiW) = roi.shape
    (dW, dH) = (int(roiW * 0.25), int(roiH * 0.15))
    dHC = int(roiH * 0.05)

    # 定义七段的集合
    # 根据ROI尺寸计算出每个段的近似宽度和高度。
    segments = [
        ((0, 0), (w, dH)),  # top
        ((0, 0), (dW, h // 2)),  # top-left
        ((w - dW, 0), (w, h // 2)),  # top-right
        ((0, (h // 2) - dHC), (w, (h // 2) + dHC)),  # center
        ((0, h // 2), (dW, h)),  # bottom-left
        ((w - dW, h // 2), (w, h)),  # bottom-right
        ((0, h - dH), (w, h))  # bottom
    ]
    on = [0] * len(segments)

    # 遍历分段部分
    for (i, ((xA, yA), (xB, yB))) in enumerate(segments):
        # 提取分段ROI,计算segment的面积,并计算每个线段的非零像素总值
        segROI = roi[yA:yB, xA:xB]
        total = cv2.countNonZero(segROI)
        area = (xB - xA) * (yB - yA)

        # 如果非0像素的总数大于面积的50%,则认为分段是打开的
        if total / float(area) > 0.5:
            on[i] = 1

    # 查找digit并显示在图像上
    digit = DIGITS_LOOKUP[tuple(on)]
    digits.append(digit)
    cv2.rectangle(output, (x, y), (x + w, y + h), (0, 255, 0), 1)
    cv2.putText(output, str(digit), (x - 10, y - 10),
                cv2.FONT_HERSHEY_SIMPLEX, 0.65, (0, 255, 0), 2)

# 显示数字
print(u"{}{}.{} \u00b0C".format(*digits))
cv2.imshow("Input", image)
cv2.imshow("Output", output)
cv2.waitKey(0)
本文译自:Recognizing digits with OpenCV and Python - PyImageSearch


