uni-app 消息推送功能UniPush
uni-app 消息推送功能UniPush,这里用的是uni-app自带的UniPush1.0(个推服务),所以只针对UniPush1.0介绍实现步骤。
建议查阅的文章:
UniPush 1.0 使用指南[2]
Unipush 常见问题[3]
当然现在已经出了UniPush2.0(HBuilderX 3.5.1及其以上版本支持),新项目的话还是推荐使用UniPush2.0。
如果要使用UniPush2.0,请移步 UniPush 2.0 使用指南[4] 。
UniPush内部封装好了个推及主流厂商 SDK,在使用前必须开通相关服务:点此查看如何开通UniPush推送服务[6]。
打开 DCloud开发者中心,登录后会进入我的应用列表。在左侧菜单点击uniPush,然后选择 1.0 或 2.0,进入Uni Push信息页,左上角显示为当前要操作的应用,点击可以切换应用。如下图所示:
应用开通UniPush功能时,需要提交应用相关信息,如下图所示:
注意:UniPush在申请开通时,需要确保输入的Android包名或iOS Bundle ID必须与打包时配置的一致,否则可能会导致无法收到推送消息。
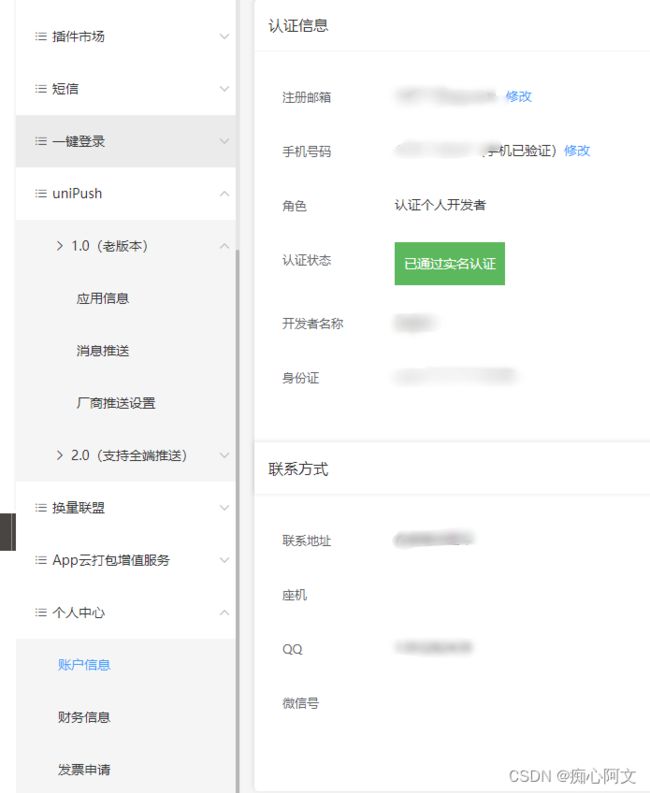
用户首次使用UniPush功能时,需要向个推同步身份信息。已通过实名认证的用户,会直接将实名认证信息同步给个推。如下图所示:
Android平台: Android包名必须与HBuilderX中App云端打包时配置的Android包名一致;Android应用签名必须填入打包时使用证书的SHA1指纹。
iOS平台: iOS BundleId必须与HBuilderX中App云端打包时配置的Bundle ID(AppID)一致。
如果已经开通UniPush,会看到如下页面:
核心代码
unipush.js
// 监听push消息 以及 后台数据回复
import phoneInfo from '@/common/js/phone-info.js';
import store from '@/store'
let timer = null;
let numloop = 0;
import {
  pushEscalation // 绑定别名的接口
} from "@/api/client-notice.js"

// 消息推送 应用配置(这些给后端用的)
const uniPushObj = {
  cid: "",
  AppID: "你的AppID",
  AppKey: "你的AppKey",
  AppSecret: "你的AppSecret",
  MasterSecret: "你的MasterSecret",
}

export default {
  getInfo() {
    uni.getSystemInfo({
      success: res => {
        phoneInfo.systemInfo = res;
      }
    });
  },
  // 开启监听推送
pushListener() {
  const token = uni.getStorageSync("token") || store.state.token;
  const platform = phoneInfo.systemInfo.platform.toLowerCase();
  // 点击推送信息
  plus.push.addEventListener('click', res => {
    // 其实在这里就可以根据你自己的业务去写了
    if (token) {
      if (platform == 'android') {
        const msg_type = res.payload.msg_type // 0 在线 || 1 离线
        // 做些什么 这里处理你的逻辑
        if (msg_type == 0) {
          console.log('安卓------在线');
        } else {
          console.log('安卓------离线');
        }
      } else {
        //  在线
        if (res.aps == null) {
          console.log('苹果------在线');
        } else {
        // 离线
          console.log('苹果------离线');
        }
      }
    } else {
      // 这里跳登录页了
      uni.redirectTo({
        url: `pages/Login-Reg/Login/email-login`
      })
    }
  });
  // 接收推送信息  在线
  plus.push.addEventListener('receive', res => {
    const messageTitle = res.title;
    const messageContent = res.content;
    if (platform == 'android') {
      /***
        安卓监听不到  因为安卓这个格式被封装了,做成了通知栏展示
        换个格式就行(比如里面多个字段,或换个字段名)
      */
      /***
        此格式的透传消息由 unipush 做了特殊处理, 会自动展示通知栏
        开发者也可自定义其它格式, 在客户端自己处理
      */
      //   "push_message": {
      //     "transmission": "{
      //       title:\"标题\",
      //       content:\"内容\",
      //       payload:\"自定义数据\"
      //     }"
      //   },
      // Hbulidx 版本大于 ## 3.4.18,安卓不再通知栏展示, 需要自行创建通知
      plus.push.createMessage(messageContent, res.payload, {
        title: messageTitle
      });
      // 或者在 onlaunch 写入
      // plus.push.setAutoNotification(true);
    } else {
      const type = res.type
      //【APP离线】收到消息,但没有提醒(发生在一次收到多个离线消息时,只有一个有提醒,但其他的没有提醒)
      //【APP在线】收到消息,不会触发系统消息,需要创建本地消息,但不能重复创建
        // 必须加msg.type验证去除死循环
      if (res.aps == null && type == "receive") {
        //创建本地消息,发送的本地消息也会被receive方法接收到,但没有type属性,且aps是null
        plus.push.createMessage(messageContent, res.payload, {
          title: messageTitle
        });
      }
    }
  });
  },
  // 循环获取clientid信息,直到获取到为止
  getClientInfoLoop() {
    plus.push.getClientInfoAsync(info => {
      // 如果info不存在,或者info存在,cid不存在则再次获取cid
      if (!info || !info.clientid) {
        console.log("cid为空=========================================");
        let infoTimer = null;
        infoTimer = setInterval(function() {
          if (cid) {
            clearInterval(infoTimer); //清定时器
            uni.showModal({
              content: cid
            })
            uni.setStorageSync('cid', cid);
            uniPushObj.cid = cid
          }
        }, 50);
      } else if (info && info.clientid) {
        let cid = info.clientid;
        uni.setStorageSync('cid', cid);
        uniPushObj.cid = cid
      }
    }, function(e) {
      console.log('Failed', JSON.stringify(e));
      let pinf = plus.push.getClientInfo();
      let cid = pinf.clientid; //客户端标识
      if (cid) {
        uni.setStorageSync('cid', cid);
        uniPushObj.cid = cid
      }
    })
  },
  /**
   * 向后台传送cid,绑定别名
   */
  passCid() {
    pushEscalation({
      "appid": uniPushObj.AppID,
      "cid": uniPushObj.cid
    }).then(response => {
      if (response.Code == 0) {
        console.log('----------> cid 绑定别名成功', response);
      }
    })
  },
}
phone-info.js
export default {
    systemInfo: {}, // 系统设备信息
    manifestInfo: "" || uni.getStorageSync("widgetInfo"), // manifest.json 应用信息
}
APP.vue
最后,如有不足后续整理补充....


