kvm部署
环境说明:
IP:192.168.149.10
[root@localhost ~]# systemctl stop firewalld.service
[root@localhost ~]# systemctl disable firewalld.service
Removed symlink /etc/systemd/system/multi-user.target.wants/firewalld.service.
Removed symlink /etc/systemd/system/dbus-org.fedoraproject.FirewallD1.service.
[root@localhost ~]# setenforce 0
[root@localhost ~]# sed -ri 's/^(SELINUX=).*/\1disabled/g' /etc/selinux/config
[root@localhost ~]# curl -o /etc/yum.repos.d/CentOS7-Base-163.repo http://mirrors.163.com/.help/CentOS7-Base-163.repo
[root@localhost ~]# sed -i 's/\$releasever/7/g' /etc/yum.repos.d/CentOS7-Base-163.repo
[root@localhost ~]# sed -i 's/^enabled=.*/enabled=1/g' /etc/yum.repos.d/CentOS7-Base-163.repo
[root@localhost ~]# yum -y install epel-release vim wget net-tools unzip zip gcc gcc-c++

验证CPU是否支持KVM;如果结果中有vmx(Intel)或svm(AMD)字样,就说明CPU的支持的
egrep -o 'vmx|svm' /proc/cpuinfo
//kvm安装
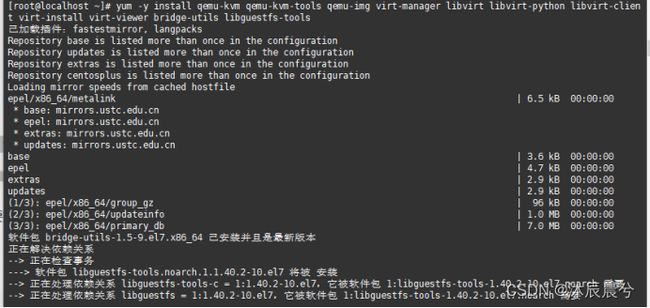
[root@localhost ~]# yum -y install qemu-kvm qemu-kvm-tools qemu-img virt-manager libvirt libvirt-python libvirt-client virt-install virt-viewer bridge-utils libguestfs-tools
//启动服务 并检查服务信息
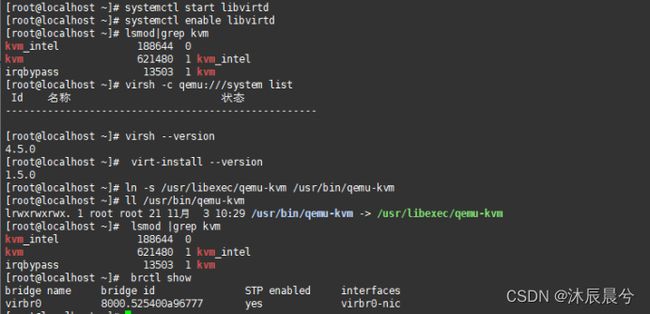
[root@localhost ~]# systemctl start libvirtd
[root@localhost ~]# systemctl enable libvirtd
[root@localhost ~]# lsmod|grep kvm
[root@localhost ~]# virsh -c qemu:///system list
[root@localhost ~]# virsh --version
[root@localhost ~]# virt-install --version
[root@localhost ~]# ln -s /usr/libexec/qemu-kvm /usr/bin/qemu-kvm
[root@localhost ~]# ll /usr/bin/qemu-kvm
[root@localhost ~]# lsmod |grep kvm
[root@localhost ~]# brctl show
Web界面安装
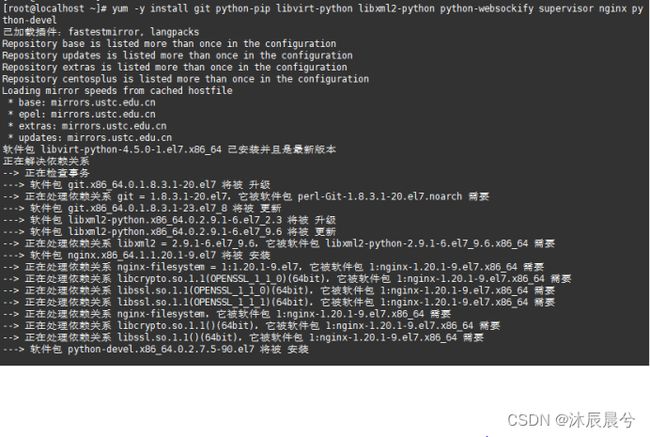
[root@localhost ~]# yum -y install git python-pip libvirt-python libxml2-python python-websockify supervisor nginx python-devel
//从github上下载webvirtmgr代码
[root@localhost ~]# cd /usr/local/src/
[root@localhost src]# git clone git://github.com/retspen/webvirtmgr.git
安装webvirtmgr //检查sqlite3是否安装
[root@localhost src]# cd webvirtmgr/
[root@localhost webvirtmgr]# pip install -r requirements.txt
[root@localhost webvirtmgr]# python
Python 2.7.5 (default, Nov 16 2020, 22:23:17)
[GCC 4.8.5 20150623 (Red Hat 4.8.5-44)] on linux2
Type "help", "copyright", "credits" or "license" for more information.
>>> import sqlite3
>>> exit()

/初始化帐号信息
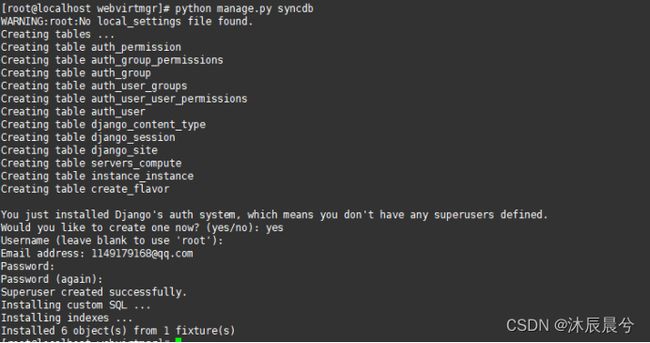
[root@localhost webvirtmgr]# python manage.py syncdb
WARNING:root:No local_settings file found.
Creating tables ...
Creating table auth_permission
Creating table auth_group_permissions
Creating table auth_group
Creating table auth_user_groups
Creating table auth_user_user_permissions
Creating table auth_user
Creating table django_content_type
Creating table django_session
Creating table django_site
Creating table servers_compute
Creating table instance_instance
Creating table create_flavor
You just installed Django's auth system, which means you don't have any superusers defined.
Would you like to create one now? (yes/no): yes //问你是否创建超级管理员帐号
Username (leave blank to use 'root'): //指定超级管理员帐号用户名,默认留空为root
Email address: [email protected] //设置超级管理员邮箱
Password:1 //设置超级管理员密码
Password (again):1 //再次输入超级管理员密码
Superuser created successfully.
Installing custom SQL ...
Installing indexes ...
Installed 6 object(s) from 1 fixture(s)
//拷贝web网页至指定目录
并做免密登录
[root@localhost webvirtmgr]# mkdir /var/www
[root@localhost webvirtmgr]# cp -r /usr/local/src/webvirtmgr/ /var/www/
[root@localhost webvirtmgr]# chown -R nginx.nginx /var/www/webvirtmgr/
[root@localhost webvirtmgr]# ssh-keygen -t rsa
[root@localhost webvirtmgr]# ssh-copy-id 192.168.149.10

//端口转发
[root@localhost webvirtmgr]# ssh 192.168.149.10 -L localhost:8000:localhost:8000 -L localhost:6080:localhost:60
[root@localhost ~]# ss -antl

//配置nginx
[root@localhost ~]# vim /etc/nginx/nginx.conf
文件41行修改内容为localhost

[root@localhost ~]# vim /etc/nginx/conf.d/webvirtmgr.conf
修改配置文件 在其中添加以下内容

[root@localhost ~]# vim /var/www/webvirtmgr/conf/gunicorn.conf.py
查看即可 无需修改

//重启nginx
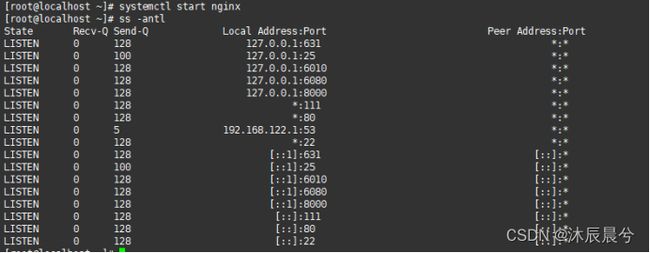
[root@localhost ~]# systemctl start nginx
[root@localhost ~]# ss -antl
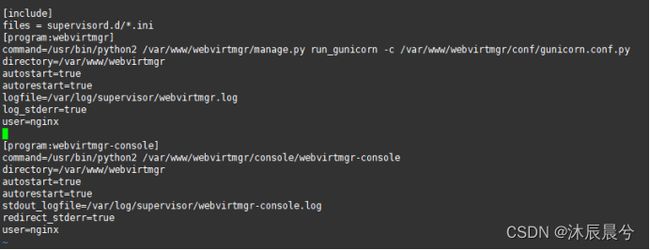
//设置supervisor
[root@localhost ~]# vim /etc/supervisord.conf 注意:需对齐到文件最前面
//启动supervisor并设置开机自动启动
[root@localhost ~]# systemctl start supervisord
[root@localhost ~]# systemctl enable supervisord
[root@localhost ~]# systemctl status supervisord

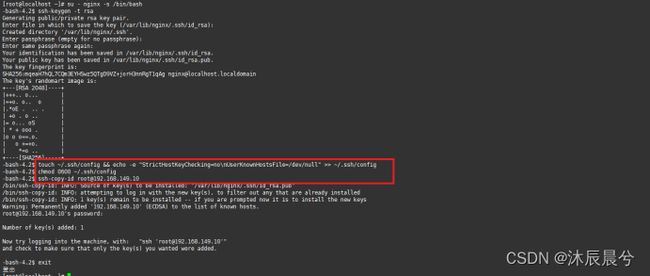
//配置nginx用户
[root@localhost ~]# su - nginx -s /bin/bash
-bash-4.2$ touch ~/.ssh/config && echo -e "StrictHostKeyChecking=no\nUserKnownHostsFile=/dev/null" >> ~/.ssh/config
-bash-4.2$ chmod 0600 ~/.ssh/config
-bash-4.2$ ssh-copy-id [email protected]
[root@localhost ~]# vim /etc/polkit-1/localauthority/50-local.d/50-libvirt-remote-access.pkla
添加以下内容

[root@localhost ~]# chown -R root.root /etc/polkit-1/localauthority/50-local.d/50-libvirt-remote-access.pkla
[root@localhost ~]# systemctl restart nginx
[root@localhost ~]# systemctl restart libvirtd
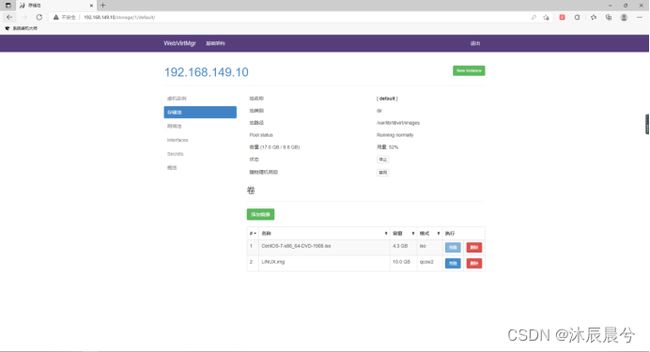
![]()
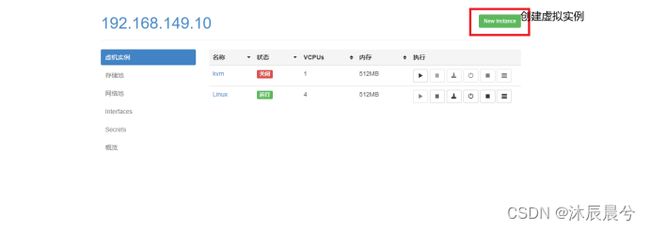
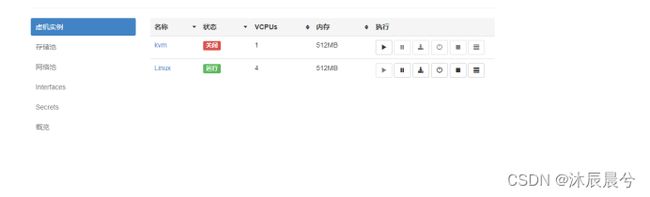
验证web界面结果

用户名为root 密码为虚拟机密码


//确保bind绑定的是本机的8000端口\