如何在 Matplotlib 中更改图例字体大小
使用 Matplotlib 时,您可以修改绘图的不同属性——颜色、大小、标签、标题等。
在本文中,您将了解 Matplotlib 中的图例是什么,以及如何使用它的一些参数来使您的绘图更具相关性。
然后,如何修复 Windows Media Player 添加到媒体库不起作用您将学习如何使用以下方法更改 Matplotlib 图例的字体大小:
这fontsize。
参数prop。
什么是 Matplotlib 中的图例?
图例是一个 Matplotlib 函数,用于描述构成图形的元素。
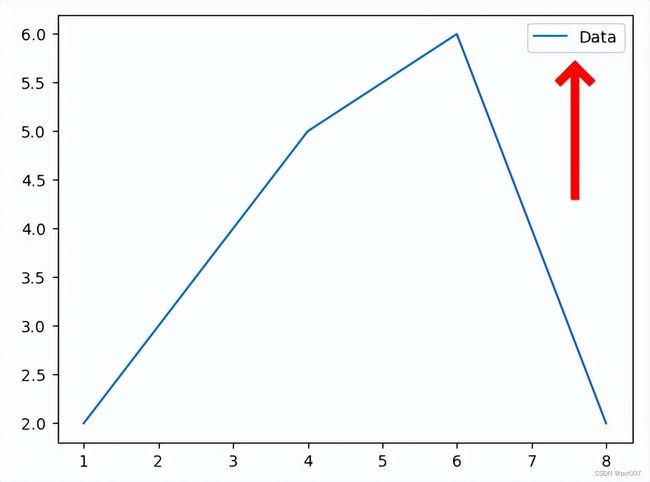
考虑下图:
import matplotlib.pyplot as plt

# create a plot
x = [1, 4, 6, 8]
y = [2, 5, 6, 2]

plt.plot(x, y)

plt.legend(["Data"], loc="upper right")

plt.show()
带有图例的 matplotlib 图
在上图中,我们使用legend. upper right“数据”的描述被分配给图例,并使用参数值放置在图表的右上角loc。
使用该legend功能,您可以为图形的每一行分配不同的描述。
这是一个例子:
import matplotlib.pyplot as plt

age = [1, 4, 6, 8]
number = [4, 5, 6, 2, 1]

plt.plot(age)
plt.plot(number)

plt.legend(["age", "number"], loc ="upper right")

plt.show()
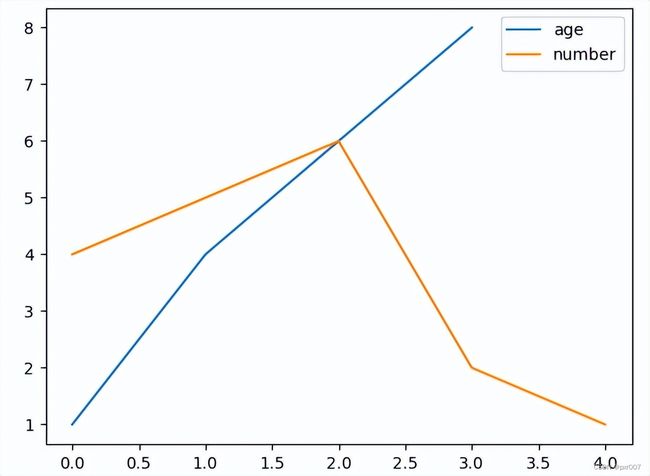
具有不同图例描述的两条折线图
在上图中,我们使用函数legend来描述图中的每条线。
这使得查看图表的任何人都更容易知道图中的蓝线表示age而橙色线表示。number
您可以使用以下参数值更改图例的位置loc:
best
upper right
upper left
lower left
lower right
right
center left
center right
lower center
upper center
center
如何使用 Matplotlib 更改图例字体大小fontsize参数更改 Matplotlib 中的图例字体大小
您可以通过为参数指定字体大小值来更改 Matplotlib 图例的字体大小fontsize。
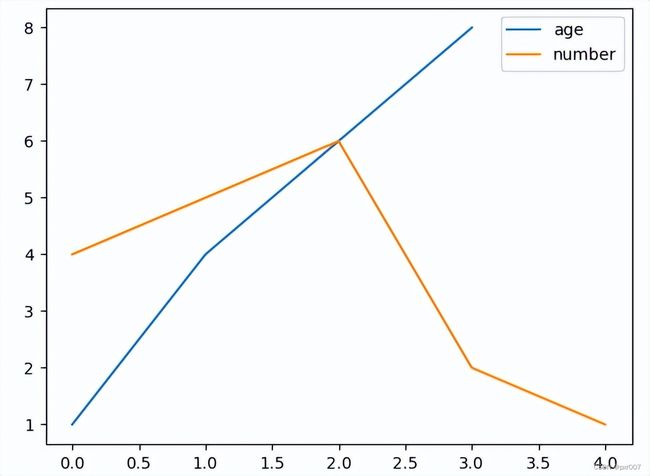
这是默认图例字体大小的样子:
import matplotlib.pyplot as plt

age = [1, 4, 6, 8]
number = [4, 5, 6, 2, 1]

plt.plot(age)
plt.plot(number)

plt.legend(["age", "number"], loc ="upper right")

plt.show()
具有默认图例字体大小的 matplotlib 图
这是另一个包含参数的代码示例fontsize:
import matplotlib.pyplot as plt

age = [1, 4, 6, 8]
number = [4, 5, 6, 2, 1]

plt.plot(age)
plt.plot(number)

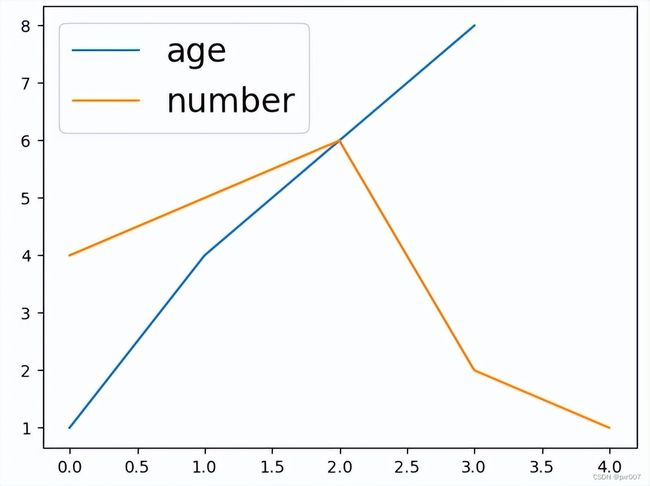
plt.legend(["age", "number"], fontsize="20", loc ="upper left")

plt.show()
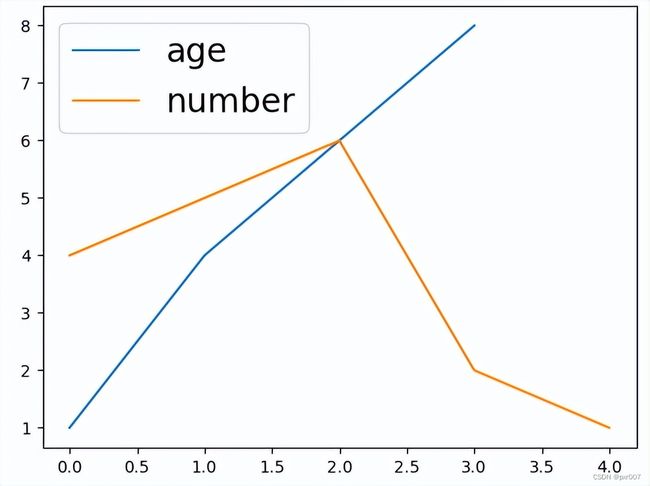
这是图例的样子:
使用 fontsize 参数的 matplotlib 图例大小
我们为参数指定了 20 的字体大小fontsize,以获得上图中的图例大小:fontsize="20"。
您还会注意到使用参数将图例放置在图表的左上角loc。
如何使用prop参数更改 Matplotlib 中的图例字体大小
另一种改变图例字体大小的方法是使用函数legend的prop参数。
下面是如何使用它:
import matplotlib.pyplot as plt

age = [1, 4, 6, 8]
number = [4, 5, 6, 2, 1]

plt.plot(age)
plt.plot(number)

plt.legend(["age", "number"], prop = { "size": 20 }, loc ="upper left")

plt.show()
使用该prop参数,我们指定了 20: 的字体大小prop = { "size": 20 }。
这是输出:
使用 prop 参数的 matplotlib 图例大小
概括
在本文中,我们讨论了legendMatplotlib 中的函数。它可用于描述构成图形的元素。
我们首先看到了 Matplotlib 中的图例,以及一些示例来展示其基本用法和参数。
然后我们看到了如何使用fontsize和prop参数来更改 Matplotlib 图例的字体大小。

