【工具】Ubuntu18非root用户安装CUDA&PyTorch
文章目录
- CUDA
-
- 查看GPU驱动支持的最高CUDA版本
- CUDA download
-
- 指定路径安装CUDA
- cuDNN
-
- 验证cuda是否安装成功以及版本信息
- pytorch
- 验证pytorch是否安装成功&GPU是否可用
- MMDetection3D
CUDA
查看GPU驱动支持的最高CUDA版本
运行命令:nvidia-smi

CUDA Version: 11.6 说明当前驱动支持的CUDA最高版本为11.6
CUDA download
CUDA下载地址:CUDA Toolkit Archive
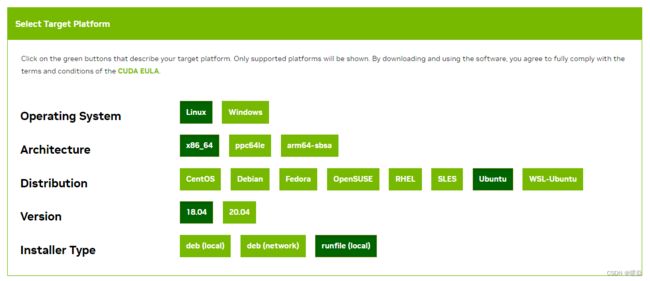
在列表中找到适合自己GPU驱动的CUDA版本,选择对应系统
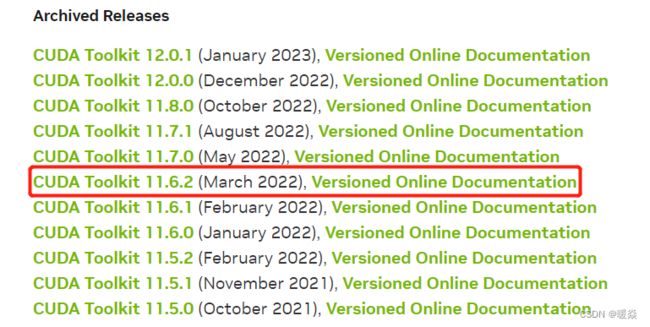
拷贝链接到浏览器地址栏,直接访问下载。
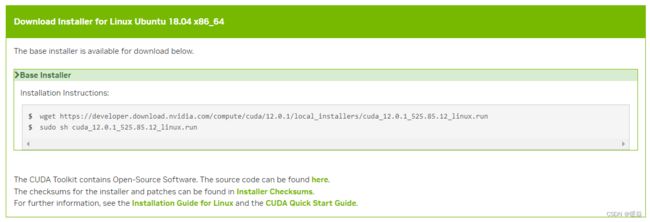
使用工具上传cuda_12.0.1_525.85.12_linux.run文件到自己服务器指定路径。
指定路径安装CUDA
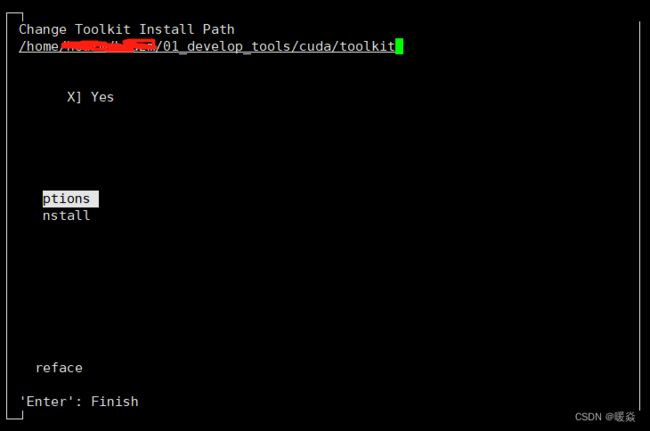
运行 sudo sh cuda_12.0.1_525.85.12_linux.run --tmpdir=/home/houzm/houzm/01_develop_tools/cuda
如果提示如下错误,可以创建自定义的路径,然后执行sh时指定–tmpdir
Extraction failed.
Ensure there is enough space in /tmp and that the installation package is not corrupt
Signal caught, cleaning up
sh cuda_12.0.1_525.85.12_linux.run --tmpdir=/home/houzm/houzm/01_develop_tools/cuda
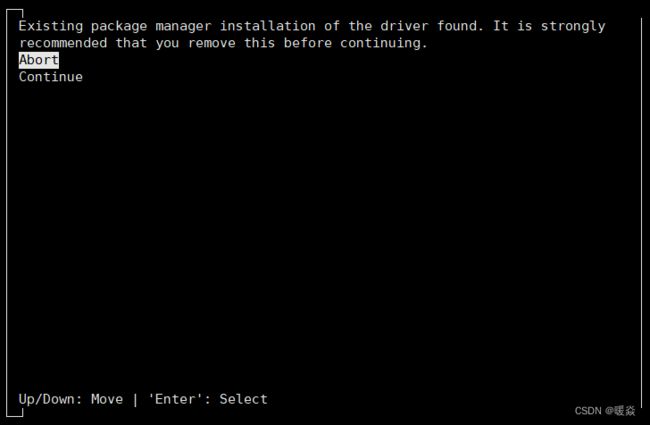
可能会出现提示有多个显卡驱动:Existing package manager installation of the driver found. It is strongly recommended that you remove this before continuing. 可以选择Continue继续安装,之后的安装过程中不要选择重新安装driver。
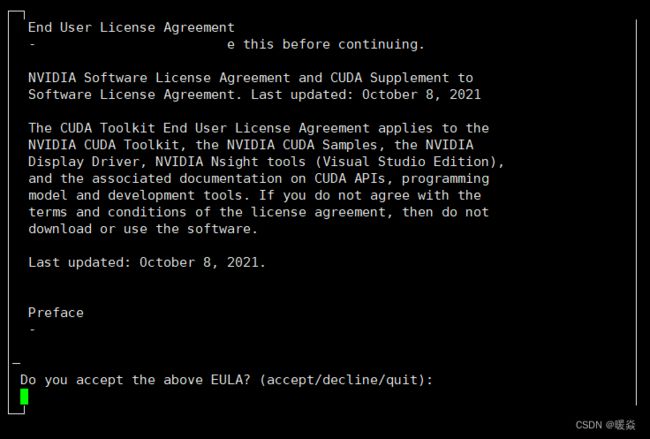
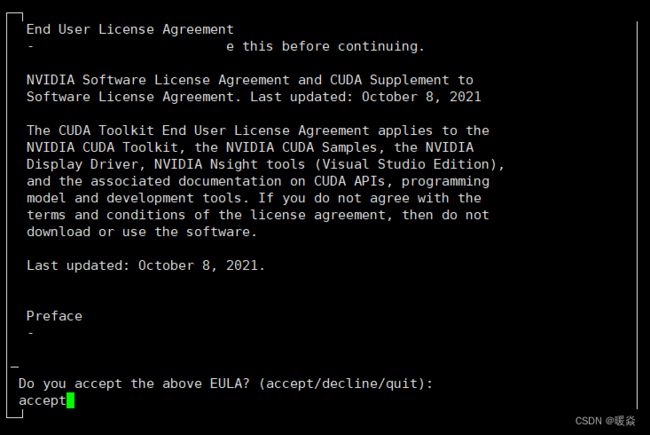
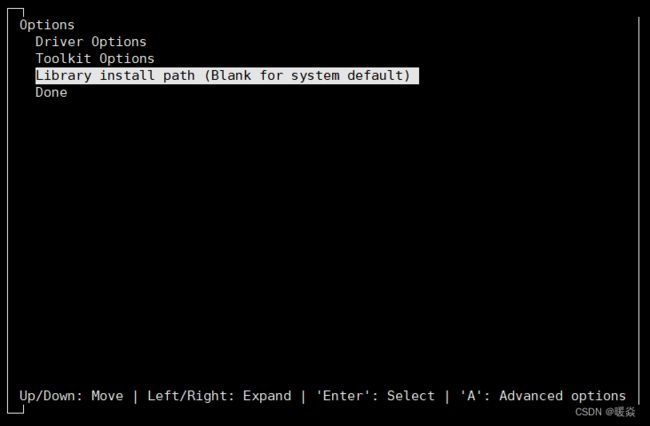
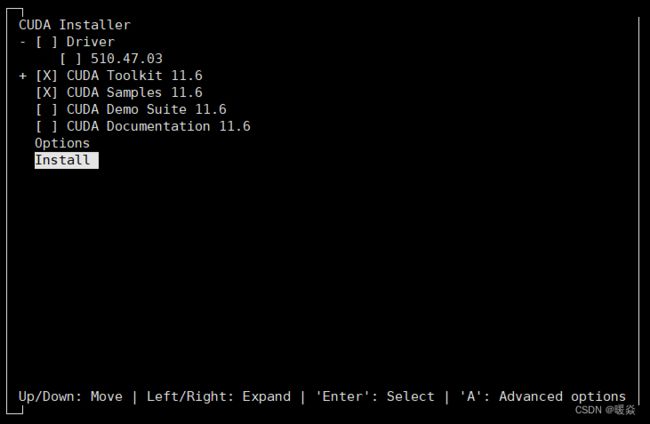
选择accept 后,更改安装选项(‘X’ 代表选中,这里我只安装CUDA Toolkit和CUDA Samples,一般不搞CUDA编程单跑深度学习就够了):
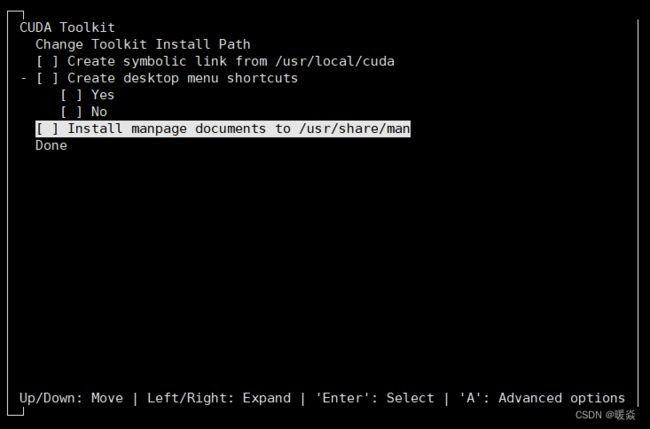
取消选择的方法是:光标停留在Driver那一行上,然后回车,使[]里的X消失


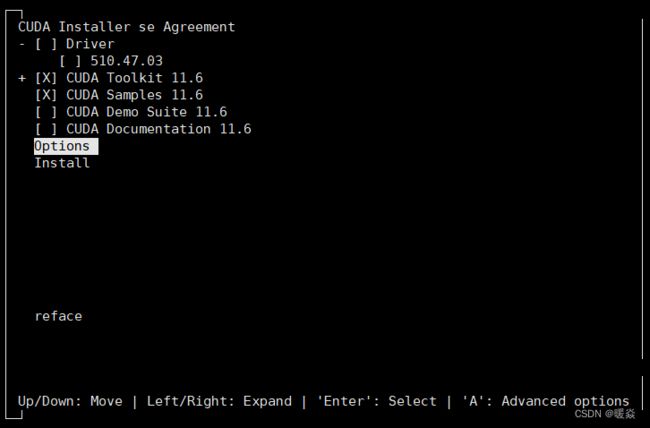

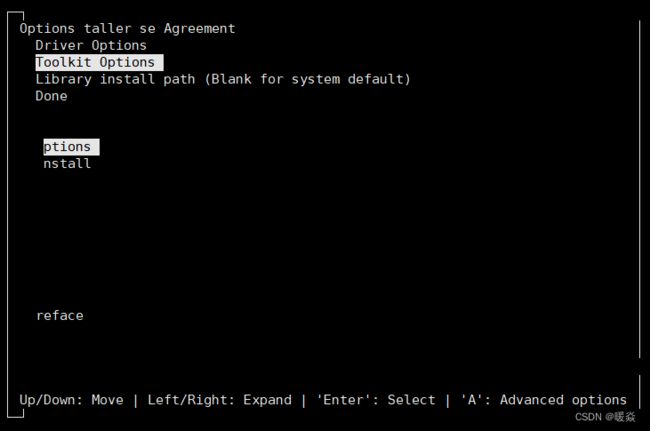
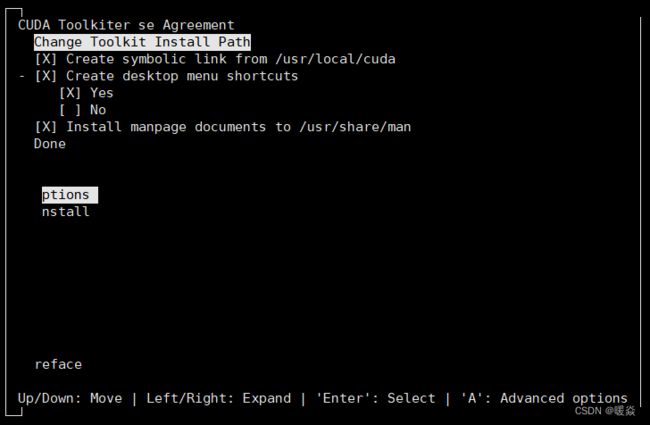

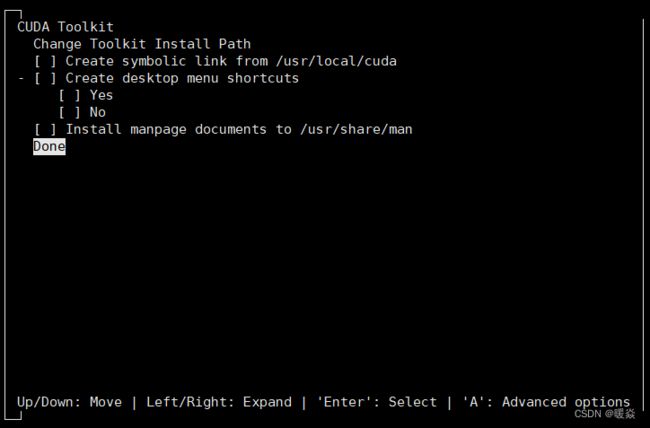
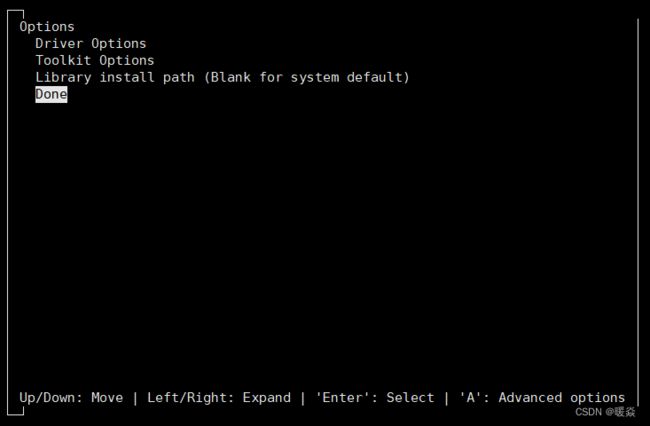
回到上一步 全部取消 选择Done 然后Install。


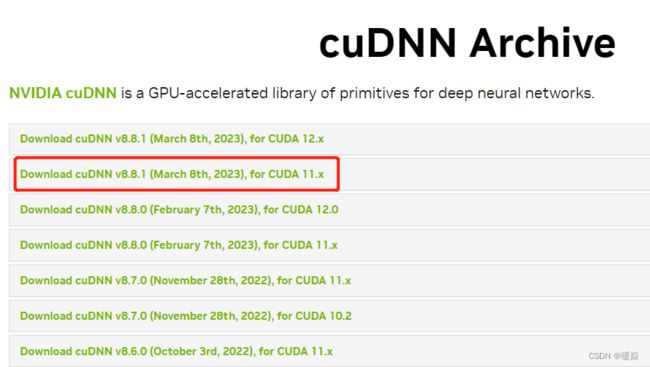
cuDNN
下载地址:cuDNN Archive

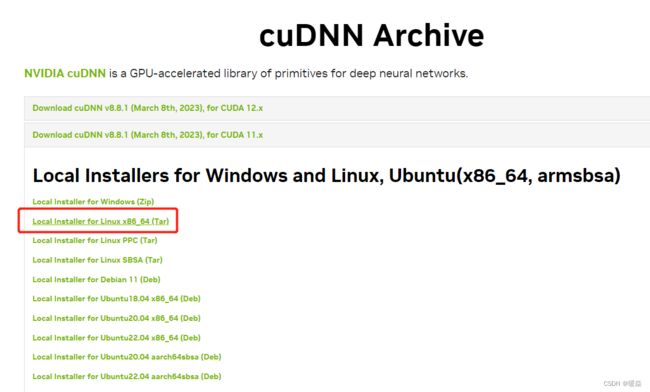
安装.deb格式的软件至指定路径: dpkg -i --instdir=/dest/dir/path some.deb
参考:ubuntu18.04+cuda10.2+cudnn7.6.5,并使用CUDA自动安装NVIDIA驱动而非手动。
tar -xvf cudnn-linux-x86_64-8.8.1.3_cuda11-archive.tar.xz -C /yourpath/01_develop_tools/cudnn/cudnn_8.8.1_linux
cuDNN官方安装指南
(base) houzm@root605:~/houzm/01_develop_tools/cudnn/cudnn_8.8.1_linux/cudnn-linux-x86_64-8.8.1.3_cuda11-archive/include$ cat /home/houzm/houzm/01_develop_tools/cudnn/cudnn_8.8.1_linux/cudnn-linux-x86_64-8.8.1.3_cuda11-archive/include/cudnn_version.h | grep CUDNN_MAJOR -A 2
#define CUDNN_MAJOR 8
#define CUDNN_MINOR 8
#define CUDNN_PATCHLEVEL 1
–
#define CUDNN_VERSION (CUDNN_MAJOR * 1000 + CUDNN_MINOR * 100 + CUDNN_PATCHLEVEL)
/* cannot use constexpr here since this is a C-only file */

验证cuda是否安装成功以及版本信息
(py3.8) houzm@root605:~$ nvcc -V
nvcc: NVIDIA (R) Cuda compiler driver
Copyright (c) 2005-2021 NVIDIA Corporation
Built on Sun_Mar_21_19:15:46_PDT_2021
Cuda compilation tools, release 11.3, V11.3.58
Build cuda_11.3.r11.3/compiler.29745058_0
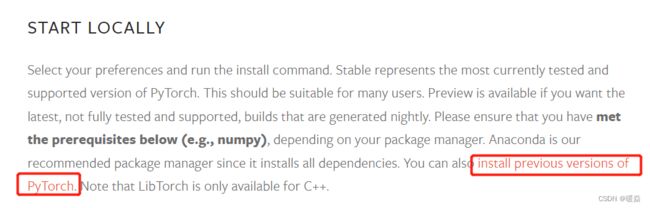
pytorch
conda create --name openmmlab python=3.8 -y
conda activate openmmlab
在pytorch官网找到对应自己cuda版本的pytorch安装命令pytorch官方下载地址
conda install pytorch1.13.1 torchvision0.14.1 torchaudio==0.13.1 pytorch-cuda=11.6 -c pytorch -c nvidia

验证pytorch是否安装成功&GPU是否可用
(py38) houzm@root605:~/houzm/01_develop_tools/cudnn/cudnn_8.8.1_linux/cudnn-linux-x86_64-8.8.1.3_cuda11-archive/include$ > > > python
Python 3.8.16 (default, Mar 2 2023, 03:21:46)
[GCC 11.2.0] :: Anaconda, Inc. on linux
Type “help”, “copyright”, “credits” or “license” for more information.
>>> import torch as t
>>> device = t.device(‘cuda’ if t.cuda.is_available() else ‘cpu’)
>>> print(device)
cuda
MMDetection3D
官方安装指南