【PointSet】の 填坑指南
文章目录
- 问题1:No CUDA runtime is found, using CUDA_HOME='/usr/local/cuda-9.0'
-
-
- 原因分析:
- 解决方案:
- 参考链接:
-
- 问题2:ImportError: deform_conv_cuda....undefined symbol: cudaSetupArgument
-
-
- 解决方案:
-
- 问题3:CondaHTTPError: HTTP 000 CONNECTION FAILED for url ......
-
-
- 解决方案:
- 参考链接:
-
- 问题4:Connection to pypi.org timed out. (connect timeout=15)'): /simple/cython/
-
-
- 解决方案:
- 参考链接:
-
- 问题5:ERROR: Command errored out with exit status 1: python setup.py egg_info Check the logs for full command output.
-
-
- 解决方案:
- 参考链接:
-
- 问题6:It seems that scikit-image has not been built correctly.Your install of scikit-image appears to be broken
-
-
- 解决方案:
-
- 问题7:It seems that scikit-learn has not been built correctly.
-
-
- 解决方案:
- 参考链接:
-
- 问题8:ImportError: cannot import name 'get_dist_info'
-
-
- 解决方案:
- 参考链接:
-
- 问题9:ModuleNotFoundError: No module named 'mmcv.cnn.weight_init'
-
-
- 解决方案:
-
- 问题10:cv2.error: OpenCV(4.1.1) /io/opencv/modules/highgui/src/window.cpp:627: error
-
-
- 解决方案:
- 参考链接:
-
问题1:No CUDA runtime is found, using CUDA_HOME=’/usr/local/cuda-9.0’

原因分析:
可能是CUDA 版本与pytorch不匹配,可以先通过以下指令确定CUDA的实际版本,如果不一致时需要对文件进行修改。
nvcc -V
cat /usr/local/cuda/version.txt
nvidia-smi
我的cuda版本一开始查看时也不一致:

解决方案:
修改根目录下的 .bashrc 文件,在文件末尾添加以下两行,使版本一致
export PATH="/usr/local/cuda-10.1/bin:$PATH"
export LD_LIBRARY_PATH="/usr/local/cuda-10.1/lib64:$LD_LIBRARY_PATH"
然后再source一下即可:
source ~/.bashrc
最后 .bashrc 文件末尾是介个样子的。


然后根据 CUDA 版本安装好对应的 pytorch 版本即可。
参考链接:
- 安装多版本cuda时,nvcc和cuda版本不一致问题
- 安装CUDA时,nvcc --version和cat /usr/local/cuda/version.txt版本不一致
- FCOS出现No CUDA runtime is found, using CUDA_HOME=’/usr/local/cuda-10.0’
问题2:ImportError: deform_conv_cuda…undefined symbol: cudaSetupArgument
ImportError: /data3/zhanghuiyong/PointSetAnchor/mmdet/ops/dcn/deform_conv_cuda.cpython-36m-x86_64-linux-gnu. so: undefined symbol: cudaSetupArgument

解决方案:
解决方法同问题一,都是由于CUDA版本不同造成的。修改.bashrc文件即可。

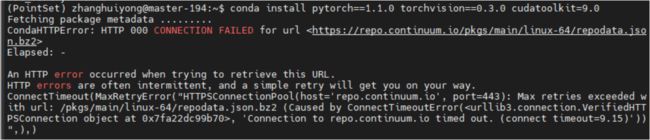
问题3:CondaHTTPError: HTTP 000 CONNECTION FAILED for url …
CondaHTTPError: HTTP 000 CONNECTION FAILED for url https://repo.continuum.io/pkgs/main/linux-64/repodata.json.bz2
Elapsed: -
An HTTP error occurred when trying to retrieve this URL.
HTTP errors are often intermittent, and a simple retry will get you on your way.
ConnectTimeout(MaxRetryError(“HTTPSConnectionPool(host=‘repo.continuum.io’, port=443): Max retries exceeded with url: /pkgs/main/linux-64/repodata.json.bz2 (Caused by ConnectTimeoutError(, ‘Connection to repo.continuum.io timed out. (connect timeout=9.15)’))”,),)
解决方案:
将根目录下 .condarc 中的默认源删除。

参考链接:
- 解决Anaconda出现CondaHTTPError: HTTP 000 CONNECTION FAILED for url问题
- 有效解决CondaHTTPError: HTTP 000 CONNECTION FAILED for url问题
问题4:Connection to pypi.org timed out. (connect timeout=15)’): /simple/cython/
WARNING: Retrying (Retry(total=4, connect=None, read=None, redirect=None, status=None)) after connection broken by ‘ConnectTimeoutError(
, ‘Connection to pypi.org timed out. (connect timeout=15)’)’: /simple/cython/
解决方案:
更换 python 镜像源:
临时:
pip命令 + -i + 镜像地址。
例如pip install numpy -i https://mirrors.aliyun.com/pypi/simple/
永久:
在更新到最新版本pip后,pip config set global.index-url+国内镜像地址,
例如pip config set global.index-url https://mirrors.aliyun.com/pypi/simple/
参考链接:
- 在python中安装包出现Retrying (Retry(total=4, connect=None, read=None, redirect=None, status=None))
- Python下载库超时Connection to files.pythonhosted.org timed out问题解决(换源)
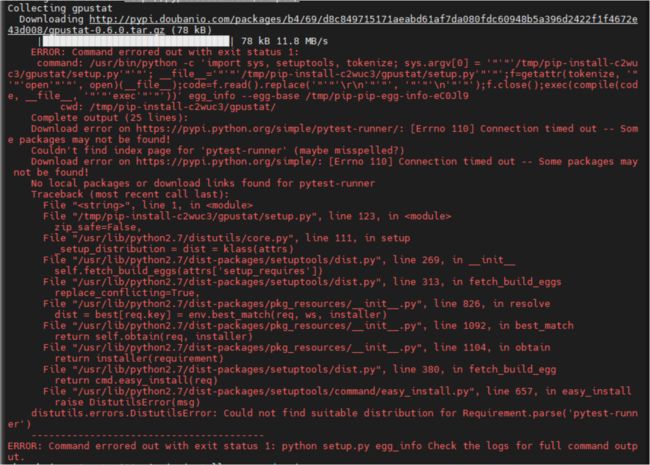
问题5:ERROR: Command errored out with exit status 1: python setup.py egg_info Check the logs for full command output.
ERROR: Command errored out with exit status 1:
command: /usr/bin/python -c ‘import sys, setuptools, tokenize; sys.argv[0] = ‘"’"’/tmp/pip-install-c2wuc3/gpustat/setup.py’"’"’; file=’"’"’/tmp/pip-install-c2wuc3/gpustat/setup.py’"’"’;f=getattr(tokenize, ‘"’"‘open’"’"’, open)(file);code=f.read().replace(’"’"’\r\n’"’"’, ‘"’"’\n’"’"’);f.close();exec(compile(code, file, ‘"’"‘exec’"’"’))’ egg_info --egg-base /tmp/pip-pip-egg-info-eC0Jl9
解决方案:
在终端执行以下命令:
pip install --upgrade pip
pip install --upgrade setuptools
pip install django-import-export
参考链接:
- ERROR: Command errored out with exit status 1: python setup.py egg_info Check the logs for full command output.
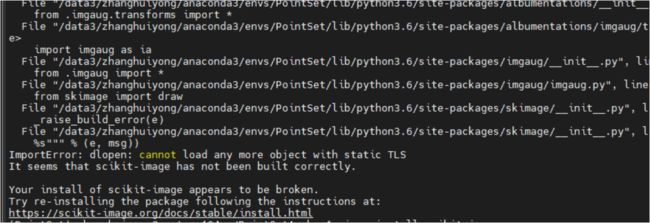
问题6:It seems that scikit-image has not been built correctly.Your install of scikit-image appears to be broken
ImportError: dlopen: cannot load any more object with static TLS.It seems that scikit-image has not been built correctly. Your install of scikit-image appears to be broken. Try re-installing the package following the instructions at: https://scikit-image.org/docs/stable/install.html
解决方案:
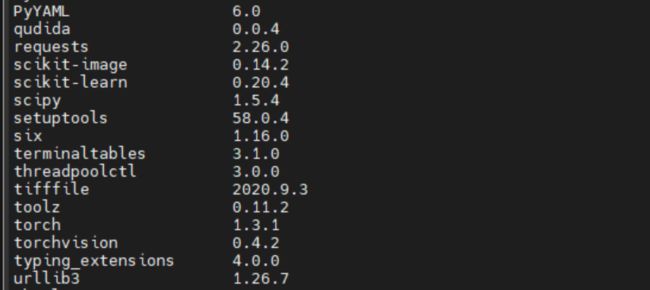
降低 scikit-image 版本到 0.14.2
pip uninstall scikit-image
pip install scikit-image==0.14.2
降低 imagecorruptions 版本到 0.1.0
pip uninstall imagecorruptions
pip install imagecorruptions==0.1.0
可以根据自己的实际情况降低版本,对我而言之前的版本一直报错,只有降到这个版本时才没错。
问题7:It seems that scikit-learn has not been built correctly.
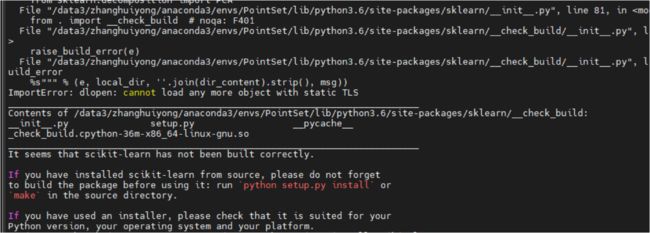
解决方案:
降低 scikit-learn 版本到 0.20.4
pip uninstall scikit-learn
pip install scikit-learn==0.20.4
参考链接:
- python:It seems that scikit-learn has not been built correctly
问题8:ImportError: cannot import name ‘get_dist_info’

解决方案:
修改 mmdet/datasets/loader/sampler.py 文件
在文件开头附近,将 from mmcv.runner.utils import get_dist_info 修改为 from mmcv.runner import get_dist_info
参考链接:
- ImportError: cannot import name ‘get_dist_info’ #1862
问题9:ModuleNotFoundError: No module named ‘mmcv.cnn.weight_init’
ModuleNotFoundError: No module named ‘mmcv.cnn.weight_init’

解决方案:
对于我的问题而言,是因为没有把mmcv文件夹放在 PointSetAnchor 的根目录下,所以才会找不到 weight_init 文件。
问题10:cv2.error: OpenCV(4.1.1) /io/opencv/modules/highgui/src/window.cpp:627: error
cv2.error: OpenCV(4.1.1) /io/opencv/modules/highgui/src/window.cpp:627: error: (-2:Unspecified error) The function is not implemented. Rebuild the library with Windows, GTK+ 2.x or Cocoa support. If you are on Ubuntu or Debian, install libgtk2.0-dev and pkg-config, then re-run cmake or configure script in function ‘cvShowImage’
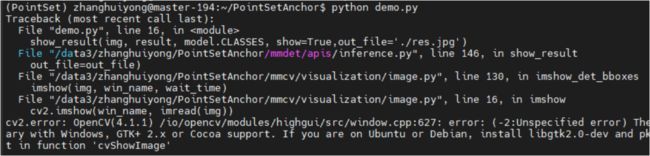
解决方案:
安装 opncv-contrib 包
pip install --upgrade pip
pip install opencv-contrib-python
参考链接:
- The function is not implemented. Rebuild the library with Windows, GTK+ 2.x or Carbon support.