使用Swagger Codegen生成Python服务端客户端代码
使用Swagger Codegen生成Python服务端客户端代码
- 使用的Swagger Codegen版本
- 生成代码
- 环境配置
-
- 配置虚拟环境(virtualenv 可选)
- 修改第一个文件
- 第二个文件
- 第三个文件
- 开始测试
使用的Swagger Codegen版本
swagger-codegen-cli-2.4.32.jar
生成代码
java -jar swagger-codegen-cli.jar generate -i http://xxx.xxx.xxx.xxx:xxxx/v2/api-docs -l python --artifact-id=get-sign-code-gen-python -o ./getSignCodeGenPython
环境配置
配置虚拟环境(virtualenv 可选)
我用的是virtualenv生成的虚拟环境运行的,其他虚拟化环境也一样,所以这里我只贴一下 virtualenv 的命令
$ virtualenv venv
$ source venv/bin/activate
$ pip install -r requirements.txt
然后默认生成的代码需要修改或者确认两个地方
修改第一个文件
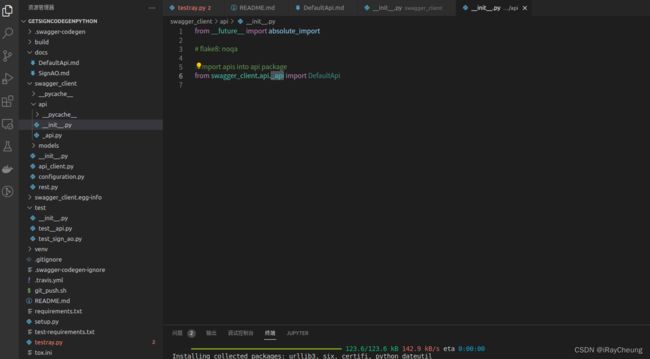
路径为swagger_client/api/init.py
原来的DefaultApi路径是错误的,无法import,所以需要改成我下图这样

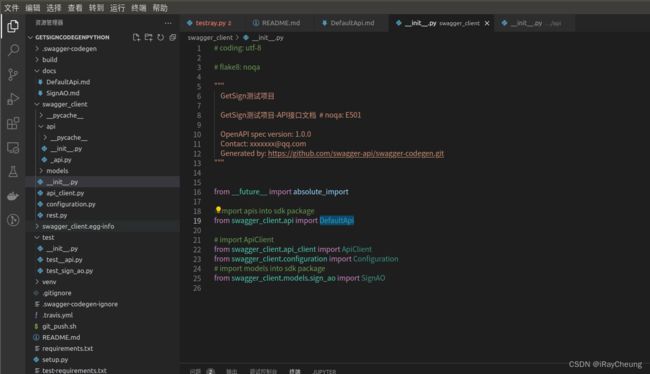
第二个文件
第三个文件
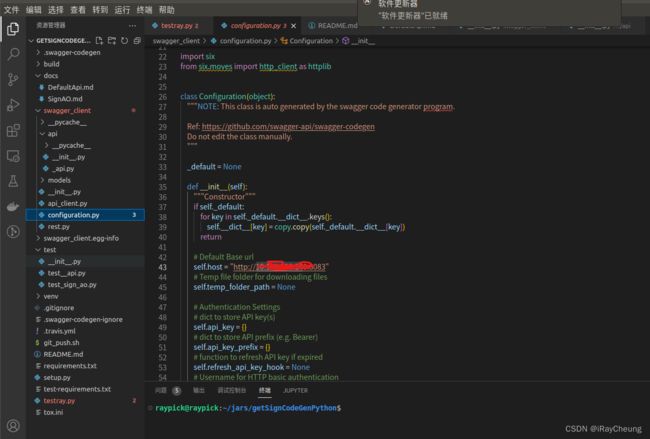
文件路径 swagger_client/configuration.py 可能需要将协议https改成http,否则会报SSL认证错误

开始测试
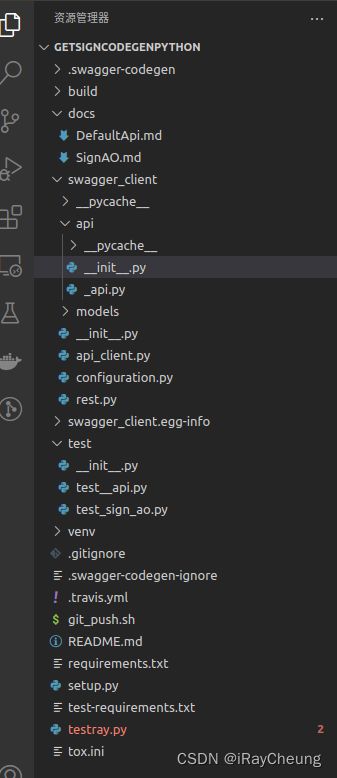
我们自己创建一个python文件,我这里叫testray.py,需要放在跟setup.py这个文件同级目录下,也就是最外层,添加如下内容
from __future__ import print_function
import swagger_client
from swagger_client.rest import ApiException
from pprint import pprint

# create an instance of the API class
api_instance = swagger_client.DefaultApi(swagger_client.ApiClient())
key = 'key_example' # str | key   这个key字段是非必要的

try:
    # 获取secret
    api_response = api_instance.get_secret_using_get(key) # 这里的get_secret_using_get请改成你们自己生成代码对应的方法,代码提示应该会显示有哪些方法的,不清楚的去 swagger_client/api/_api.py 这个文件的DefaultApi类下去找,有哪些方法
    pprint(api_response)
except ApiException as e:
    print("Exception when calling DefaultApi->get_secret_using_get: %s\n" % e)


