windows 安装dataX
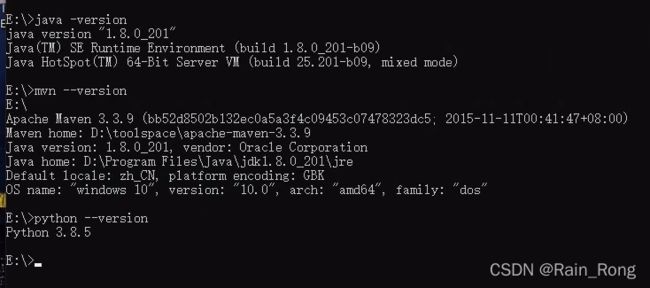
首先本地需要安装好 jdk 、 maven 、 python的基础环境,如果安装过程有问题可以参考百度对应的教程,这里就不多说了。
-
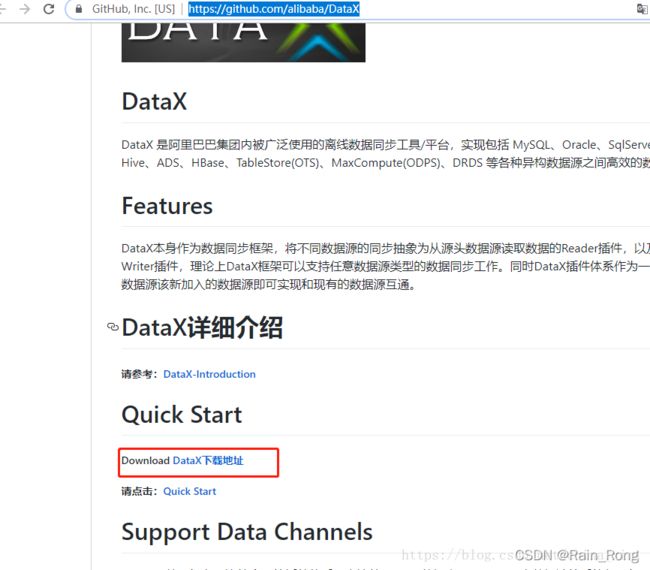
DataX源码下载DataX 源码路径,下载压缩包解压到本地目录。
http://datax-opensource.oss-cn-hangzhou.aliyuncs.com/datax.tar.gz
-
将datax压缩包解压在安装目录
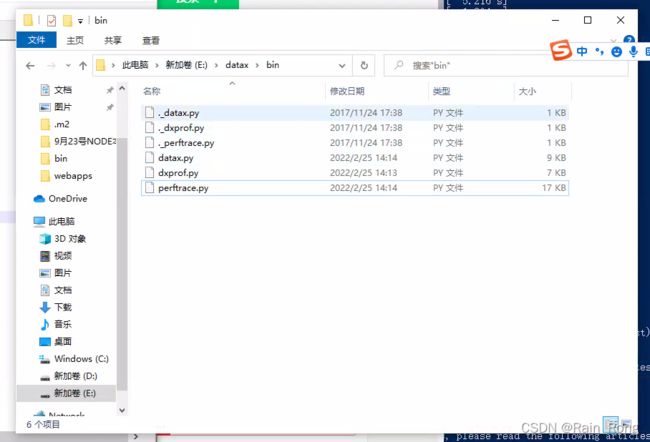
安装完成,如果环境是Python3,则需要修改datax/bin下面的三个python文件。如果是Python2则不需修改。(修改需要的文件链接:https://github.com/WeiYe-Jing/datax-web/tree/master/doc/datax-web/datax-python3) -
全部完成后,测试DataX
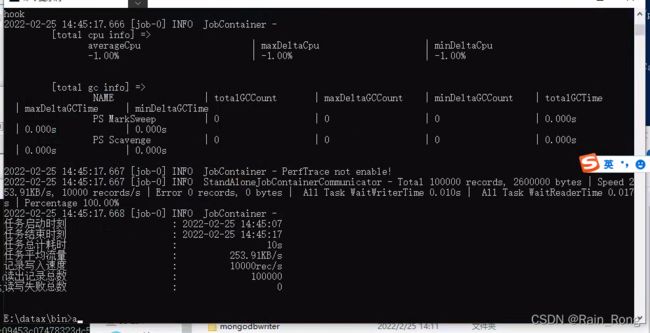
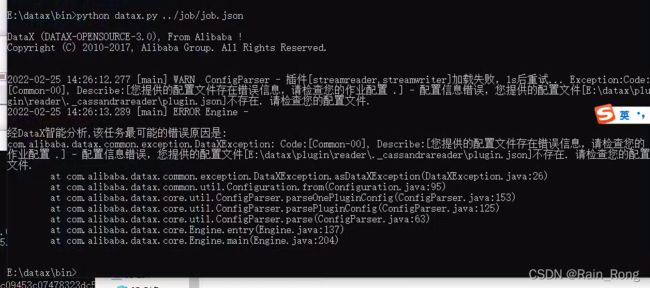
打开DOS命令行,进入DataX安装目录的bin文件夹,执行语句python2 datax.py …/job/job.json 注:python2是我自己改的名字,为了区别python3 运行结果如果最后出现乱码,在DOS命令行输入 CHCP 65001
python datax.py ../job/job.json
(job.json的绝对地址在datax/job文件夹下。)
- 配置json文件
{
    "job": {
        "content": [
            {
                "reader": {
                    "name": "postgresqlreader",
                    "parameter": {
                        "column": [
                           "*"
                        ],
                        "connection": [
                            {
                                "jdbcUrl": ["jdbc:postgresql://xxxxxx:5432/pg_temp?useUnicode=true&characterEncoding=utf8"],
                          		"table": ["wmsc.erp_item_rcv_puton","wmsc.fg_inspect"]

                            }
                        ],
                        "password": "gpadmin",
                        "username": "gpadmin"
                    }
                },
                "writer": {
                    "name": "postgresqlwriter",
                    "parameter": {
                        "column": [
                           "*"
                        ],
                        "preSql": [
                          "TRUNCATE TABLE @table"
                        ],
                        "connection": [
                            {
                                "jdbcUrl": "jdbc:postgresql://xxxxxx:5432/PG_TEMP?useUnicode=true&characterEncoding=utf8",
                                "table": ["wmsc.erp_item_rcv_puton","wmsc.fg_inspect"]
                            }
                        ],
                        "password": "postgres123",
                        "username": "postgres"
                    },
					 "encoding":"utf-8"
                }
            }
        ],
        "setting": {
            "speed": {
                "channel": 1
           }
        }
    }
}
- 批量导表数据
修改json
{
    "job": {
        "content": [
            {
                "reader": {
                    "name": "postgresqlreader",
                    "parameter": {
                        "column": [
                           "*"
                        ],
                        "connection": [
                            {
                                "jdbcUrl": ["jdbc:postgresql://xxxx:5432/pg_temp?useUnicode=true&characterEncoding=utf8"],
                          		"table": ["${schema}.${table}"]

                            }
                        ],
                        "password": "gpadmin",
                        "username": "gpadmin"
                    }
                },
                "writer": {
                    "name": "postgresqlwriter",
                    "parameter": {
                        "column": [
                           "*"
                        ],
                        "preSql": [
                          "TRUNCATE TABLE @table"
                        ],
                        "connection": [
                            {
                                "jdbcUrl": "jdbc:postgresql://xxxx:5432/PG_TEMP?useUnicode=true&characterEncoding=utf8",
                                "table": ["${schema}.${table}"]
                            }
                        ],
                        "password": "postgres123",
                        "username": "postgres"
                    },
					 "encoding":"utf-8"
                }
            }
        ],
        "setting": {
            "speed": {
                "channel": 1
           }
        }
    }
}
是变量
${schema}.${table}
-Dschema 对应 schema
-Dtable 对应 table
python datax.py ..\job\gp-pg.json -p"-Dschema=wms -Dtable=wms_material_info" --jvm="-Xms8G -Xmx8G"
查询整个库的表和表里面的数量
SELECT pt.*,reltuples as rowCounts FROM pg_tables pt left join pg_class pc on pc.relname = pt.tablename and pc.relkind = 'r' where tablename NOT LIKE 'pg%' AND tablename NOT LIKE 'sql_%' ORDER BY tablename;
查询整个库的表
SELECT * FROM pg_tables WHERE tablename NOT LIKE 'pg%' AND tablename NOT LIKE 'sql_%' ORDER BY tablename;
查询表里面的数量
select relname as TABLE_NAME, reltuples as rowCounts from pg_class where relkind = 'r' order by rowCounts desc
