uniapp网络请求封装;小程序请求接口封装;uni.request接口封装
另一篇全面封装文章
资源文章下载地址
1.正常使用uni.request()发送请求(未封装)
get() {
      uni.request({
        url: 'http://192.168.1.191/abc//main/jiekouming/abclist?workType=2',
        data: {},
        header: {
          Token: 'b042b36fwq909qwe9iiidsai2323sd232dw3'
        },
        method: 'GET',
        success: (res) => {
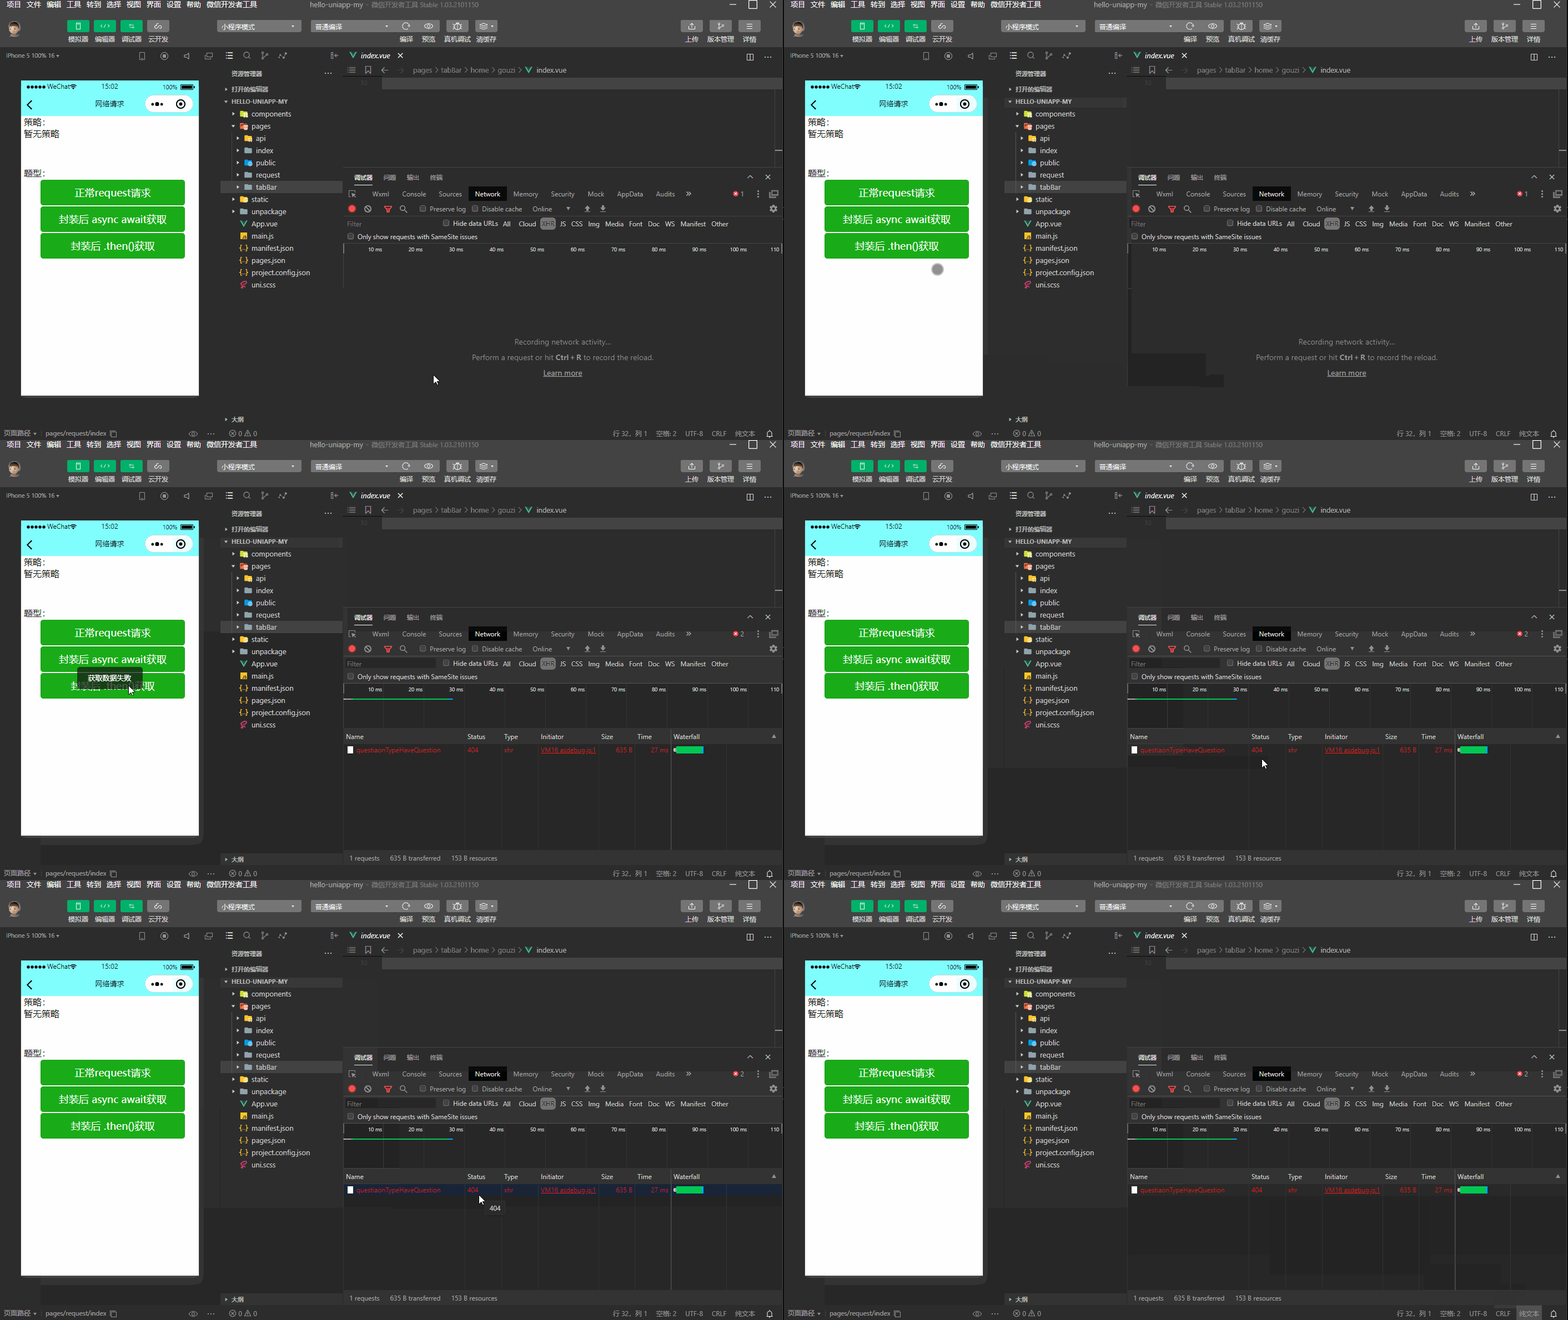
          if (res.statusCode !== 200) {
            return uni.showToast({
              title: '获取数据失败',
              icon: "none",
              mask: true,
            })
          }
          console.log(res);
          this.arrType = res.data.data
        },
        fail: (error) => {
          uni.showToast({
            title: '请求接口失败',
          })
          console.log(error);
        }
      })
    },
但是一个项目内多次请求,太过麻烦,所以我们需要封装uni.request()
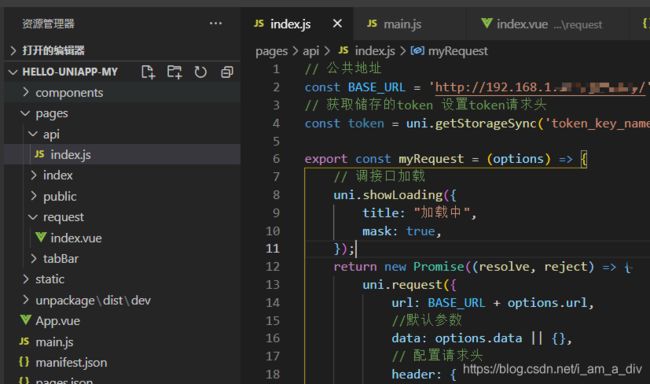
2.封装接口(在aop文件夹下席间index.js) ,下方的封装api可直接复制,修改接口状态码即可使用
封装api:
// switch (process.env.NODE_ENV) {
  //   case 'development':
  //     // 公共的地址开发
  //     baseUrl = 'http://192.168.1.191/abc/'
  //     break
  //   case 'test':
  //     baseUrl = 'https://test.epen.ltd/'
  //     break
  //   case 'production':
  //     baseUrl = 'https://production.epen.ltd/'
  //     break
  //   default:
  //     baseUrl = 'https://default.epen.ltd/'
  // }
  // console.log('baseUrl', baseUrl)
// 公共地址

// 接口共用地址
const BASE_URL = 'http://192.168.1.191/abc/'
// 获取储存的token 设置token请求头
const token = uni.getStorageSync('token_key_name')

export const myRequest = (options) => {
    // 调接口加载
    uni.showLoading({
        title: "加载中",
        mask: true,
    });
    return new Promise((resolve, reject) => {
        uni.request({
            url: BASE_URL + options.url,
            //默认参数
            data: options.data || {},
            // 配置请求头参数-例如token
            header: {
                Token: 'b042b36fwq909qwe9iiidsai2323sd232dw3'
                // Accept: 'application/json',
                // 'Content-Type': 'application/json',
                // 'X-Requested-With': 'XMLHttpRequest'
            },
            method: options.method || 'GET',
            // sslVerify: true,

            // 接口请求成功
            success: (res) => {
                // 关闭加载
                uni.hideLoading();
                console.log('接口所有参数', res);
                if (res.statusCode !== 200) {
                    // 不同报错信息的提示和配置
                    if (res.statusCode == 500) {
                        return uni.showToast({
                            title: '服务器重启中...',
                            icon: "none",
                            mask: true,
                        })
                    } else {
                        return uni.showToast({
                            title: '获取数据失败',
                            icon: "none",
                            mask: true,
                        })
                    }
                }
                // 调用成功且有数据 返回数据  组件内通过 .then() 或者async await 接受异步返回数据
                //resolve(res.data)
                //在接口200 调用成功后 才能进行判断接口内的状态码 return_code 以此判定作何操作和提示
		        const { statusCode, data } = res
		        let return_code = res.data.return_code
		        let return_message = res.data.return_message
		        switch (return_code) {
		          case '0':
		            // 成功的数据data状态码  则直接返回数据
		            resolve(res.data)
		            break
		          case '4011':
		            uni.clearStorage()
		            if (hasUserInfo && !isExisited && !checkToken) {
		              isExisited = true
		              uni.showModal({
		                title: '提示',
		                content: '身份失效,请重新登录!',
		                complete: () => {
		                  uni.reLaunch({ url: '/pages/index/index' })
		                },
		              })
		            } else {
		              reject(res.data)
		            }
		            break
		          default:
		            // 其他的如无特定要求 则做提示
		            // reject(res.data)
		            return uni.showToast({
		              title: return_message || '请求失败',
		              duration: 2000,
		              icon: 'none',
		            })
		        }
            },

            // 接口接口失败
            fail: (error) => {
                // 关闭加载
                uni.hideLoading();
                console.log(2, error);
                uni.showToast({
                    title: '请求接口失败',
                    icon: "none",
                    mask: true,
                })
                // 失败数据
                reject(error)
            }
        })
    })
}
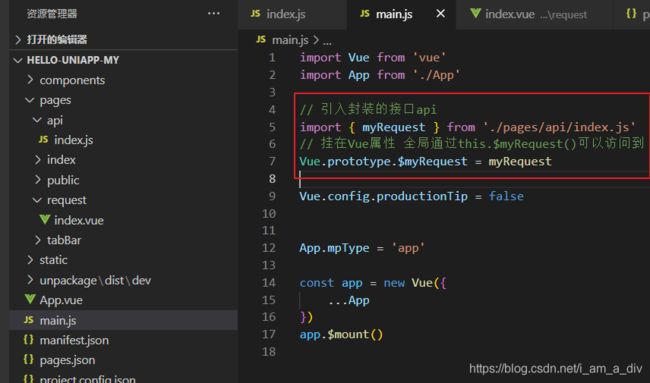
3.引入挂载,在入口文件main.js引入,挂在到全局使用:
// 引入封装的接口api
import { myRequest } from './pages/api/index.js'
// 挂在Vue属性 全局通过this.$myRequest()可以访问到
Vue.prototype.$myRequest = myRequest
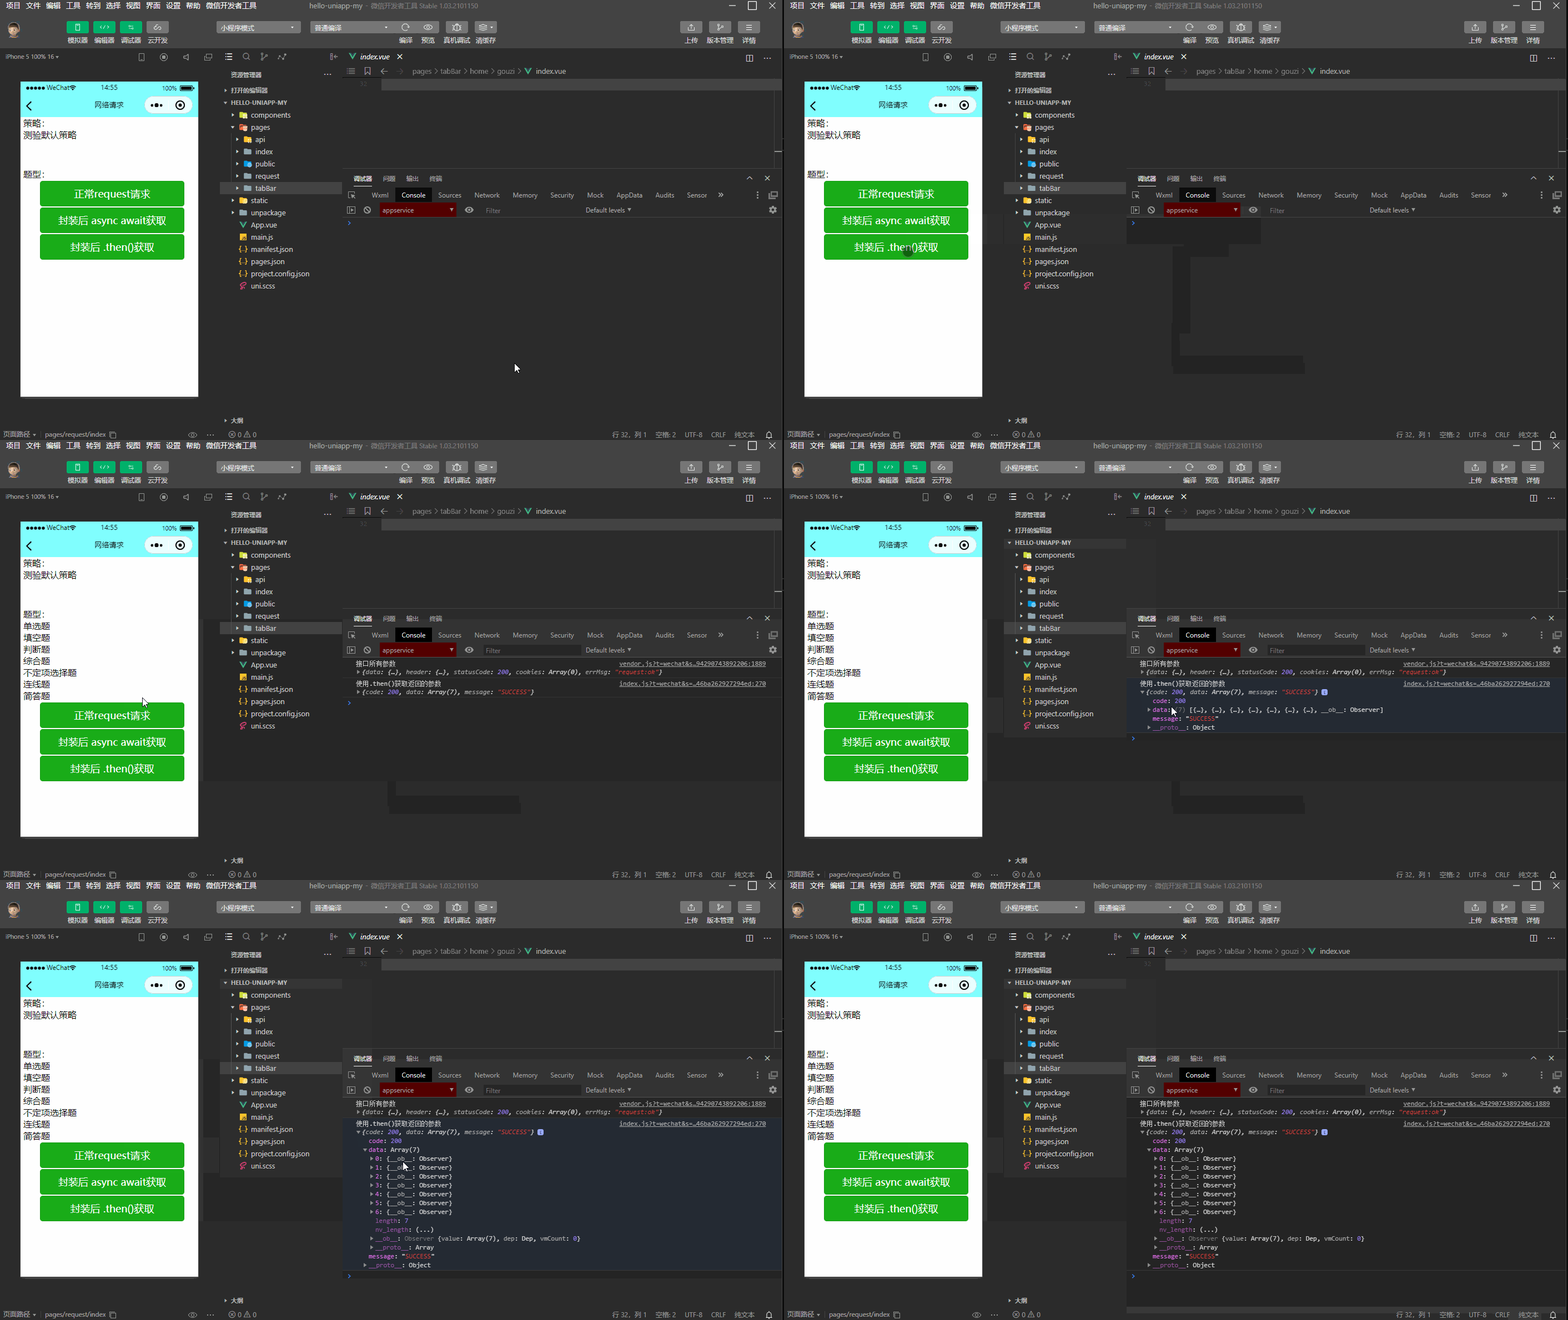
4.使用:直接在组件内,在方法内通过this.$myRequest()即可:
注意:有两种获取参数方式:
①通过 async await 拿到异步数据
②通过 .then()拿到异步数据
async await:
async getType() {
      const res = await this.$myRequest({
        url: 'aaa/bbb/list?workType=2',
      })
      console.log('使用async await获取返回的参数', res);
      this.arrType = res.data
    },
.then():
postType() {
      // const res =  this.$myRequest({
      //   url:'question/abc/jiekouming',
      //   method:'POST',
      //   data:{
      //     chapterIds:[22394],
      //     knowledgeIds:[13269, 13271, 14118]
      //   }
      // })
      // console.log('直接获取拿不到异步结果',res);
      this.$myRequest({
        url: 'question/abc/jiekouming',
        method: 'POST',
        data: {
          chapterIds: [22394],
          knowledgeIds: [13269, 13271, 14118]
        }
      }).then(res => {
        console.log('使用.then()获取返回的参数', res);
        this.qType = res.data
      })
    },
