ChatGpt开源项目完美运行配置-ChatGml2
任务描述
本节任务是安装和配置chatgpt项目所需的软件以及chatgpt项目所需要的python库包,同时编写python代码来完成chatgpt项目的人机对话功能。
实验工具
显卡GTX1070(专用内存需要大于等于6G)以上电脑、Pycharm软件、Python3.10软件、cuda11.0软件。
任务实施
任务一 环境配置
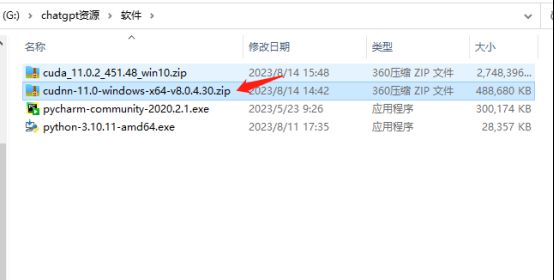
cuda11.0软件百度网盘获取:
链接:https://pan.baidu.com/s/1KOJfAVR6nKmVafNnmbsYDw
提取码:lblh
cudnn11.0百度网盘获取:
链接:https://pan.baidu.com/s/1CBuq7jflihEDuclSq-RTJA
提取码:efgu
一.Cuda11.0软件安装配置
1.找到cudnn-11.0-windows-x64-v8.0.4.30.zip压缩包,并且解压它。
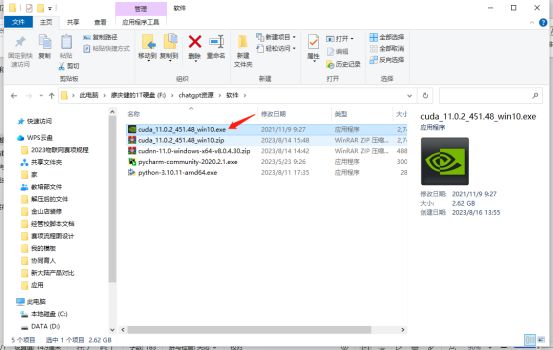
2.解压后双击点开,准备安装cuda11.0软件。
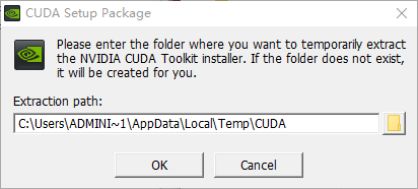
3.选择默认路径,点击ok。
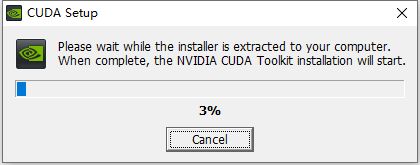
4.等待检查系统的兼容性。

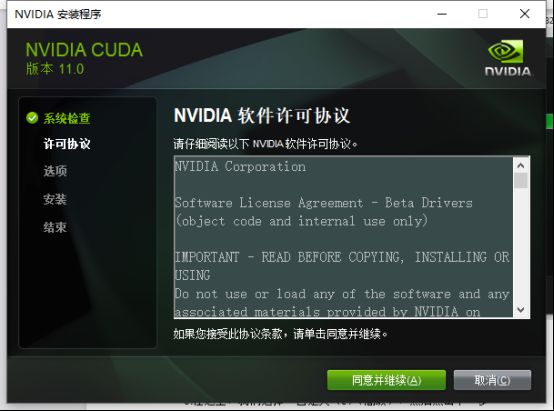
5.检查完后,点击同意并继续。
6.在这里,我们选择“自定义(c)(高级)”,然后点击下一步。

7.点击CUDA左边的“+”号。

8.查看Visual Studio Integration选项,点击取消Visual Studio Integration打得勾,然后点击下一步。

9.继续点击下一步。

10.等待安装完成。

11.安装成功,点击下一步即可。

12.安装完成后,找到cudnn-11.0-windows-x64-v8.0.4.30.zip压缩包,并且解压。

13.将cuda文件夹内的所有文件复制到默认路径C:\Program Files\NVIDIA GPU Computing Toolkit\CUDA\v11.0

14.检测,按windows+R键,输入cmd回车,输入:nvcc -V,显示有V11.0的版本即为检测成功。

二.Python软件安装与配置
python3.10软件百度网盘获取:
链接:https://pan.baidu.com/s/1t5jfcvalXEJ-wF_hapjw7Q
提取码:brbh
1.找到python软件python-3.10.11-amd64.exe,双击点开准备进行安装。

2.先选择Add Python.exe to PATH自动配置系统环境,再点击Install Now。

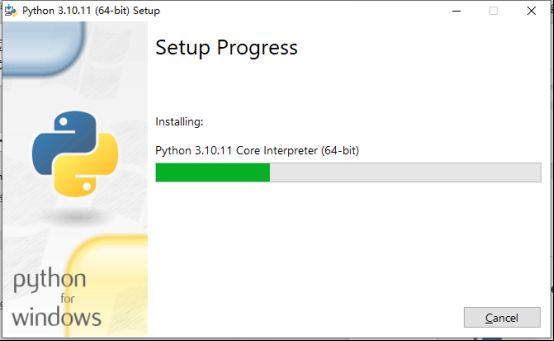
3.等待python软件的安装进程。
4.出现Close说明安装完成,点击Close完成安装。

三.Pycharm软件安装与配置
1.找到pycharm软件pycharm-community-2020.2.1.exe。

2.双击点开pycharm-community-2020.2.1.exe。

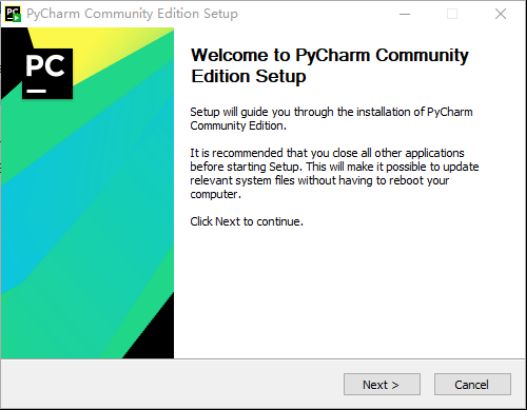
3.点击Next。
4.选择你安装的路径,在这里我安装在默认的路径中,继续点击Next。

5.勾选64-bit launcher和Add launchers dir to the PATH,如图1-1-30所示,继续点击Next。

6.点击Install。

7.等待安装。

8.出现Finish,说明完成安装,点击Finish结束安装。

任务二 运行chatgpt项目
chatgml2-6B项目(不包括模型):
链接:https://pan.baidu.com/s/1KojC0Mgt09JVq7sZcrSpwg
提取码:xqtj
chatgml2-6B项目模型地址:https://huggingface.co/THUDM/chatglm2-6b/tree/main
一.Python库包的安装
1.找到Pycharm桌面快捷方式,双击打开。

2.选择界面编辑底色,黑色或者白色,这里我选黑色,然后点击Next:Featured plugins。
3.点击Start using PyCharm,开始使用Pycharm。
4.选择Open。

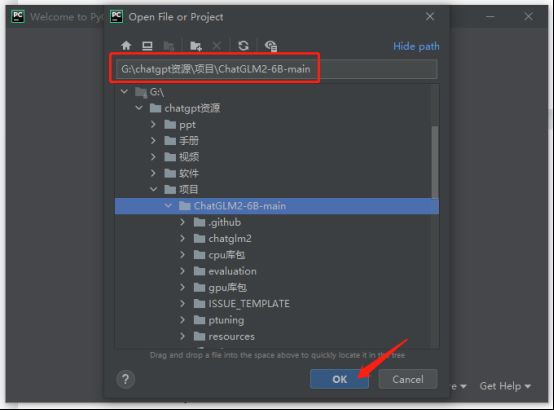
5.找到ChatGLM2-6B-main项目路径,点击ok,打开ChatGLM2-6B-main项目。
6.找到File位置,点击File。

7.点击Settings…。

8.找到Python Interpreter,点击Python Interpreter。

9.点击设置按钮,点击Add。

10.点击System Interpreter,然后点击OK。

11,然后会出现python3.10环境,注意这里会显示3.9,是因为Pycharm软件目前不支持显示Python3.10,但不影响。

12.点击ok。即环境设置完成。

13.找到Terminal,打开Terminal窗口。
14.使用以下命令进入gpu库包路径:
cd gpu库包
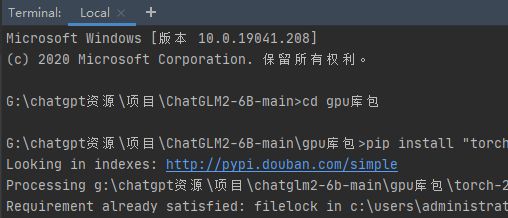
15.使用以下命令安装torch库包:
pip install “torch-2.0.1+cu117-cp310-cp310-win_amd64.whl”

16.使用以下命令安装torchaudio库包:
pip install “torchaudio-2.0.2+cu117-cp310-cp310-win_amd64.whl”

17.使用以下命令安装torchvision库包:
pip install “torchvision-0.15.2+cu117-cp310-cp310-win_amd64.whl”

18.依次使用以下命令安装其他库包:
cd …
pip install -r requirements.txt -i https://pypi.tuna.tsinghua.edu.cn/simple

19.使用以下命令安装cudnn相关依赖库包:
pip install nvidia-cudnn-cu11 -i https://pypi.tuna.tsinghua.edu.cn/simple
pip install nvidia-cuda-runtime-cu11 -i https://pypi.tuna.tsinghua.edu.cn/simple
pip install nvidia-cublas-cu11 -i https://pypi.tuna.tsinghua.edu.cn/simple
pip install nvidia-cuda-nvrtc-cu11 -i https://pypi.tuna.tsinghua.edu.cn/simple

二.Python代码编写运行测试
1.新建一个main.py文件,依次点击New->Python File。
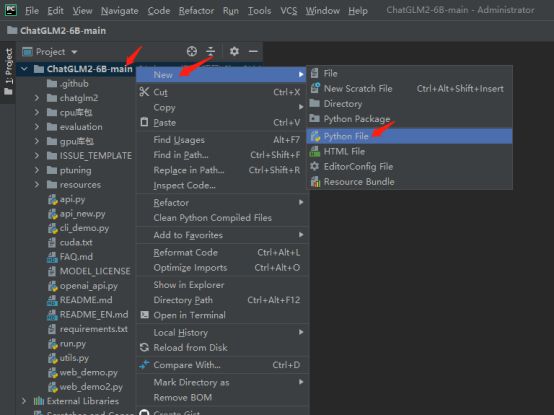
2.输入main.py并且回车,创建main.py文件。

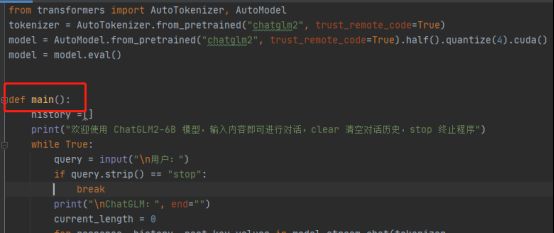
3.然后准备开始编写代码,首先调用加载模型的库包
代码如下:
from transformers import AutoTokenizer, AutoModel

4.写一段加载大模型的代码,以供后续使用
代码如下:
tokenizer = AutoTokenizer.from_pretrained(“chatglm2”, trust_remote_code=True)
model = AutoModel.from_pretrained(“chatglm2”, trust_remote_code=True).half().quantize(4).cuda()
model = model.eval()

5.定义一个main函数,该main函数的功能是人机对话。
代码如下:
def main():
6.定义一个列表,并且输出功能描述。
代码如下:
history =[]
print(“欢迎使用 ChatGLM2-6B 模型,输入内容即可进行对话”)

7.定义一个循环,该循环作用是可以循环人机对话。
代码如下:
while True:
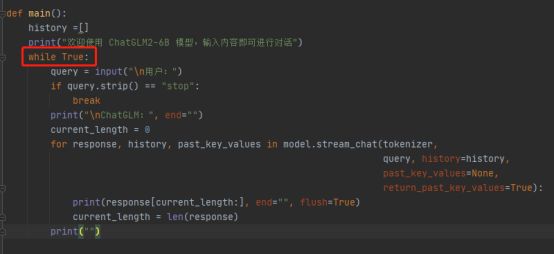
8.写一个用户输入的接口,用户可以在此输入问题。
代码如下:
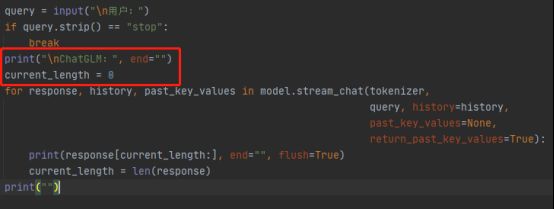
query = input(“\n用户:”)
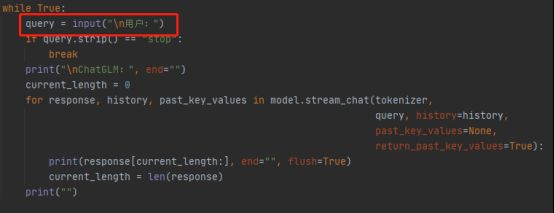
9.写一个判断语句,如果输入“stop”则停止人机对话,否则将继续往下执行。
代码如下:
if query.strip() == “stop”:
break

10.显示机器名称以及定义一个参数
代码如下:
print(“\nChatGLM:”, end=“”)
current_length = 0
11.持续输出机器人对用户的提问作出的回答语句。
代码如下:
for response, history, past_key_values in model.stream_chat(tokenizer,
query, history=history,
past_key_values=None,
return_past_key_values=True):
print(response[current_length:], end=“”, flush=True)
current_length = len(response)
print(“”)

12.写一个程序执行入口,执行main函数。
代码如下:
if name == “main”:
main()

13.写完之后运行main.py文件。

14.运行后加载大模型过程中需要等待一段时间,加载模型过程如下。

15.运行成功后,输入“你好”,查看回答。

16.询问“晚上睡不着怎么办?”,查看回答。
