ELK搭建并grafana看板展示
本文分两部分,一部分是elk搭建,另一部分,grafana的dashboard配置展示
【1】ELK搭建
一、es搭建
二、kibana搭建
因直接使用公有云的ES服务,包含了kibana,所以一、二部分直接跳过
之前使用logstash收集日志,因logstash比较耗内存,这里变更为使用filebeat收集日志
三、filebeat安装
wget https://artifacts.elastic.co/downloads/beats/filebeat/filebeat-6.3.2-x86_64.rpm
sudo rpm -vi filebeat-6.3.2-x86_64.rpm
vi /etc/filebeat/filebeat.yml配置filebeat
因没有使用logstash过滤,所以output直接到es中
systemctl start filebeat
systemctl enable filebeat
2、日志配置
以收集nginx为例,便于后期es数据读取,日志这里以json形式输出
nginx配置:
log_format json_log '{ "@timestamp": "$time_iso8601", '
'"server_addr": "$server_addr", '
'"http_mark": "$http_mark",'
'"remote_addr": "$remote_addr", '
'"body_bytes_sent": "$body_bytes_sent", '
'"remote_user": "$remote_user", '
'"request_method": "$request_method", '
'"request": "$request", '
'"request_time": $request_time, '
'"upstream_response_time": $upstream_response_time, '
'"upstream_addr": "$upstream_addr", '
'"http_host":"$host",'
'"http_referer":"$http_referer",'
'"uri": "$uri", '
'"http_user_agent":"$http_user_agent", '
'"http_appid": "$http_appid", '
'"http_deviceid": "$http_deviceid", '
'"http__v": "$http__v",'
'"status": "$status",'
'"http_x_forwarded_for": "$http_x_forwarded_for",'
'"http_devicecode": "$http_devicecode",'
'"msec": "$msec",'
'"http_cver": "$http_cver" }';
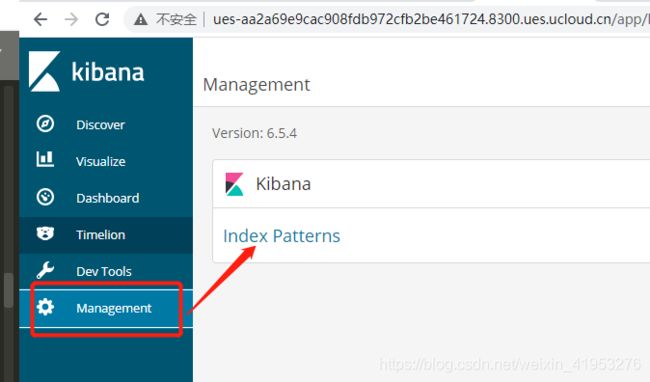
3、当启动filebeat时,就有数据写到nginxlog-日期的索引中,kibana创建对应的index_pattern
完成后即可在kibana的discover中可以查看到对应索引数据,收集java等服务日志同理
以上ELK算是搭建完成了
【2】grafana看板配置
以上述ELK中的es为数据源做grafana看板配置
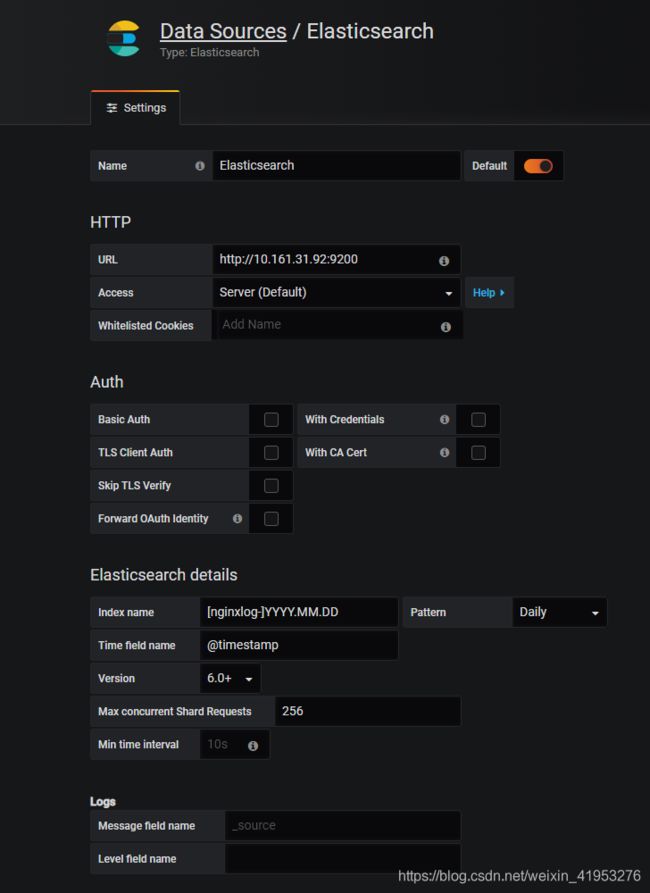
data Sources配置如下:
数据源创建好以后就可以创建第一个dashboard了,当不知道语法时,可以从官网下载对应的模板id来模仿
官方dashboard模板:https://grafana.com/grafana/dashboards
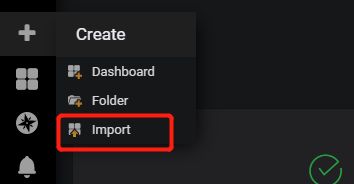
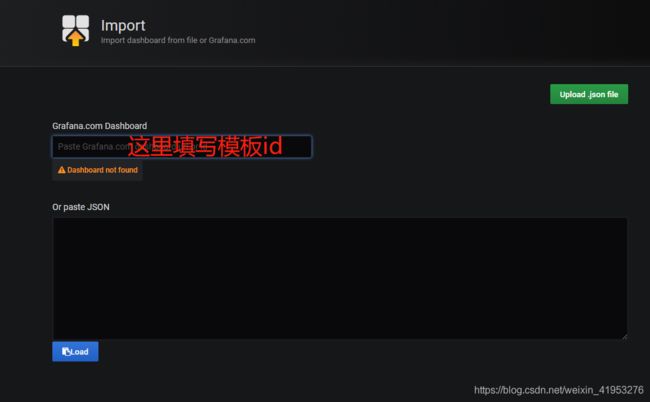
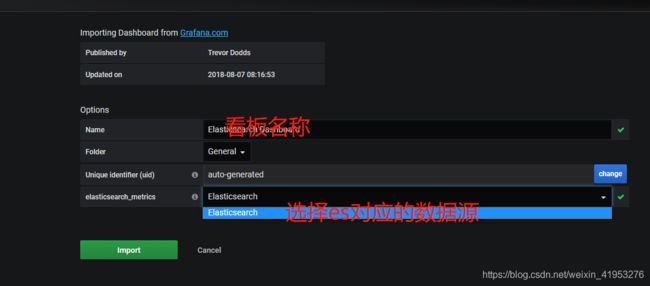
如何通过模板id导入至dashboard:
根据模板导入后,然后根据自己需求来改动
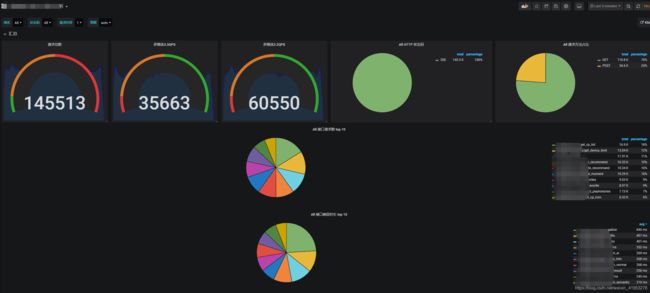
看板效果:


