Vscode 搭建 Ucore 环境
因为最近在学习学堂在线清华大学操作系统的课程,其中的实验课是自己手写一个操作系统Ucore内核让我十分感兴趣。
课程地址
该课程虽然有自己的线上实验环境,但是个人还是更加倾向于使用自己的搭建的环境来学习。
本人使用的是Vmware运行的 Ubuntu20.04
课程推荐的是使用understand 或者 eclipse 或者 vim来编写代码,但是我个人对于vscode 有一种偏爱,再加之在网上正好找到了一篇相关的经验贴,便用vscode来搭建ucore开发环境
经验贴地址 https://blog.xhyeax.com/2020/10/15/vscode-debug-ucore/
准备工作
该实验几个重要的依赖
- qemu 用于模拟硬件系统
- Gcc 编译
- Gdb 调试
- git 用于下载实验代码
- 其他的代码阅读比较工具,挑自己喜欢的就好
在下载完这些依赖后,下载vscode
sudo apt update sudo apt install software-properties-common apt-transport-https wget
sudo apt update
wget -q https://packages.microsoft.com/keys/microsoft.asc -O- | sudo apt-key add -
sudo add-apt-repository "deb [arch=amd64] https://packages.microsoft.com/repos/vscode stable main"
sudo apt install code
然后直接命令行输入 code 就可以打开 vscode了
然后拉取实验代码,在自己想要的位置进入终端,输入
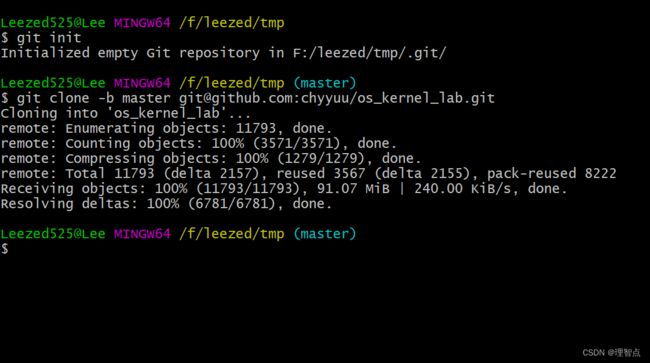
git clone -b master [email protected]:chyyuu/os_kernel_lab.git
这时进入vscode
打开 labcodes/lab1文件夹
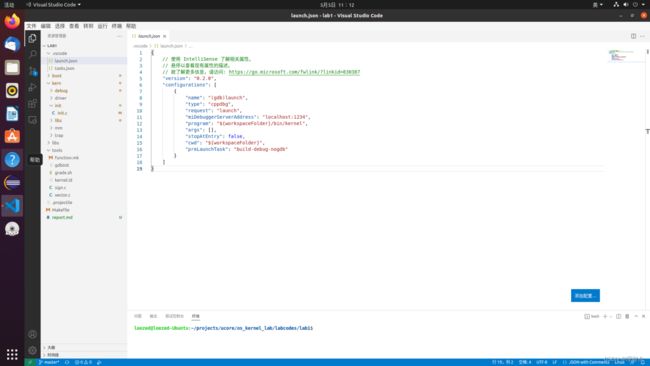
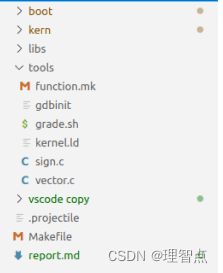
lab1中结构如下所示(其中有一些我已经修改过的文件,大体上是这样的)
这时打开kern/init/init.c文件,按F5
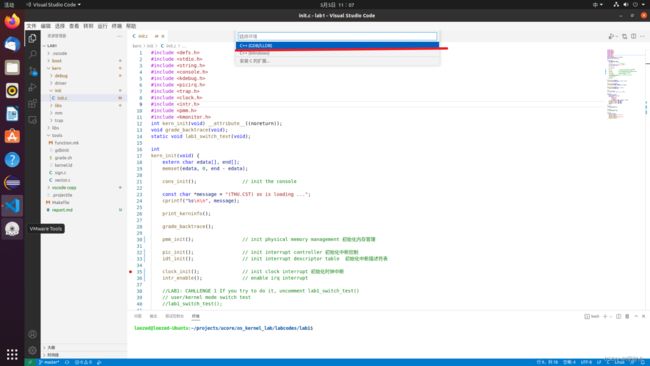
选择这个按回车
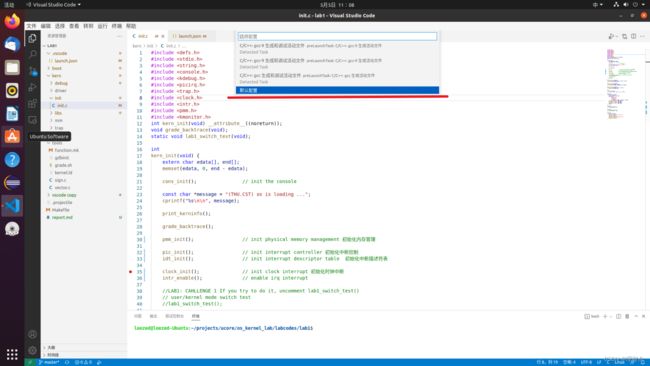
选择默认配置按回车

产生报错点这个打开launch.json
这时候会生成一个.vscode文件夹
将下面的内容完全复制进launch.json
{
    // 使用 IntelliSense 了解相关属性。
    // 悬停以查看现有属性的描述。
    // 欲了解更多信息,请访问: https://go.microsoft.com/fwlink/?linkid=830387
    "version": "0.2.0",
    "configurations": [
        {
            "name": "(gdb)launch",
            "type": "cppdbg",
            "request": "launch",
            "miDebuggerServerAddress": "localhost:1234",
            "program": "${workspaceFolder}/bin/kernel",
            "args": [],
            "stopAtEntry": false,
            "cwd": "${workspaceFolder}",
            "preLaunchTask": "build-debug-nogdb"
        }
    ]
}
然后在.vscode文件夹下新建一个tasks.json
将下面的内容复制进去
{
	"version": "2.0.0",
	"tasks": [
		{
		  "label": "build-debug-nogdb",
		  "command": "make",
		  "args": [
			"debug-nogdb"
		  ],
		  "type": "shell",
		  "isBackground": true,
		  "problemMatcher": {
			"pattern": {
			  "regexp": "."
			},
			"background": {
			  "activeOnStart": true,
			  "beginsPattern": ".",
			  "endsPattern": "."
			},
		  },
		}
	  ]
}
最后一步,修改makefile
找的Makefile
打开Makefile,搜索debug:,添加
debug-nogdb: $(UCOREIMG)
	$(V)$(QEMU) -S -s -parallel stdio -hda $< -serial null
PS: 其实就是去掉了gdb自动附加的命令,因为要使用VSCode启动的gdb去附加
pps : 我其实并不理解为啥要加这个,但是我参考的那个经验贴有这个,同时我觉得他说的有道理,我就也加了
然后按F5就可以运行了,在想要断点的地方打上断点,也可以进行调试
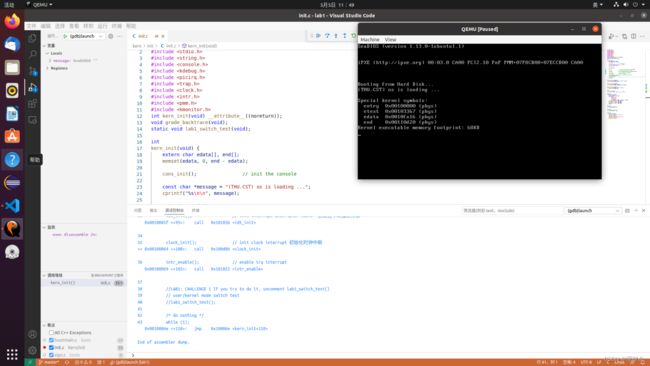
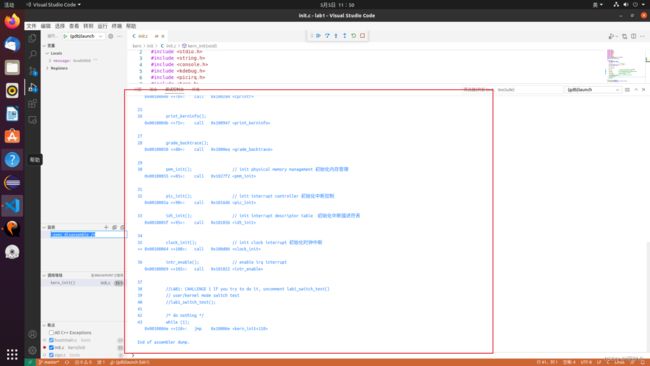
在监视中输入这个也能查看相应的汇编代码
-exec disassemble /m
