【VMware-CentOS7-GITlab安装部署】
CentOS7中完美完成Gitlab安装
一、虚拟机安装
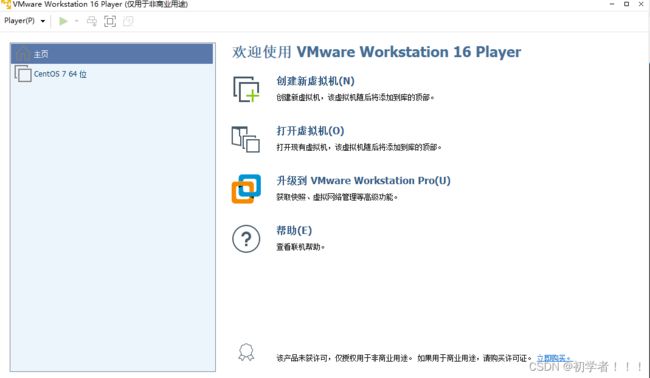
完成VMware安装,不 做商业用途的话选择个人版
vmware workstation player:免费个人版
vmware workstation pro:商业版

二、完成CentOS7系统安装
三、虚拟机网络设置
1.设置桥接模式,虚拟机可以实现外部网络访问

2.查看主机网络信息
3.虚拟机网络配置
配置虚拟机静态ip
重点说明:BOOTPROTO=dhcp为动态获取ip,BOOTPROTO=static为静态ip
重点说明:BOOTPROTO=dhcp为动态获取ip,BOOTPROTO=static为静态ip**加粗样式**
[root@localhost network-scripts]# pwd
/etc/sysconfig/network-scripts
[root@localhost network-scripts]# cat ifcfg-eth0
TYPE=Ethernet
PROXY_METHOD=none
BROWSER_ONLY=no
BOOTPROTO=dhcp
NOBOOT=:wqyes
DEFROUTE=yes
IPV4_FAILURE_FATAL=no
IPV6INIT=yes
IPV6_AUTOCONF=yes
IPV6_DEFROUTE=yes
IPV6_FAILURE_FATAL=no
IPV6_ADDR_GEN_MODE=stable-privacy
NAME=eth0
UUID=7a537c81-a22f-4911-a8b5-549cdd6f3d56
IPADDR=192.168.1.8
NETMASK=255.255.255.0
GATEWAY=192.168.1.1
DNS1=192.168.1.1
DEVICE=eth0
ONBOOT=no
[root@localhost network-scripts]#
四、GITlab依赖安装
1、依赖安装
yum -y install policycoreutils openssh-server openssh-clients postfix
[root@localhost ~]# systemctl enable postfix
[root@localhost ~]# systemctl start postfix
[root@localhost ~]#
五、gitlab下载
官网地址:
https://mirrors.tuna.tsinghua.edu.cn/gitlab-ce/yum/el7/
虚拟机安装gitlab两种方式:
1.虚拟机外部下载gitlab安装包,通过XFTP方式上传虚拟机或者虚拟机共享文件夹方式挂载到虚拟机
rpm -ivh gitlab-ce-14.2.5-ce.0.el7.x86_64.rpm
2.如果虚拟机wget命令已安装,则可以虚拟机内部通过wget直接安装,不过虚拟机保证可以连接外网
wget https://mirrors.tuna.tsinghua.edu.cn/gitlab-ce/yum/el7/gitlab-ce-14.2.5-ce.0.el7.x86_64.rpm --no-check-certificate
六、域名配置
1、访问域名必须修改配置文件,将external_url 设置为具体的ip加端口号
vim /etc/gitlab/gitlab.rb
## GitLab URL
##! URL on which GitLab will be reachable.
##! For more details on configuring external_url see:
##! https://docs.gitlab.com/omnibus/settings/configuration.html#configuring-the-external-url-for-gitlab
##!
##! Note: During installation/upgrades, the value of the environment variable
##! EXTERNAL_URL will be used to populate/replace this value.
##! On AWS EC2 instances, we also attempt to fetch the public hostname/IP
##! address from AWS. For more details, see:
##! https://docs.aws.amazon.com/AWSEC2/latest/UserGuide/instancedata-data-retrieval.html
external_url 'http://192.168.1.10:8090'
2、防火墙状态操作
# 查看防火墙状态
使用systemctl status firewalld或者service firewalld status;注意centOS7防火墙默认使用的是firewall,不再是iptables,如下
出现Active: active (running)切高亮显示则表示是启动状态。
出现 Active: inactive (dead)灰色表示停止,看单词也行。

开启防火墙
service firewalld start
重启防火墙
service firewalld restart
关闭防火墙
service firewalld stop
3、查看防火墙某个端口是否开放
firewall-cmd --query-port=8982/tcp
no表示未开放
firewall-cmd --query-port=8089/tcp
yes表示已开放
firewall-cmd --zone=public --add-port=8080/tcp --permanent
success表示开放成功
firewall-cmd --reload
success表示开放的端口会生效
6、查看所有开放的端口
firewall-cmd --list-all
如下图表示:8090、8089、8181、8082端口均已开放
netstat -tunlp |grep 8089
当端口被占用,重新修改端口即可
vi /etc/gitlab/gitlab.rb
六、重新加载配置
重新加载gitlab的配置,需要几分钟,耐心等待,gitlab Reconfigured!即成功
gitlab-ctl reconfigure
六、启动GItlab
启动gitlab服务::
gitlab-ctl restart
停止gitlab服务::
gitlab-ctl stop
查看gitlab状态
gitlab-ctl status
七、访问GItlab
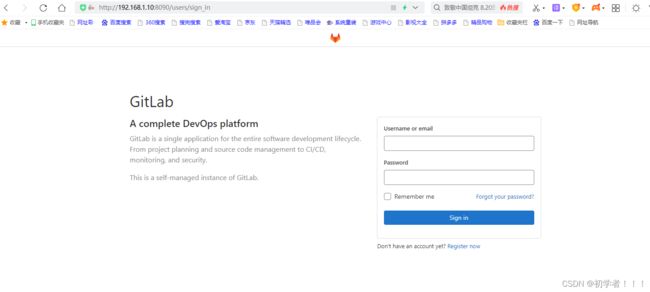
虚拟机外ip加端口即可访问gitlab
http://192.168.1.10:8090/
八、gitlab账户和密码修改
可能安装过程中不记得账号和密码,可以在gitlab服务器做修改,默认root用户
1.执行命令
gitlab-rails console -e production
2.修改root密码
[root@localhost gitlab]# gitlab-rails console -e production
--------------------------------------------------------------------------------
Ruby: ruby 2.7.5p203 (2021-11-24 revision f69aeb8314) [x86_64-linux]
GitLab: 14.10.5 (02cdf459a13) FOSS
GitLab Shell: 13.25.1
PostgreSQL: 12.7
-----------------------------------------------------------[ booted in 122.86s ]
Loading production environment (Rails 6.1.4.7)
irb(main):001:0> user = User.where(username:"root").first
=> #九、gitlab中文设置
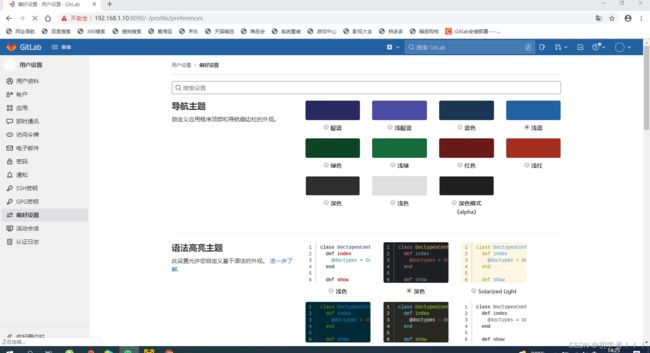
root用户登录,点击右上角头像, Preferences (偏好设置),下拉 Localization -> Language,选择“简体中文”即可,save保存,保存后刷新即展示中文


九、设置外网访问
虚拟机和主机属于内网,外网无法访问虚拟机服务,若要访问需要公网ip进行转发到内网
建议使用内网穿透工具
假如你在本地开发了一个网站,通过内网穿透工具映射到一个公网ip,别人就能直接通过公网ip访问了
1 、nps
2、 Sunny-Ngrok
3、 frp
4、 花生壳(win系统)


