【iOS】—— present和push再学习
文章目录
- 一、push和present
- 二、界面切换的三种需求
- 三、present的若干知识点
-
- presenting view controller & presented view controller
- container view controller
- 四、示例代码
一、push和present
当我们写项目时经常会使用界面切换来切换不同的视图,当我们需要切换到下一个视图的时候有两种方法,第一种是push第二种是present。
Push 是在导航控制器(UINavigationController)中使用的界面切换方式,它可以将一个新的视图控制器压入导航栈中并作为栈顶元素显示在屏幕上,当使用push的时候系统会自动在右上角生成返回上一级的按钮,此按钮也可以用重写的pop按钮覆盖。
代码格式如下:
其中vc是下一级视图的对象
[self.navigationController pushViewController:vc animated:YES];
Present 是在模态视图(Modal)中使用的界面切换方式,它可以让用户在一个新的视图控制器中完成某些操作,然后再返回到原来的视图控制器。Present 需要手动添加关闭模态视图的按钮。
模态视图的主要应用场景有:
- 收集用户输入信息
- 临时呈现一些内容
- 临时改变工作模式
- 相应设备方向变化(用于针对不同方向分别是想两个ViewController的情况)
- 显示一个新的view层级
代码格式如下:
其中newViewController是下一级视图的对象
[self presentViewController:newViewController animated:YES completion:nil];
二、界面切换的三种需求
A页面(首页)
B页面(详情页)
C页面(编辑页)
- 1.全push交互:
在UITabBarController下由每个子UINavigationController来push所有的A、B、C页面。在特定场景下如QQ,从其他的任何子ViewController跳转到聊天页面,都需要将当期的UINavigationController pop至Root,再UITabBarController 跳转到第一个UINavigationController,然后再由当期的UINavigationController push至会话页面。
- 全present交互:
这样的交互优势是简单,可以适应所有的跳转交互需求(本地交互与远程交互),缺点是用户交互方式单一,当遇到像QQ一样的单一聊天页面需求时,很难实现。
- 主push辅present交互:
主要由push交互,当遇到无其他跳转的页面时可以用present来跳转,例如编辑页面、登录页面。
三、present的若干知识点
presenting view controller & presented view controller
当我们在firstViewController弹出secondViewController,那么firstViewController就是presenting view controller,secondViewController就是presented view controller。
[firstViewController presentViewController:secondViewController animated:YES completion:nil];
container view controller
container view controller是ViewController的容器类,就跟数组和其中的元素的关系一样。通过container view controller我们可以很方便的管理若干ViewController。在iOS中,container view controller有UINavigationController、UITabBar Controller、UISplitViewController等。
四、示例代码
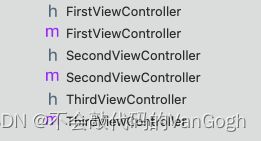
此处我创建了三个视图控制器并将导航控制器作为window窗口的根视图将第一个视图控制器作为导航控制器的根视图。接着在第一级视图通过push推出第二级视图,在第二级视图返回第一级视图或使用present推出第三级视图,最后使用dismiss返回到使用present方法的那个视图。
FirstViewController.h
#import <UIKit/UIKit.h>

NS_ASSUME_NONNULL_BEGIN

@interface FirstViewController : UIViewController
@property (nonatomic, strong)UIBarButtonItem* btnNext;
@end

NS_ASSUME_NONNULL_END
FirstViewController.m
#import "FirstViewController.h"
#import "SecondViewController.h"

@interface FirstViewController ()

@end

@implementation FirstViewController

- (void)viewDidLoad {
    [super viewDidLoad];
    // Do any additional setup after loading the view.
    self.view.backgroundColor = [UIColor redColor];
    _btnNext = [[UIBarButtonItem alloc] initWithTitle:@"next" style:UIBarButtonItemStyleDone target:self action:@selector(pressNext)];
    self.navigationItem.rightBarButtonItem = _btnNext;

}
- (void)pressNext {
    SecondViewController* viewSecond = [[SecondViewController alloc] init];
    [self.navigationController pushViewController:viewSecond animated:YES];
}


@end
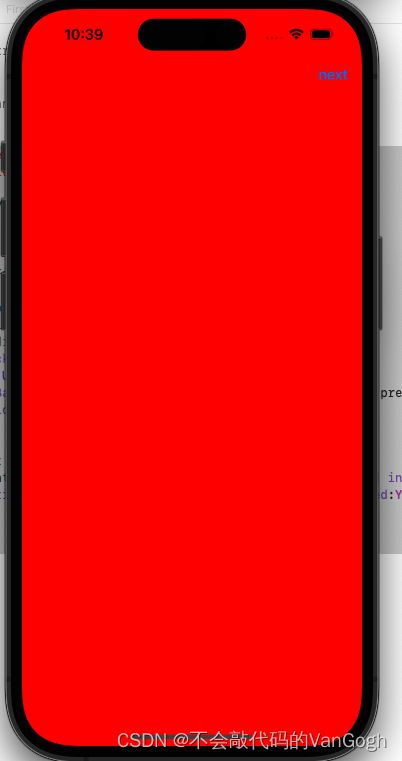
视图一如下:
SecondViewController.h
#import <UIKit/UIKit.h>

NS_ASSUME_NONNULL_BEGIN

@interface SecondViewController : UIViewController
@property (nonatomic, strong)UIButton* btnNextTwo;
@end

NS_ASSUME_NONNULL_END
SecondViewController.m
#import "SecondViewController.h"
#import "ThirdViewController.h"

@interface SecondViewController ()

@end

@implementation SecondViewController

- (void)viewDidLoad {
    [super viewDidLoad];
    // Do any additional setup after loading the view.
    self.view.backgroundColor = [UIColor greenColor];
    _btnNextTwo = [UIButton buttonWithType:UIButtonTypeRoundedRect];
    _btnNextTwo.frame = CGRectMake(120, 200, 120, 40);
    [_btnNextTwo setTitle:@"next" forState:UIControlStateNormal];
    [_btnNextTwo addTarget:self action:@selector(pressNextTwo) forControlEvents:UIControlEventTouchUpInside];
    [self.view addSubview:_btnNextTwo];
}
- (void)pressNextTwo {
    ThirdViewController* viewThird = [[ThirdViewController alloc] init];
    [self presentViewController:viewThird animated:YES completion:nil];
}


@end
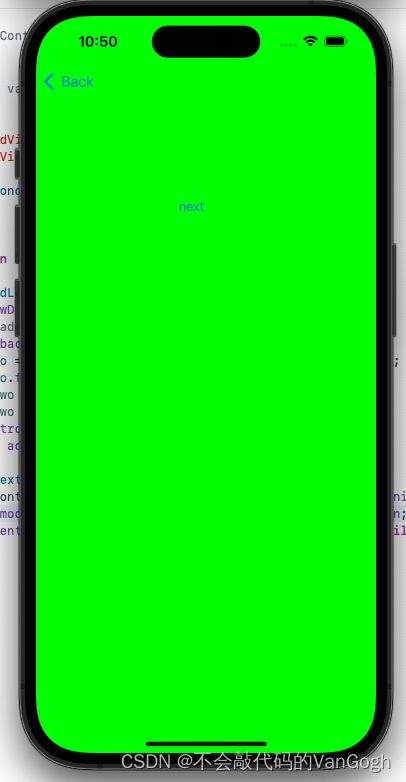
视图二如下:
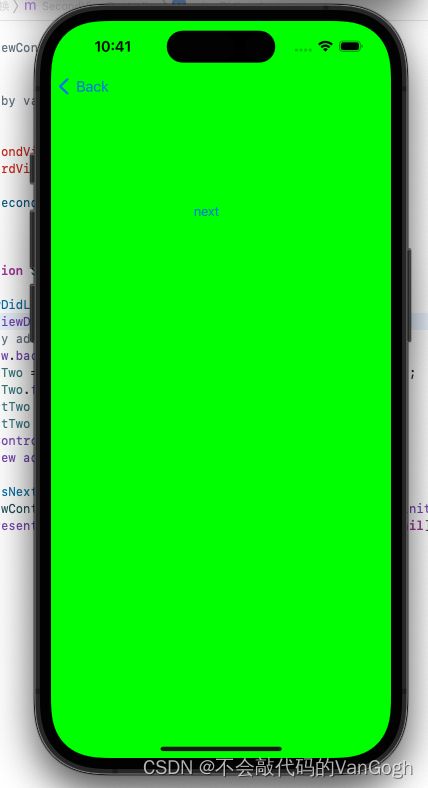
我们可以点击back返回上一级视图也可以点击next切换到下一级视图,这里我们切换到下一级视图
ThirdViewController.h
#import <UIKit/UIKit.h>

NS_ASSUME_NONNULL_BEGIN

@interface ThirdViewController : UIViewController
@property (nonatomic, strong)UIButton* btnBack;
@end

NS_ASSUME_NONNULL_END
ThirdViewController.m
#import "ThirdViewController.h"

@interface ThirdViewController ()

@end

@implementation ThirdViewController

- (void)viewDidLoad {
    [super viewDidLoad];
    // Do any additional setup after loading the view.
    self.view.backgroundColor = [UIColor blueColor];
    _btnBack = [UIButton buttonWithType:UIButtonTypeRoundedRect];
    _btnBack.frame = CGRectMake(120, 200, 120, 40);
    [_btnBack setTitle:@"back" forState:UIControlStateNormal];
    [_btnBack addTarget:self action:@selector(pressBack) forControlEvents:UIControlEventTouchUpInside];
    [self.view addSubview:_btnBack];
}
- (void)pressBack {
    [self dismissViewControllerAnimated:YES completion:nil];
}
@end
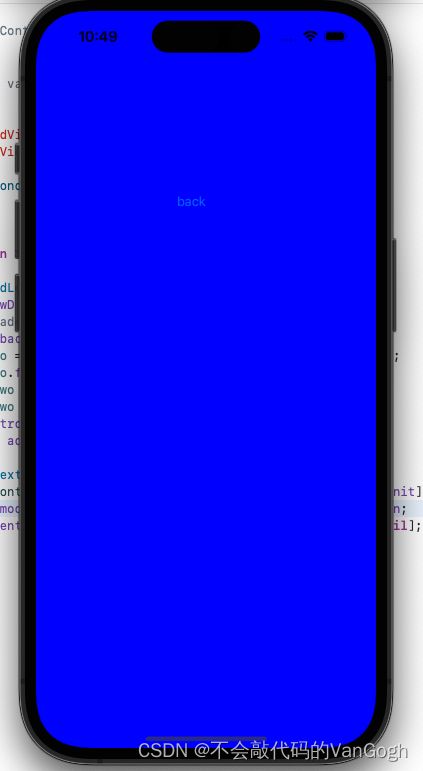
视图三如下:
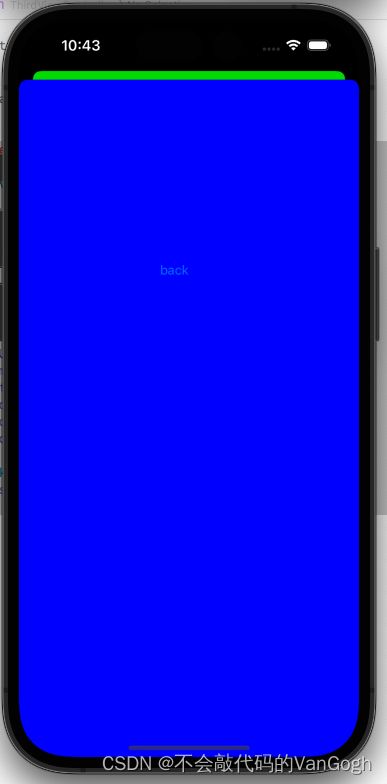
可以看到此时的视图并不是全屏的,这个就是模态视图,个人理解就是相当于一个临时的覆盖在原来视图上的一个新的视图。
如果想让它变成全屏效果可通过如下代码实现:
viewThird.modalPresentationStyle = UIModalPresentationFullScreen;
