wxWidgets(1):在Ubuntu 环境中搭建wxWidgets 库环境,安装库和CodeBlocks的IDE,可以运行demo界面了,继续学习中
1,选择使用 wxWidgets 框架
选择这个主要是因为完全的开源,不想折腾 Qt的库,而且打包的文件比较大。
网络上面有很多的对比,而且使用QT的人比较多。
但是我觉得wxwidgets 更加偏向 c++ 语法本身,也有助学习C++。
没有太多的特殊封装,而且商业化更加友好,打包软件也比较少。
更偏向原生的系统,做好相关的功能开发。
2,在 ubuntu上进行安装320版本环境
https://www.wxwidgets.org/downloads/
https://docs.codelite.org/wxWidgets/repo320/
先增加证书授权:
# 增加签名
sudo apt-key adv --fetch-keys https://repos.codelite.org/CodeLite.asc


#2 安装源
# 生成一个文件 /etc/apt/sources.list.d/archive_uri-https_repos_codelite_org_wx3_2_ubuntu_-jammy.list
# 不需要可以删除掉
sudo apt-add-repository 'deb https://repos.codelite.org/wx3.2/ubuntu/ jammy universe'

#3,安装库
apt-get install libwxbase3.2-0-unofficial \
                libwxbase3.2unofficial-dev \
                libwxgtk3.2-0-unofficial \
                libwxgtk3.2unofficial-dev \
                wx3.2-headers \
                wx-common \
                libwxgtk-media3.2-0-unofficial \
                libwxgtk-media3.2unofficial-dev \
                libwxgtk-webview3.2-0-unofficial

# 特别奇怪,其余的库要一个一个进行安装,不能批量执行。
sudo apt-get install libwxgtk-webview3.2unofficial-dev
sudo apt-get install libwxgtk-webview3.2-0-unofficial-dbg
sudo apt-get install libwxbase3.2-0-unofficial-dbg
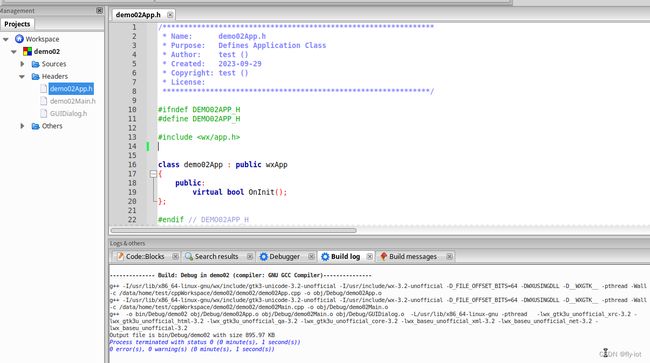
3,解决编译问题 undefined reference to `pcre2_config_32’|
||=== Build: Debug in demo02 (compiler: GNU GCC Compiler) ===|
||warning: libpcre2-32.so.0, needed by /usr/lib/x86_64-linux-gnu/libwx_baseu_unofficial-3.2.so, not found (try using -rpath or -rpath-link)|
/usr/bin/ld: /usr/lib/x86_64-linux-gnu/libwx_baseu_unofficial-3.2.so||undefined reference to `pcre2_config_32'|
/usr/bin/ld: /usr/lib/x86_64-linux-gnu/libwx_baseu_unofficial-3.2.so||undefined reference to `pcre2_code_free_32'|
/usr/bin/ld: /usr/lib/x86_64-linux-gnu/libwx_baseu_unofficial-3.2.so||undefined reference to `pcre2_get_ovector_pointer_32'|
/usr/bin/ld: /usr/lib/x86_64-linux-gnu/libwx_baseu_unofficial-3.2.so||undefined reference to `pcre2_match_data_create_from_pattern_32'|
/usr/bin/ld: /usr/lib/x86_64-linux-gnu/libwx_baseu_unofficial-3.2.so||undefined reference to `pcre2_compile_32'|
/usr/bin/ld: /usr/lib/x86_64-linux-gnu/libwx_baseu_unofficial-3.2.so||undefined reference to `pcre2_match_data_free_32'|
/usr/bin/ld: /usr/lib/x86_64-linux-gnu/libwx_baseu_unofficial-3.2.so||undefined reference to `pcre2_match_32'|
/usr/bin/ld: /usr/lib/x86_64-linux-gnu/libwx_baseu_unofficial-3.2.so||undefined reference to `pcre2_get_error_message_32'|
||error: ld returned 1 exit status|
||=== Build failed: 9 error(s), 1 warning(s) (0 minute(s), 0 second(s)) ===|
终于找到问题,通过安装 libpcre2-dev 解决
sudo apt install libpcre2-dev
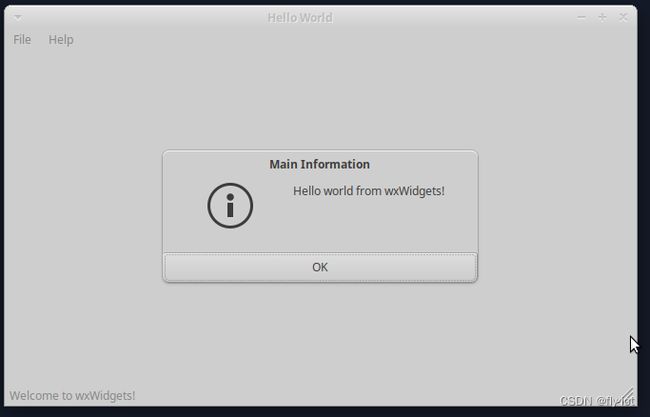
4,第一个hello world,并进行编译
参考在线手册:
https://docs.wxwidgets.org/3.2/
第一个hello world 文档:
https://docs.wxwidgets.org/3.2/overview_helloworld.html
// wxWidgets "Hello World" Program
// For compilers that support precompilation, includes "wx/wx.h".
#include 进行编译:
c++ -o main main.cpp `wx-config --cxxflags --libs`
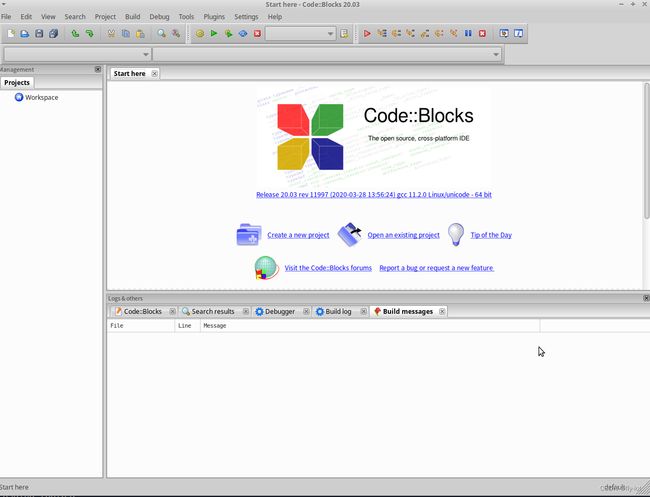
5,使用工具 codeblocks 进行开发
https://www.codeblocks.org/
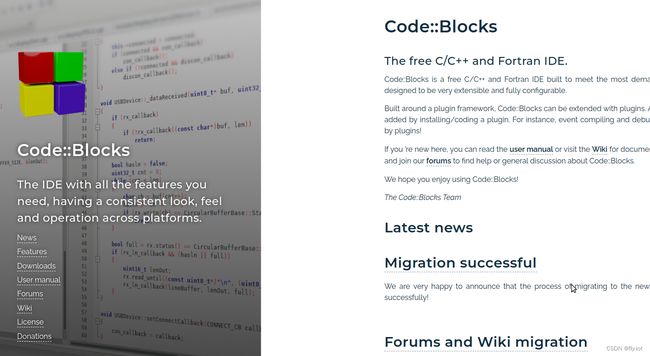
https://www.codeblocks.org/downloads/binaries/
直接通过下载文件安装,或者apt 安装即可。
sudo apt install -y codeblocks
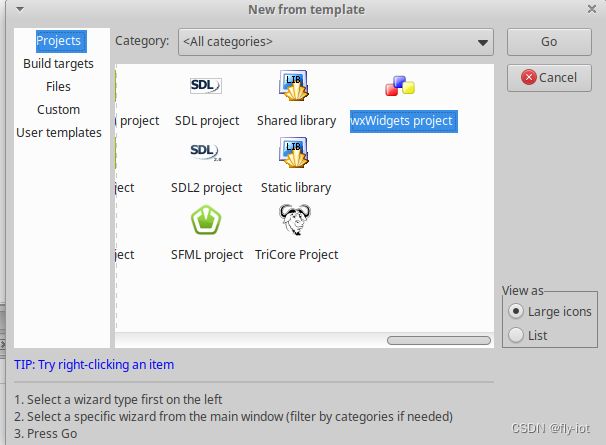
可以按照模板,创建一个 wxWidgets的项目。
6,总结
已经有人总结了项目
https://www.bilibili.com/video/BV1y3411477j/
wxwidgets跨平台GUI框架使用入门详解
PDF资料:
https://pan.baidu.com/s/1cX8Ro
继续学习 wxWidgets。
还有静态编译的办法,需要重新编译wxwidgets,否则没有库文件:
https://blog.csdn.net/CharmingSun/article/details/51765180
